
The header of a WordPress site is one of its most crucial elements, as it sets the tone for your brand and serves as a primary navigation point for visitors. A well-designed header can improve user experience, increase engagement, and drive conversions. Whether you want to display your logo, menu, social media links, or search bar, customizing your header is essential for creating a cohesive and professional-looking website. In this article, we’ll learn various methods to create and customize a header in WordPress.

Quick Links
How to Create a Header in WordPress
1. Using the WordPress Customizer
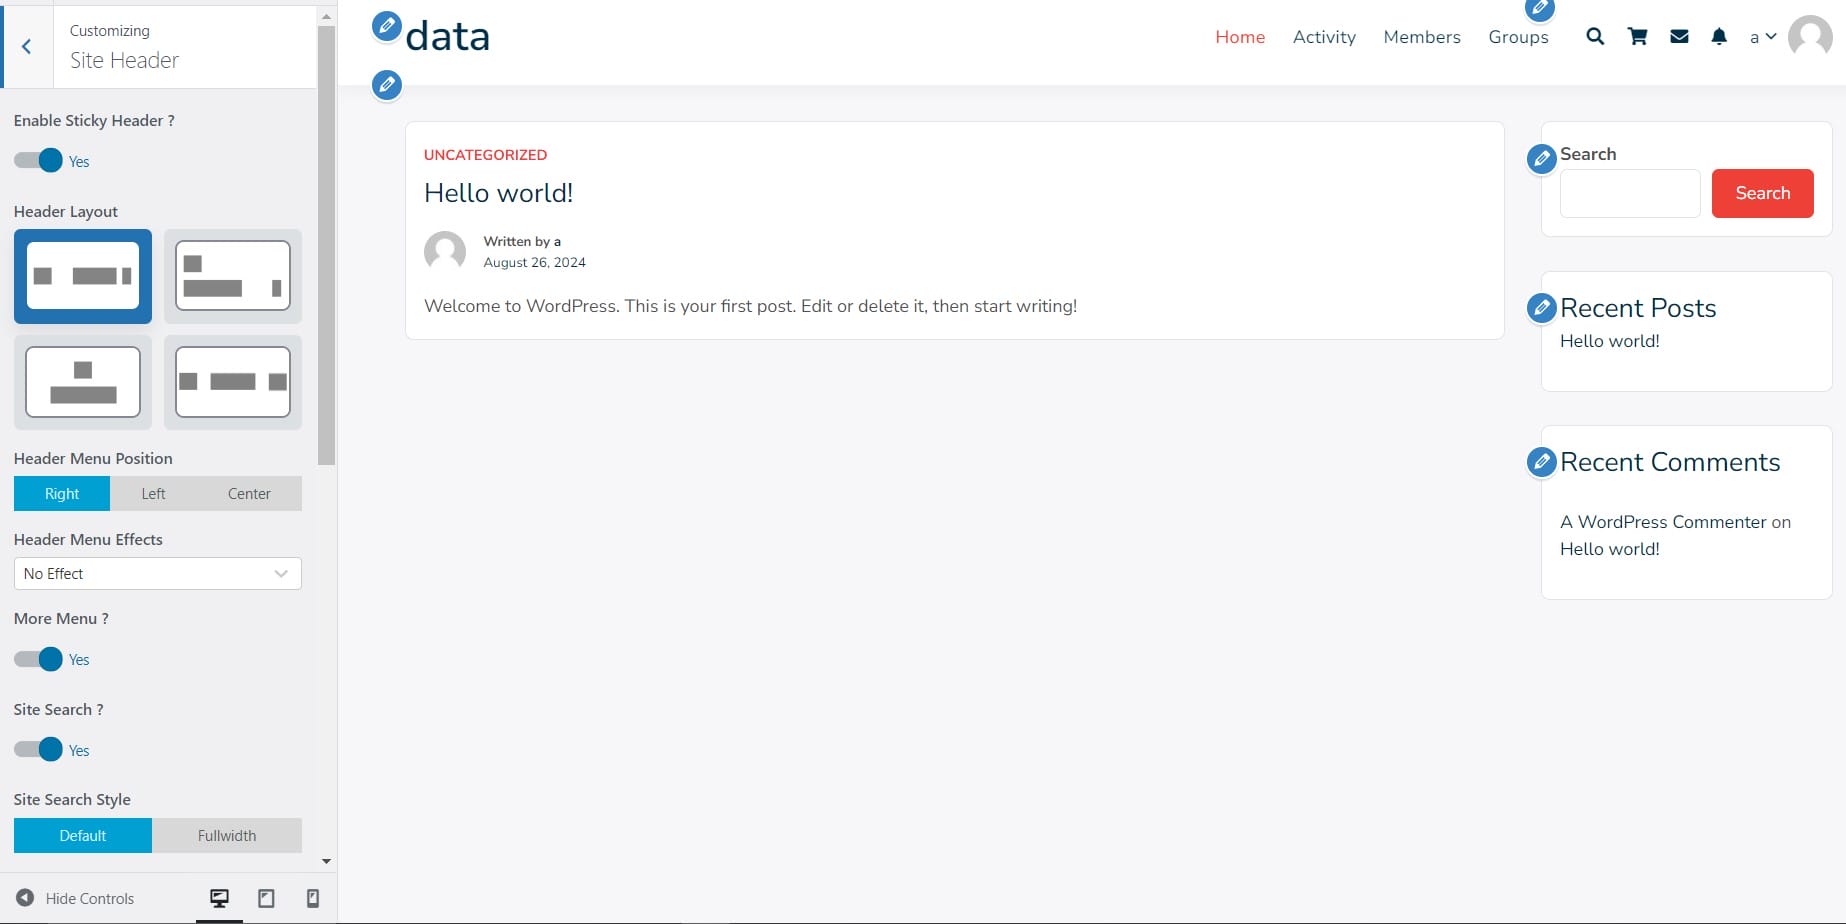
The WordPress Customizer is a built-in tool that allows you to make live changes to your site’s appearance.
- Access the Customizer:
- Log in to your WordPress dashboard.
- Navigate to Appearance >> Customize.
- Navigate to the Header Section:
- In the Customizer, look for an option labeled “Header,” “Site Identity,” or something similar, depending on your theme.
- Click on it to access header customization options.
- Customize the Header:
- Logo: Upload or change your site’s logo.
- Site Title & Tagline: Customize or hide the site title and tagline.
- Menu: Select which menu to display in the header.
- Colors & Background: Adjust the colors and background image of the header.
- Additional Elements: Some themes offer options to add social icons, search bars, or other elements directly from the Customizer.
- Publish Your Changes:
- Once you’re satisfied with your header, click the Publish button to make the changes live.
2. Using a Page Builder Plugin (Elementor)
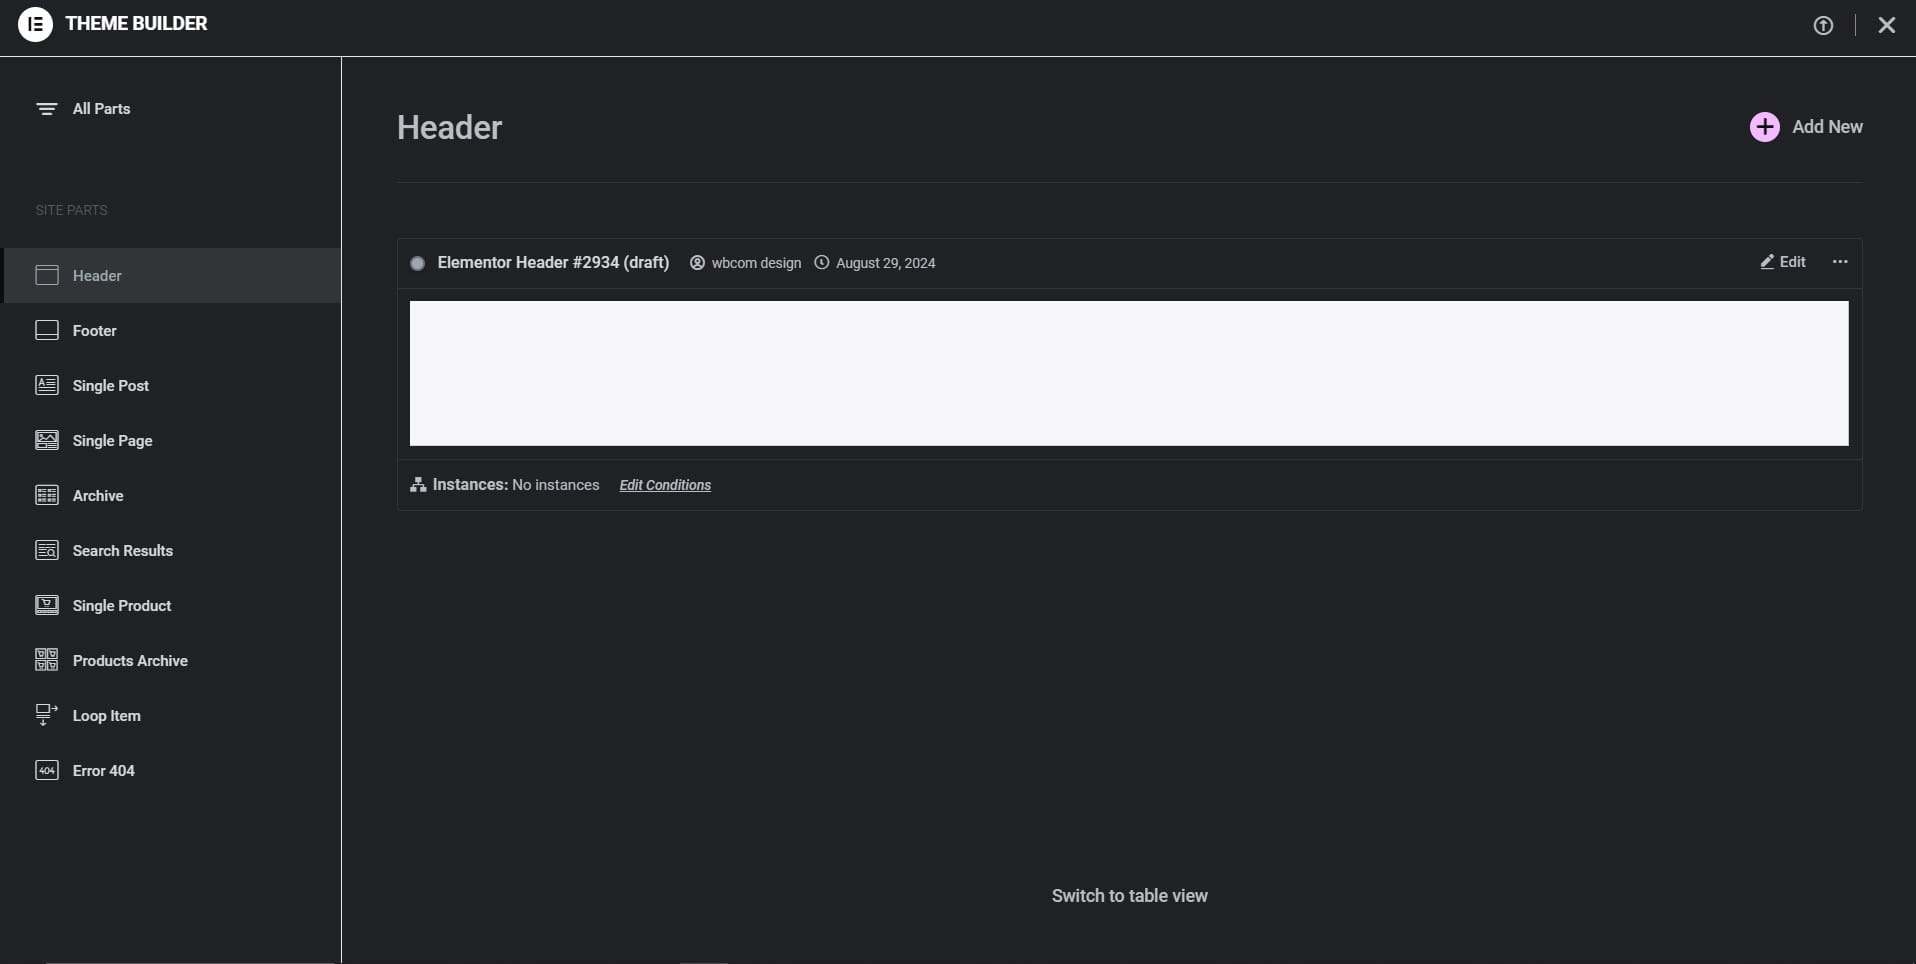
For more advanced header customization, using a page builder like Elementor gives you greater control and flexibility.
- Create a Custom Header:
- Go to Templates >> Theme Builder in the Elementor menu.
- Click Add New and select “Header” from the template type dropdown.
- Name your header template and click Create Template.
- Design the Header:
- Use Elementor’s drag-and-drop interface to add elements like your logo, navigation menu, social icons, and more.
- Customize the design by adjusting the colors, fonts, spacing, and other styling options.
- Set Display Conditions:
- After designing your header, click on Publish.
- Set display conditions to specify where the header should appear (e.g., on the entire site, specific pages, or posts).
- Save and exit.
- Preview and Finalize:
- Preview your site to see the new header in action.
- Make any necessary adjustments and save your final design.
3. Using Custom Code
For those with coding experience, adding a custom header via the theme’s code can provide the most flexibility:
- Create a Child Theme:
- Before making any changes, it’s recommended to create a child theme to ensure that your customizations aren’t lost during theme updates.
- Edit the Header File:
- Access your site’s files via FTP or your hosting file manager.
- Navigate to wp-content/themes/your-theme/ and copy the header.php file to your child theme.
- Open the copied header.php file in a text editor.
- Add Your Custom Code:
- Modify the header.php file to include your desired HTML, CSS, and PHP for the header.
- For example, you can add a custom logo, menu, or even a search bar directly in the code.
- Save and Upload:
- Save your changes and upload the header.php file back to your child theme directory.
- Test Your Header:
- Visit your site to ensure that the custom header is displaying correctly.
- Make any necessary adjustments to the code.
4. Using a Header Plugin
If you prefer using a plugin specifically designed for header creation, there are options like Sticky Menu, Sticky Header (or anything!) on Scroll:
- Configure the Plugin:
- Follow the plugin’s settings to customize your header.
- Options typically include making the header sticky, adjusting the height, background color, and other styling elements.
- Save and Preview:
- Save your changes and preview your site to see the customized header in action.
Creating a header in WordPress can be as simple or as complex as you need it to be, depending on your site’s requirements and your comfort level with WordPress tools. You can use the built-in Customizer, a page builder like Elementor, custom code, or a dedicated plugin, you have various options to design a header that enhances your website’s appearance and functionality. A well-crafted header not only improves navigation but also reinforces your brand identity, making it a key component of your site’s design.
Interesting Reads:

