
Overlaying videos is not just an editing technique—it’s a gateway to crafting captivating visual stories. Whether you’re building a cinematic masterpiece or a scroll-stopping social media clip, layering videos adds depth, intrigue, and emotion to your projects. If you’re wondering how to overlay multiple videos effectively, this guide is your starting point. CapCut, a user-friendly video editor for PC, offers an impressive range of options that allow for merging and overlaying videos seamlessly. This article will guide you through the process, step by step, with creative ideas and practical examples.

Quick Links
How to Overlay Multiple Videos in CapCut Desktop
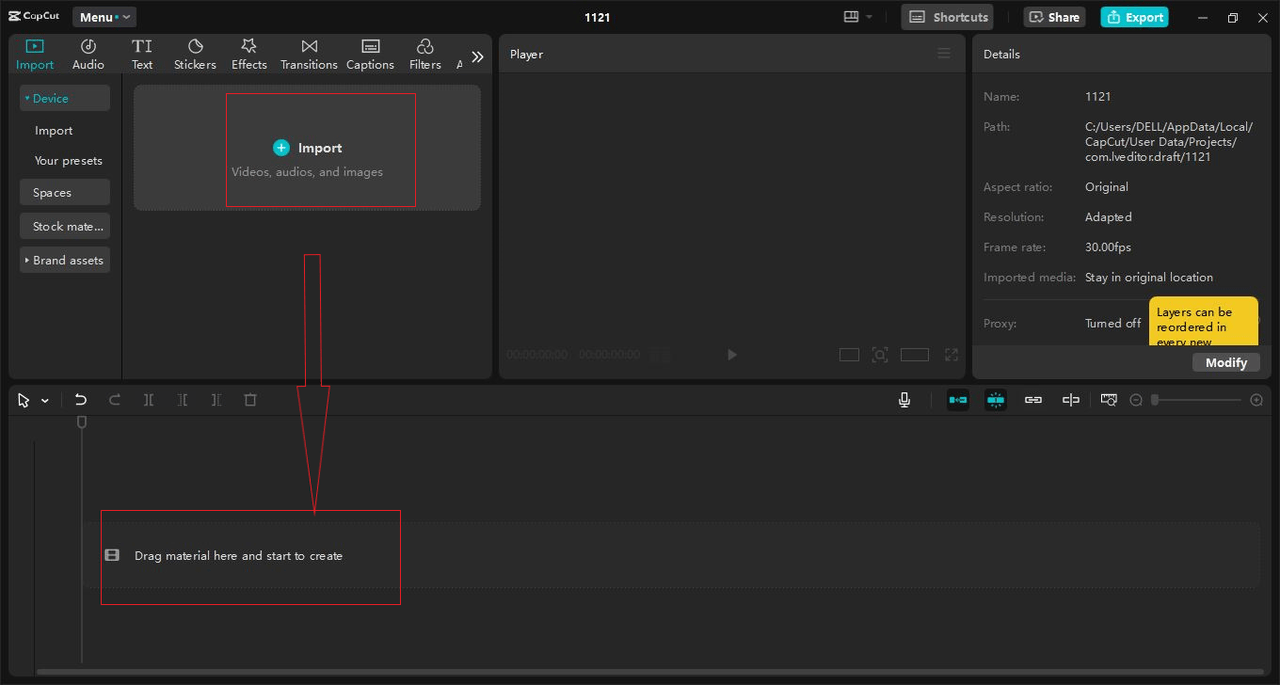
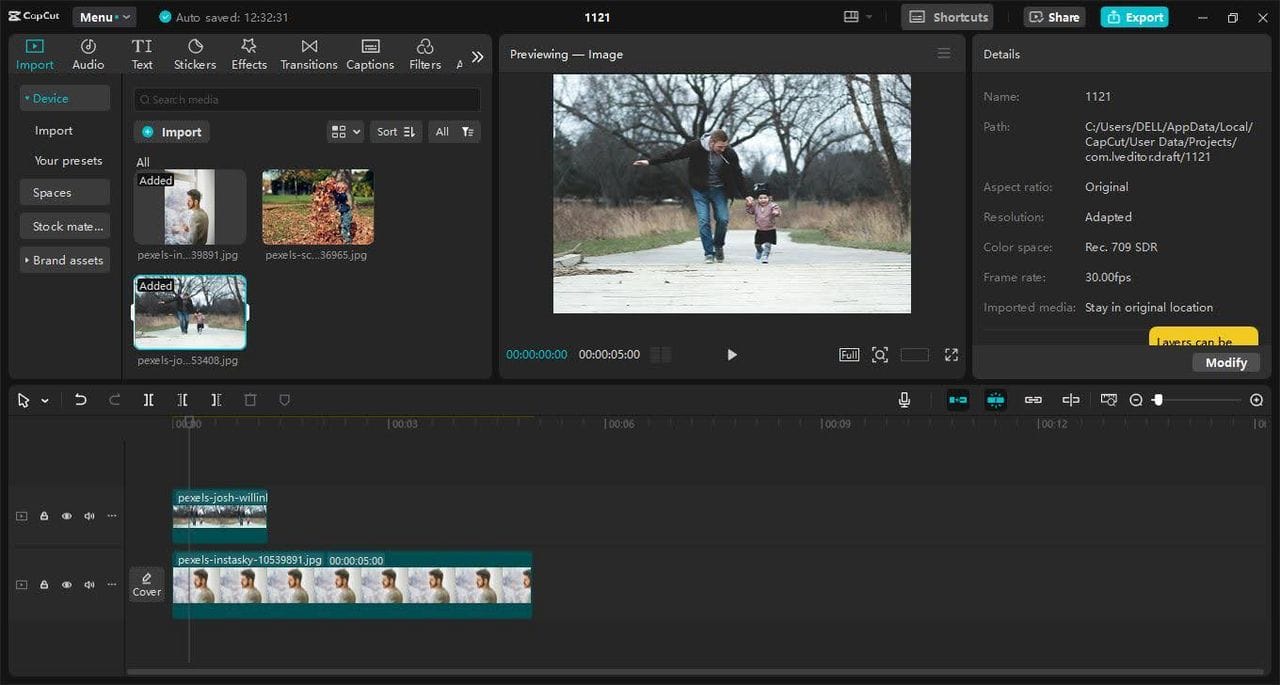
1. Set Up Your Project- How to Overlay Multiple Videos
You can begin a new project in the CapCut Desktop video editor by uploading your videos and dragging them into the Timeline.
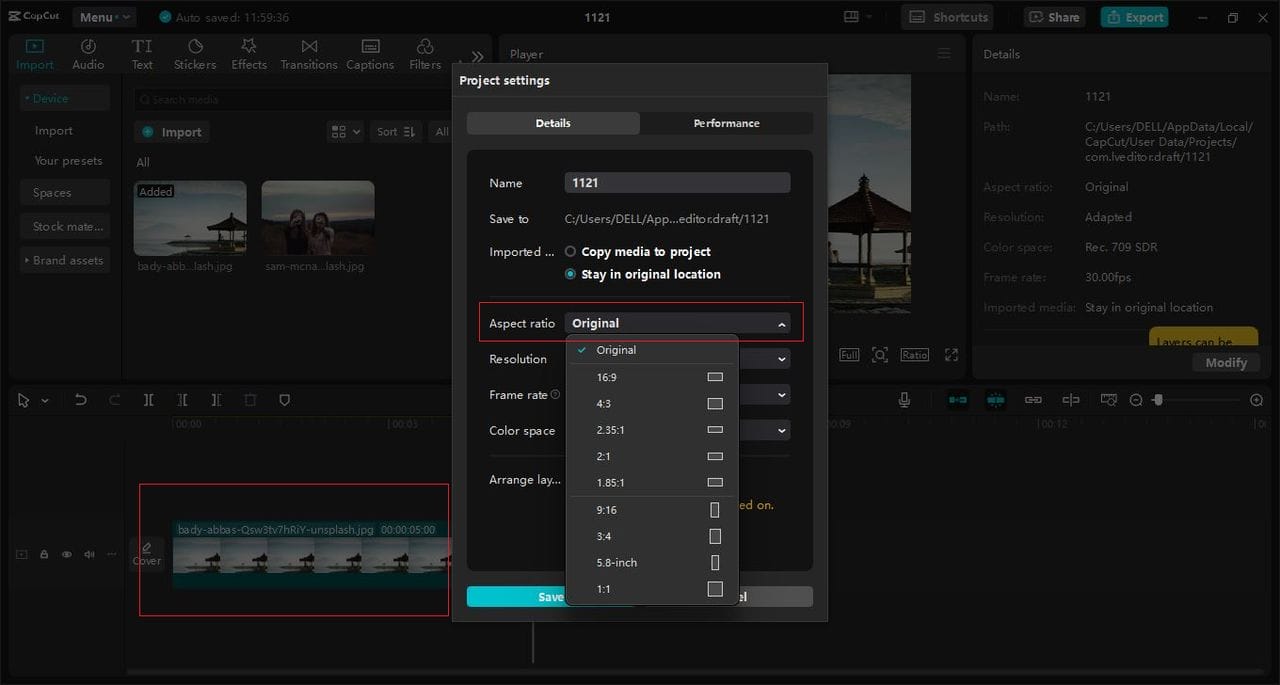
2. Add Your Base Video
-
Drag your primary (base) video to the Timeline. This would be useful because this video would be used as the base.
-
You can then trim and adjust the clip as needed using the Split tool (shortcut: Ctrl+B) for a seamless edit.
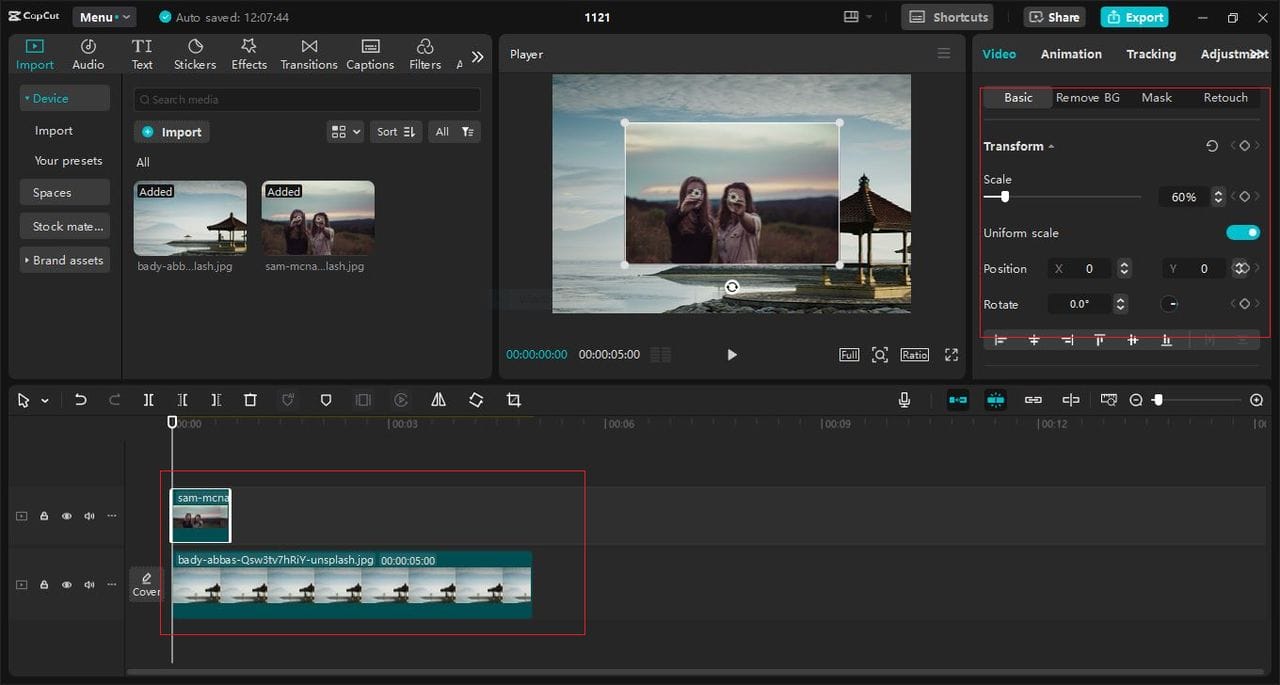
3. Add the Overlay Video
-
Drag your second video (the overlay) on the Overlay Track which is located right above the base video on the Timeline.
-
You can also adjust the size and position of the overlay clip.
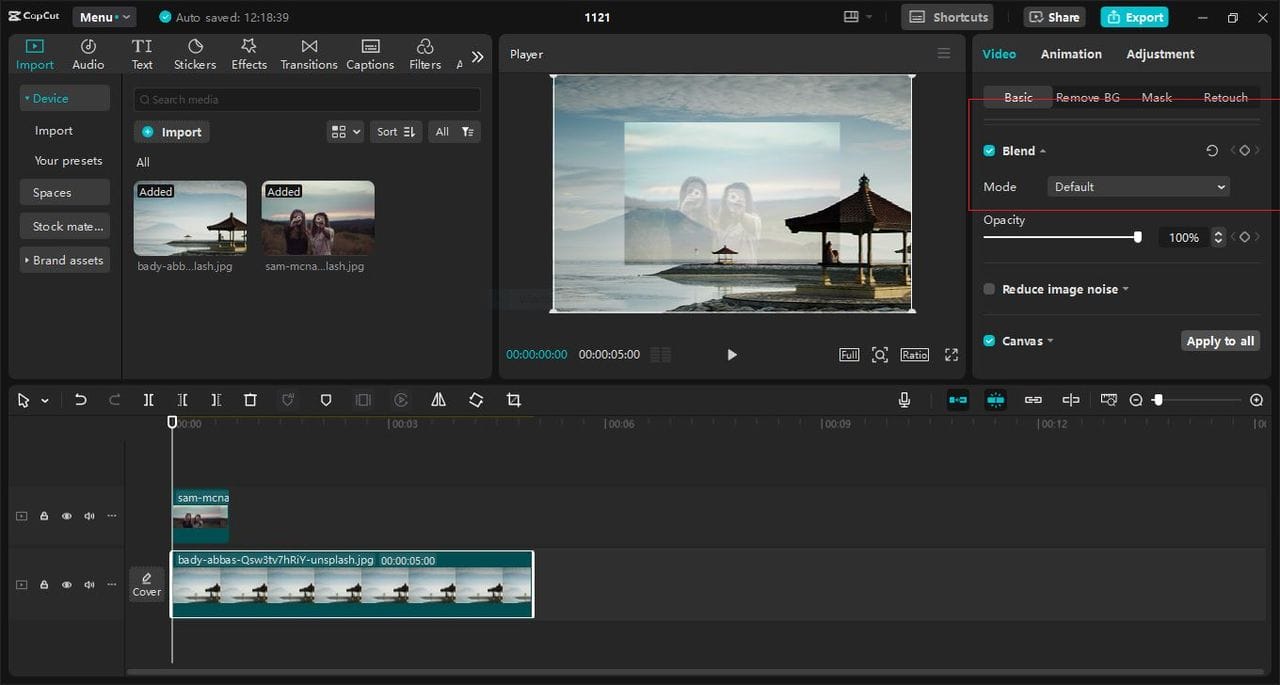
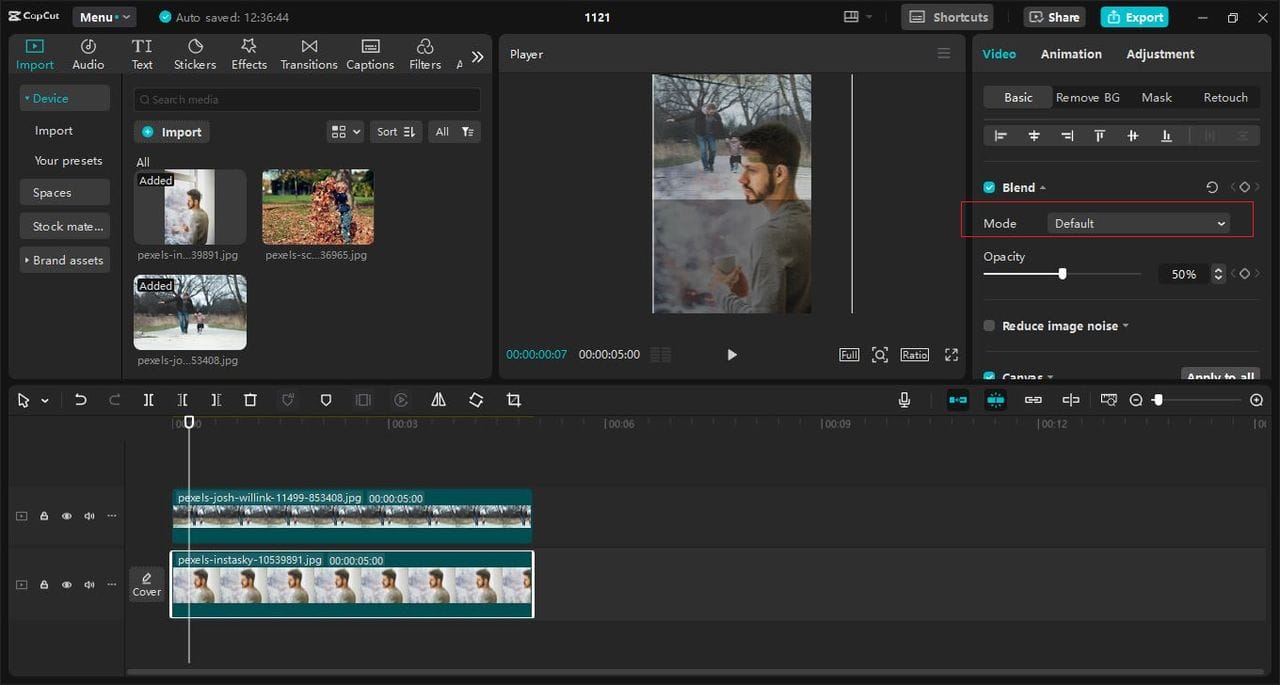
4. Blend the Clips- How to Overlay Multiple Videos
In addition to selecting the overlay video, CapCut provides various blending modes that define how the overlay behaves on the base video. To access blending modes:
-
Choose the selected overlay video in the timeline.
-
In the Properties Panel, you need to look for the Blend Mode options.
-
You can also try Overlay, Screen, Multiply, and Soft Light modes to achieve the desired effects. All these modes create unique visual effects.
A Cinematic Dream Sequence
Imagine editing a video where the character knows that she or he is recalling the joyful moments. You can overlay a dream-like sequence to evoke nostalgia:
Base Video: The finale of the scene – the main character (man) sitting at the window, lost in thought.

- Overlay Video: A slow-motion clip where a child is enjoying the day in a park.
- Blend Mode: Choose Soft Light for a more delicate, dreamlike appearance for your photograph.
- Adjust Opacity: Reduce the overlay’s transparency so that the overlay itself looks somewhat translucent (e.g., set to 50% transparency).
5. Add Effects for Polish
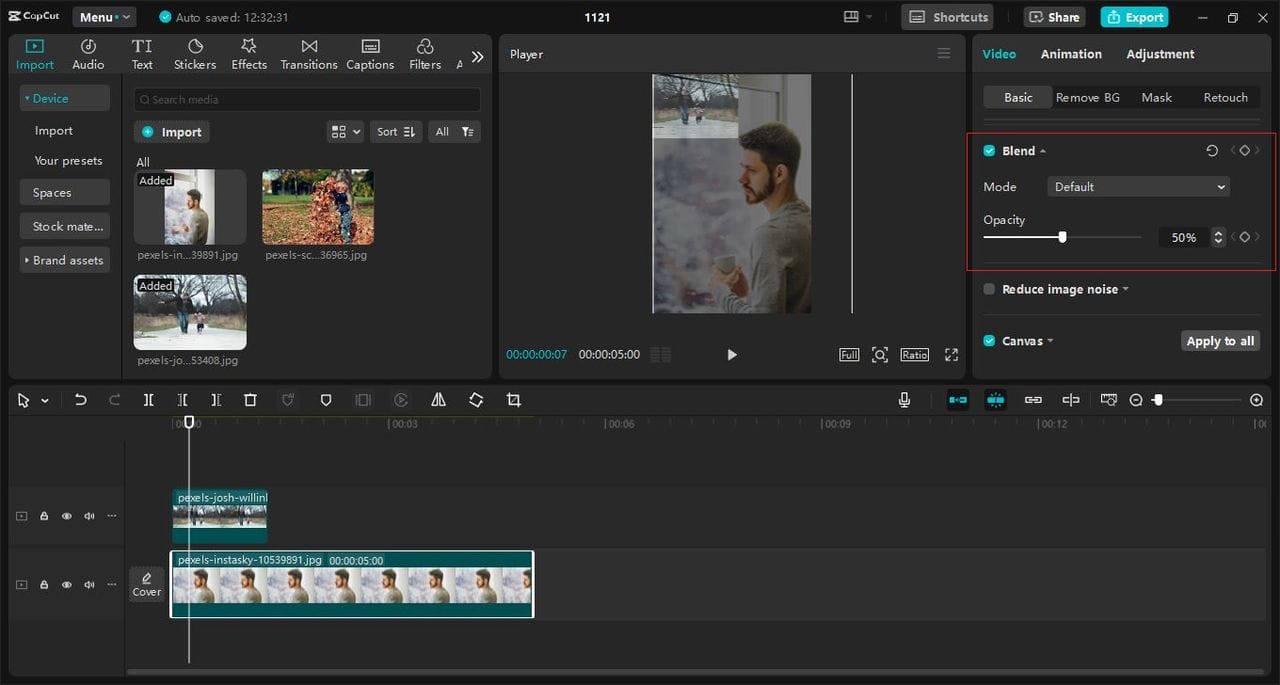
Opacity and Transparency
To control the intensity of the overlay you want to create, move the Opacity slider in the Properties Panel. For subtle overlays, use 30–60%.
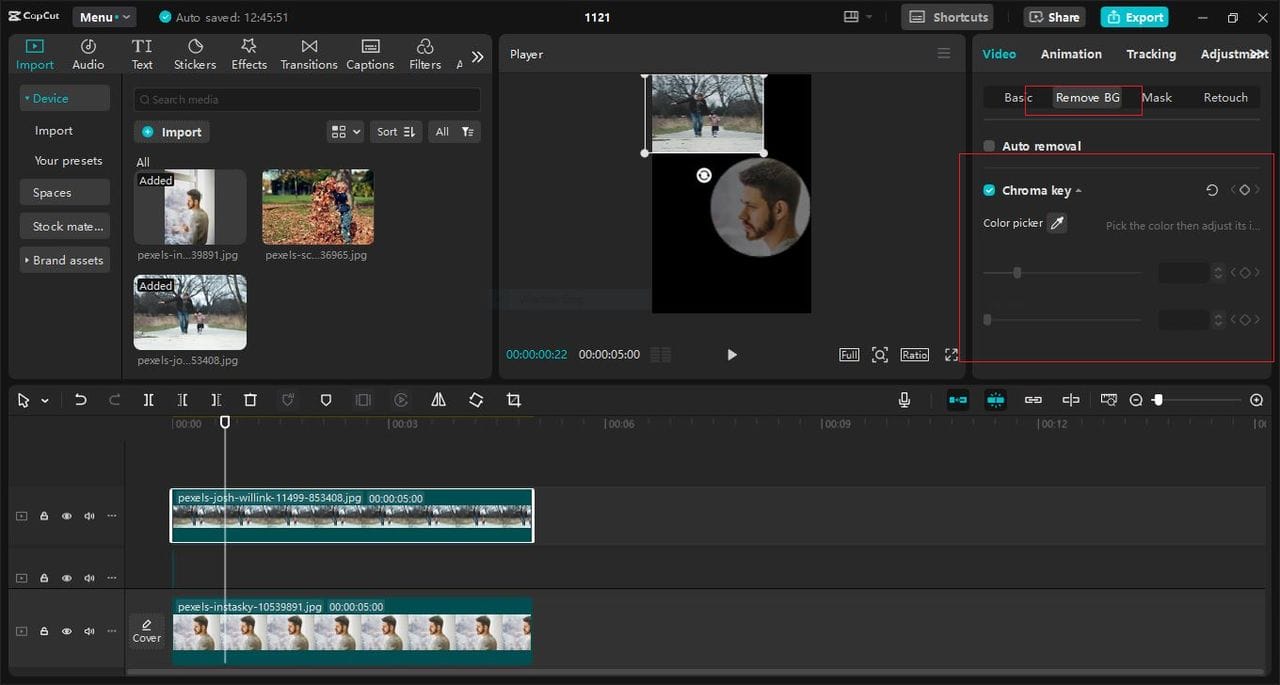
Chroma Key (Green Screen)
If your overlay video has a solid background (e.g., green screen), remove it:
-
Select the overlay clip.
-
Go to the Chroma Key tool and choose the background colour.
-
Use additional settings of Strength and Shadow to make the desired effect more subtle or pronounced.
Masking Masking lets you control which parts of the overlay are visible. For example:
-
Select the overlay clip.
-
Go to the Mask tool.
-
Select either a shape or a freehand shape, like a circle or a rectangle.
-
You can drag the mask around the overlay and increase or decrease the transparency to show or hide any parts of the overlay.
-
You can also try the caption generator to add captions or subtitles to make your video more informative and engaging.
Also Read: Innovative Web Design Trends That Will Shape
6. Synchronise Audio (If Needed)- How to Overlay Multiple Videos
If the overlay video has audio that conflicts with the base video:
-
Select the overlay clip and press right-click, then set “Reduce noises”.
-
Modify the detached audio track or remove it completely from the video and select an appropriate volume level concerning the rest of the soundtrack.
-
You can also try the text-to-speech AI feature for professional narrations.
Also Read: 10 BuddyBoss Alternatives to Build a Community Platform
7. Final Touches and Exporting- How to Overlay Multiple Videos
Once satisfied with your video overlay:
-
You need to preview the entire project for any adjustments.
-
You can also add transitions between clips to smooth the flow.
-
Export your video by clicking the button with the text Export, and choose your preferred format and resolution.
Pro Tips for Mastering Video Overlay in CapCut
-
Experiment with Blend Modes: Test multiple modes to find the best look. A small change can significantly impact your video.
-
Use High-Quality Footage: Overlays work best with clear, high-resolution clips to avoid pixelation.
-
Keep it Balanced: Avoid overcrowding your video with too many overlays, which can distract viewers.

Conclusion
Overlaying videos in the CapCut Desktop video editor unlocks endless possibilities for creativity. From crafting dream sequences to putting in that special visual kick, mastering this technique enhances your storytelling. The blend modes, opacity, and masking options are creative tools that allow for the normal video to be converted into a piece of art.
So, open CapCut, stack your clips, and go ahead, and let your imagination guide your edits. Now, no matter if you are a student wanting to create a video for a school assignment or a business that needs an advertisement or a social media promotion, you can easily overlay videos.
Interesting Reads:

