
Forms play a crucial role in website functionality, enhancing user engagement and facilitating smooth communication. Whether it’s for collecting user feedback, processing online orders, managing event registrations, or simply building a robust contact form, the right form builder can make a significant difference. WordPress offers a lot of form plugins, each designed to cater to different needs and skill levels so that both novice users and seasoned developers can create functional and pleasing forms with ease. The top contenders to choose from are WPForms or Gravity Forms, these powerful plugins have garnered a lot of popularity and trust within the WordPress community.

Quick Links
WPForms or Gravity Forms a Short Summary
If you’re in a hurry and need a quick summary of which form builder to choose between WPForms or Gravity Forms, let me provide a brief overview. I favor WPForms due to its ease of use, availability of a free version, and wide selection of templates, making it an excellent choice for beginners and those looking to quickly set up forms without a steep learning curve.
WPForms stands out for its user-friendly interface and straightforward drag-and-drop form builder, allowing users to create professional-looking forms in minutes. The free version, WPForms Lite, offers a range of basic features suitable for simple form needs, making it an attractive option for those on a budget or just starting. The huge library of pre-built templates caters to various use cases, saving users time and effort in form creation.
On the other hand, for this evaluation, I decided to use Gravity Forms, which also boasts several significant benefits. Gravity Forms is known for its robust features and extensive integration options. It supports a wide range of third-party plugins and services, allowing users to extend its functionality and integrate with various marketing, CRM, and payment platforms. This flexibility makes Gravity Forms a powerful tool for businesses looking to create complex forms and automate workflows.
Moreover, Gravity Forms promotes the use of third-party add-ons, which further enhances its capabilities and allows for a high degree of customization. Whether you need to create multi-page forms, implement advanced conditional logic, or integrate with external services, Gravity Forms provides the tools necessary to accomplish these tasks effectively.
In summary between WPForms or Gravity Forms, WPForms is my personal favorite for its simplicity and ease of use, Gravity Forms excels in offering advanced features and integrations, making it a strong contender for more complex form-building needs. Both plugins have their unique strengths, and the best choice ultimately depends on your specific requirements and preferences.
Configuring WP Forms
1. Install and Activate WPForms
- From your WordPress dashboard, navigate to Plugins > Add New.
- Search for WPForms: In the search bar, type “WPForms.”
- Click on “Install Now” and then activate the plugin.
2. Create a New Form
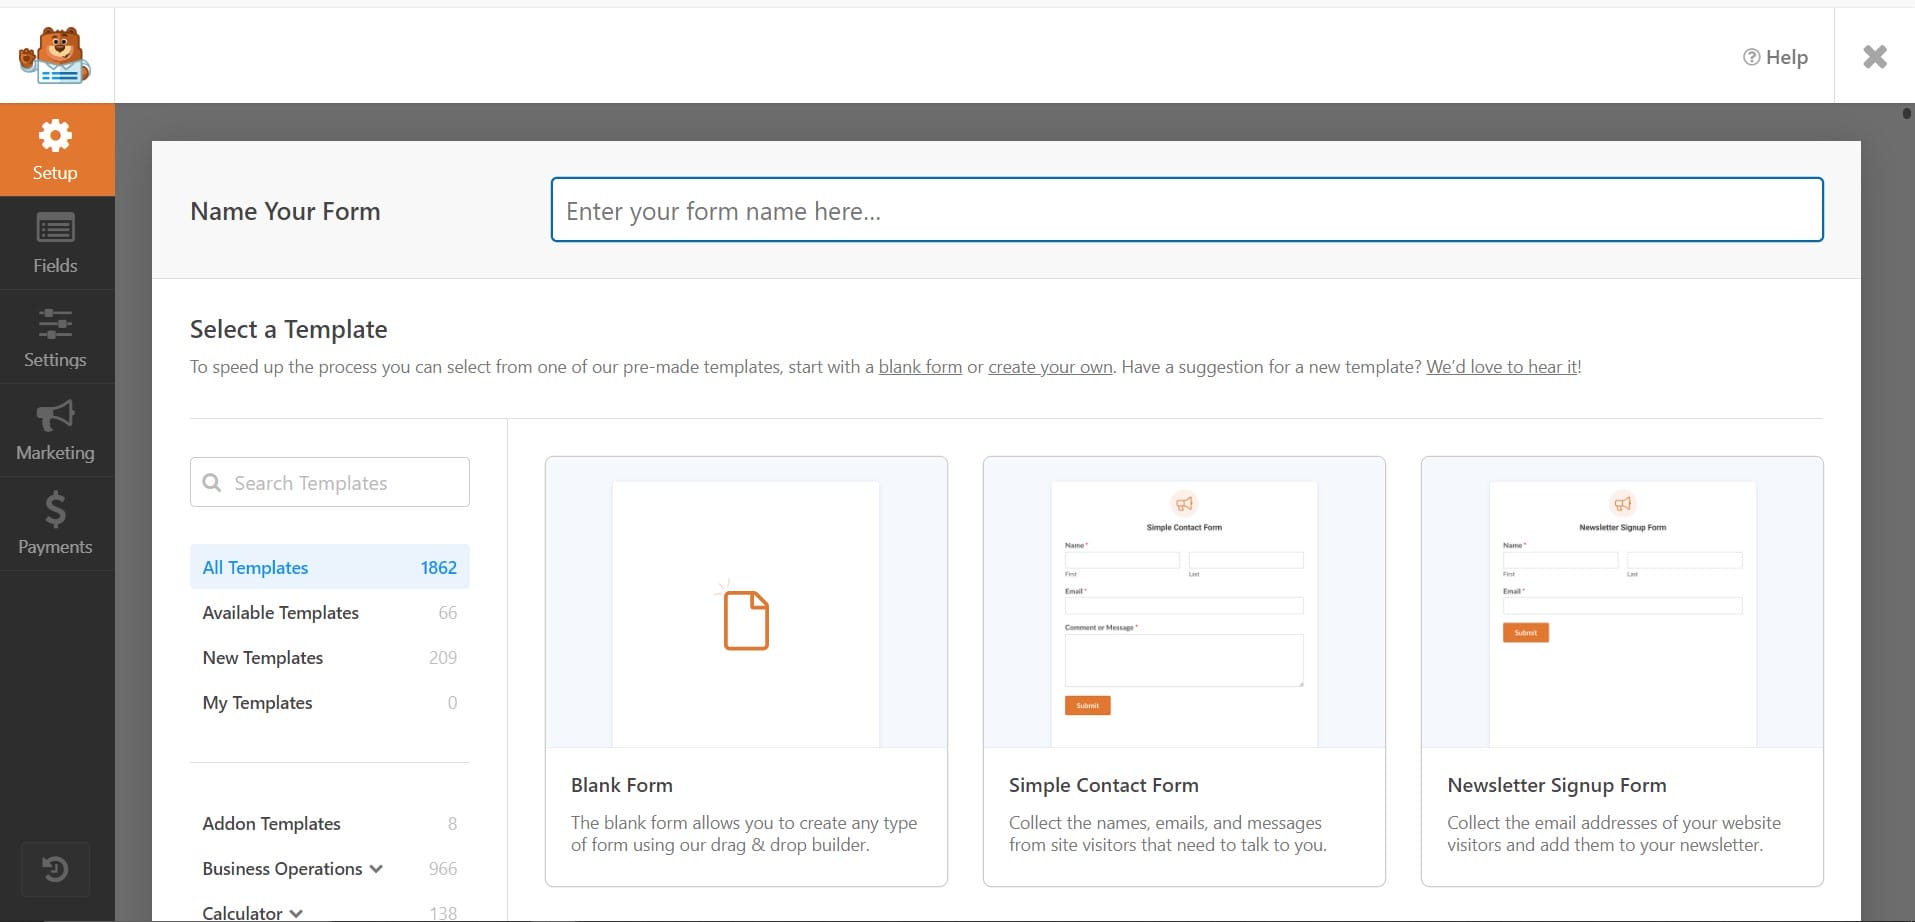
- In your WordPress dashboard, go to WPForms > Add New.
- Choose a template. WPForms offers various pre-built templates such as Contact Form, Newsletter Signup Form, and more. Select the one that suits your needs or start with a blank form.
- Name Your Form: Give your form a name for easy identification.
3. Customize Your Form
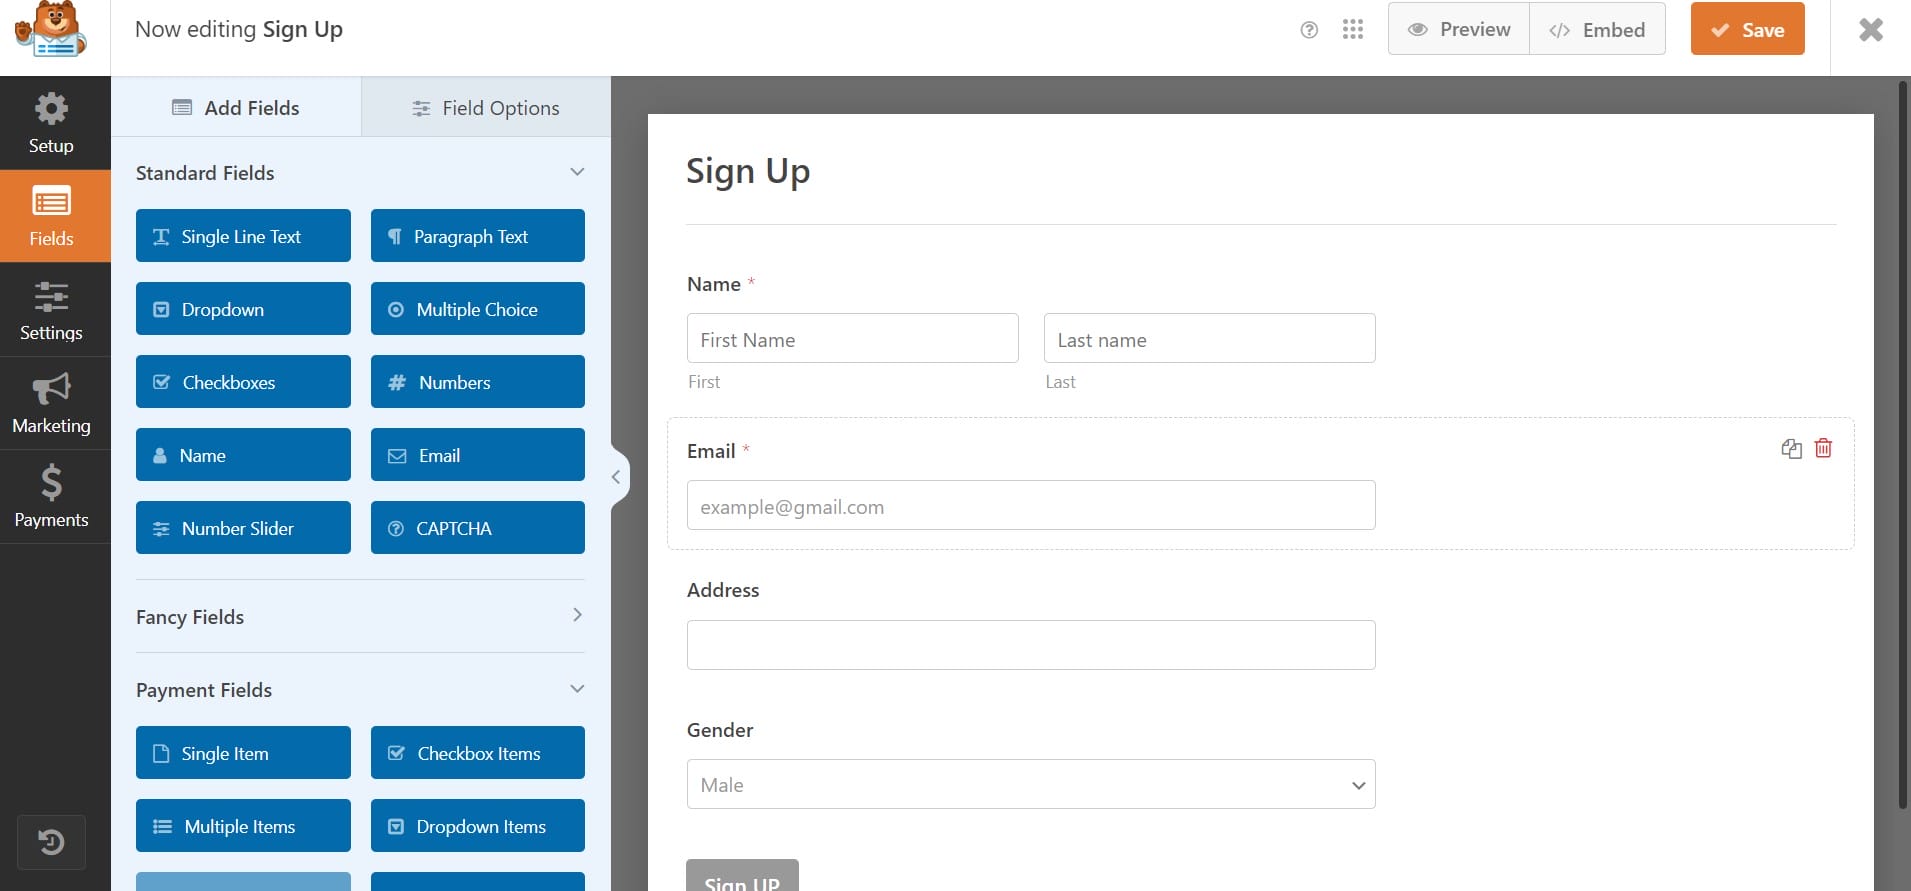
- Use the drag-and-drop builder to add fields to your form. WPForms provides a range of field options like text, email, dropdown, checkboxes, etc.
- Click on any field to configure its settings. You can change the label, add a description, make the field required, and more.
- Adjust additional settings such as placeholder text, field size, and CSS classes for custom styling.
4. Set Up Form Notifications
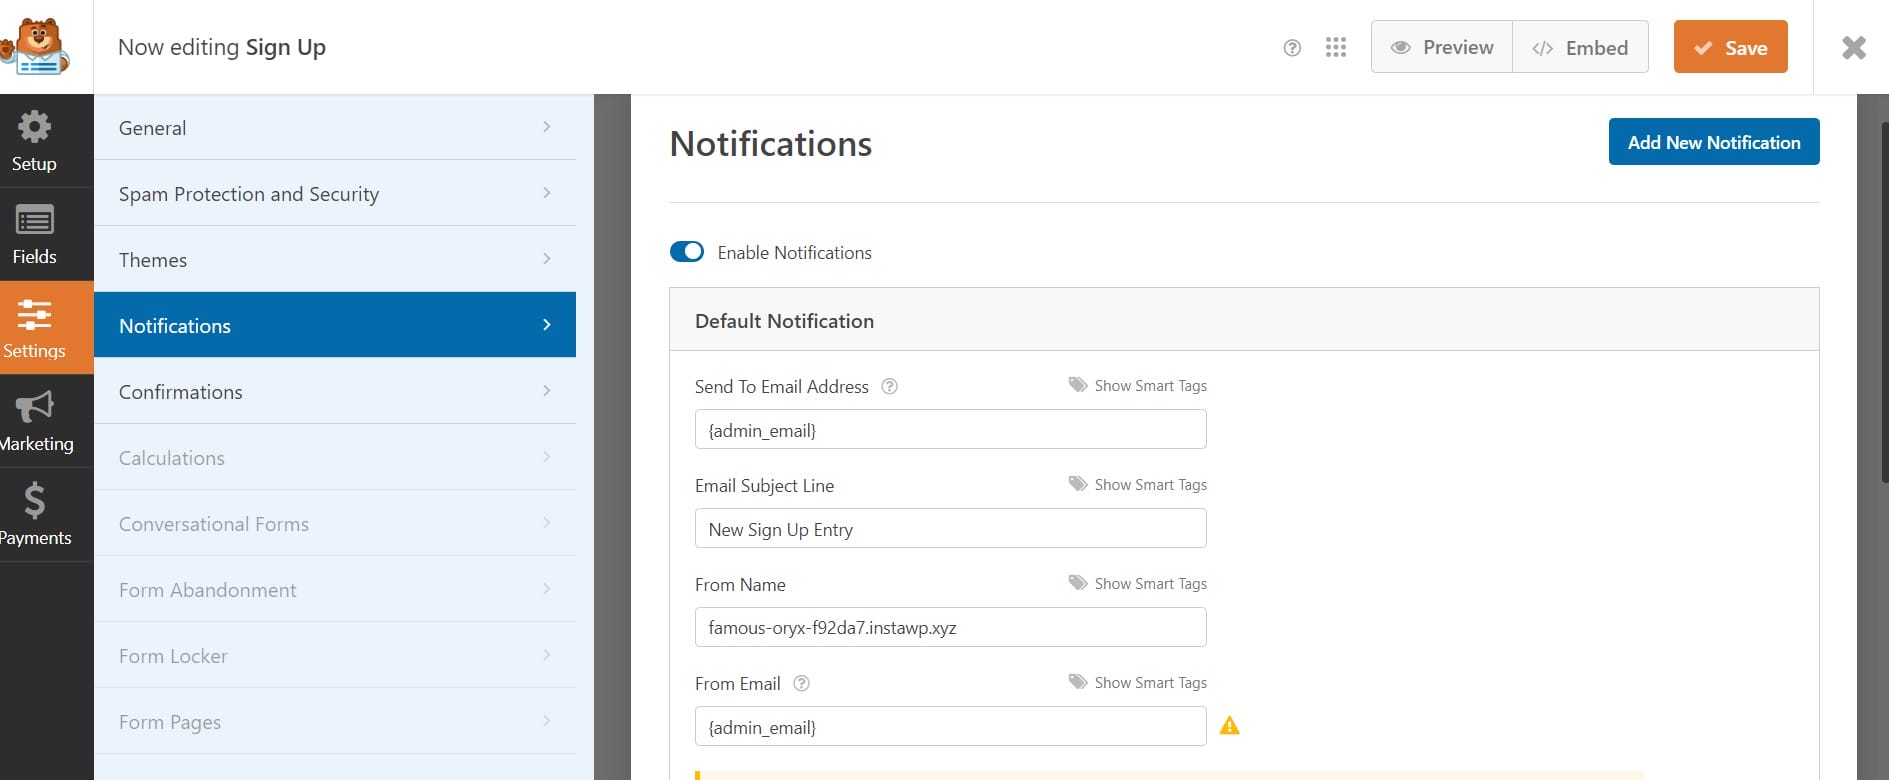
- Go to the Settings > Notifications tab to configure email notifications.
- By default, WPForms sends an email notification to the site admin. You can customize the email address, subject line, and message content.
- If you want to send a confirmation email to the user who filled out the form, enable and customize the user notification settings.
5. Configure Form Confirmations
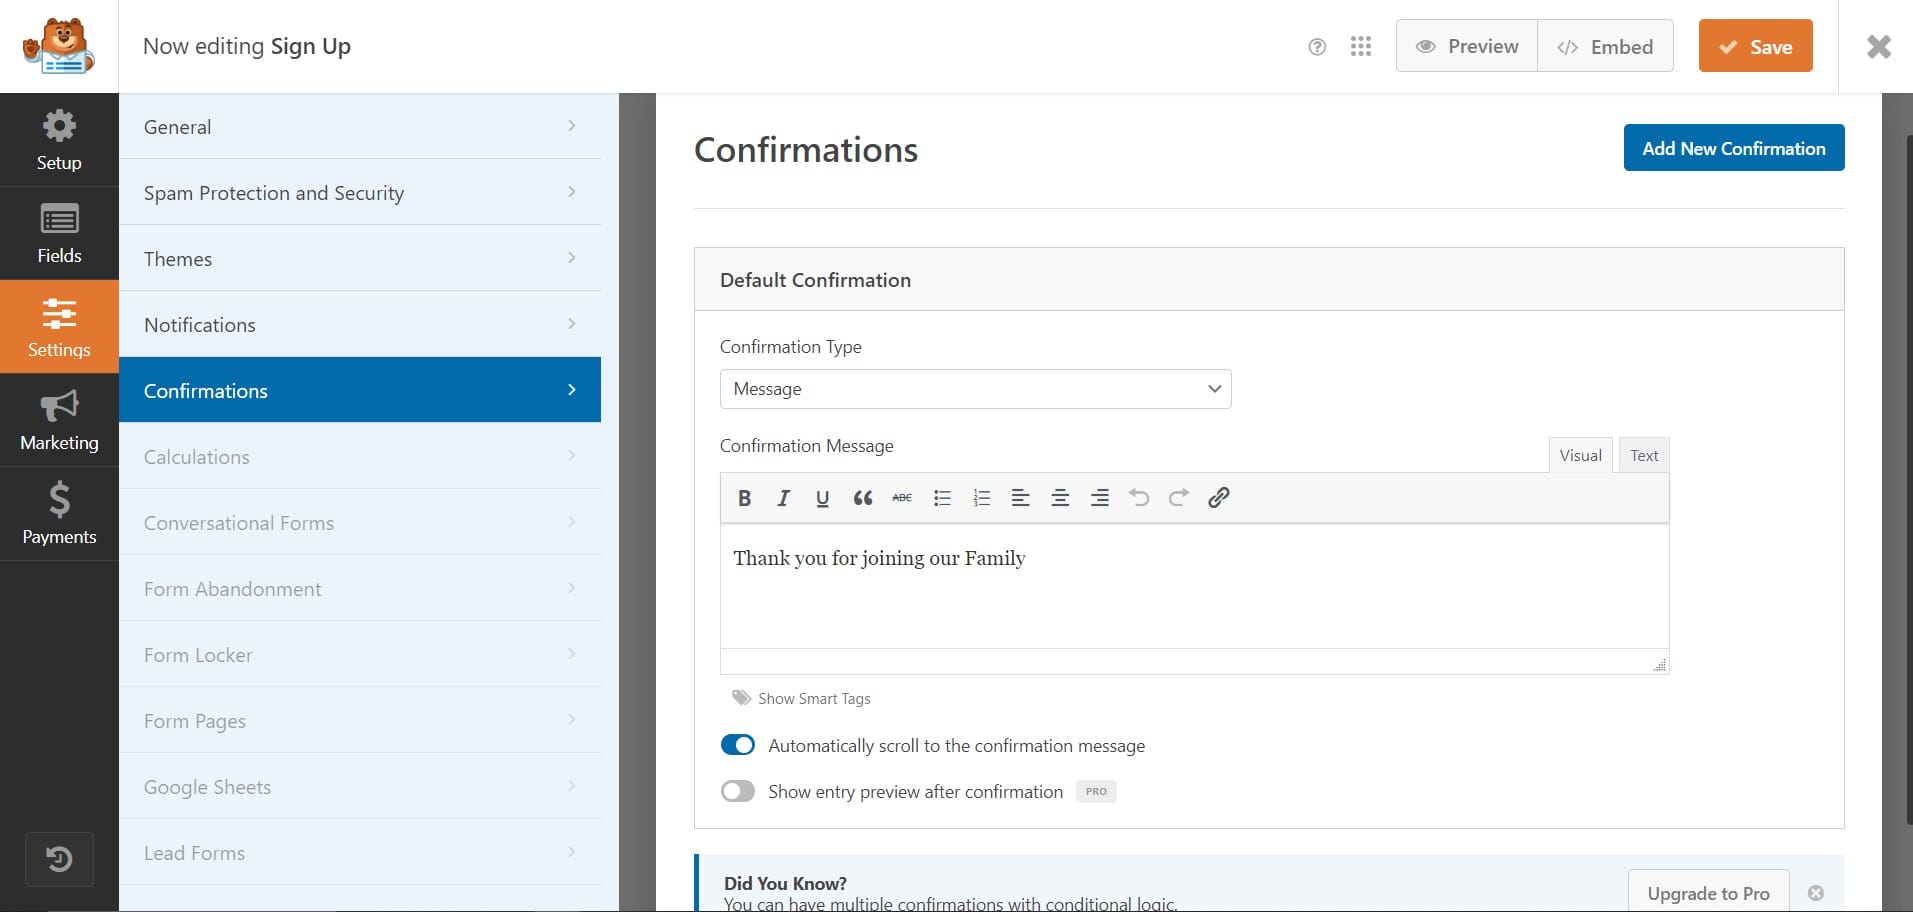
- Navigate to Settings > Confirmations to set up what users see after submitting the form.
- Choose from three types of confirmations: Message (display a thank you message), Show Page (redirect to a specific page), or Go to URL (redirect to an external URL).
- If you choose the Message confirmation type, you can customize the thank you message displayed to users.
6. Advanced Settings and Integrations
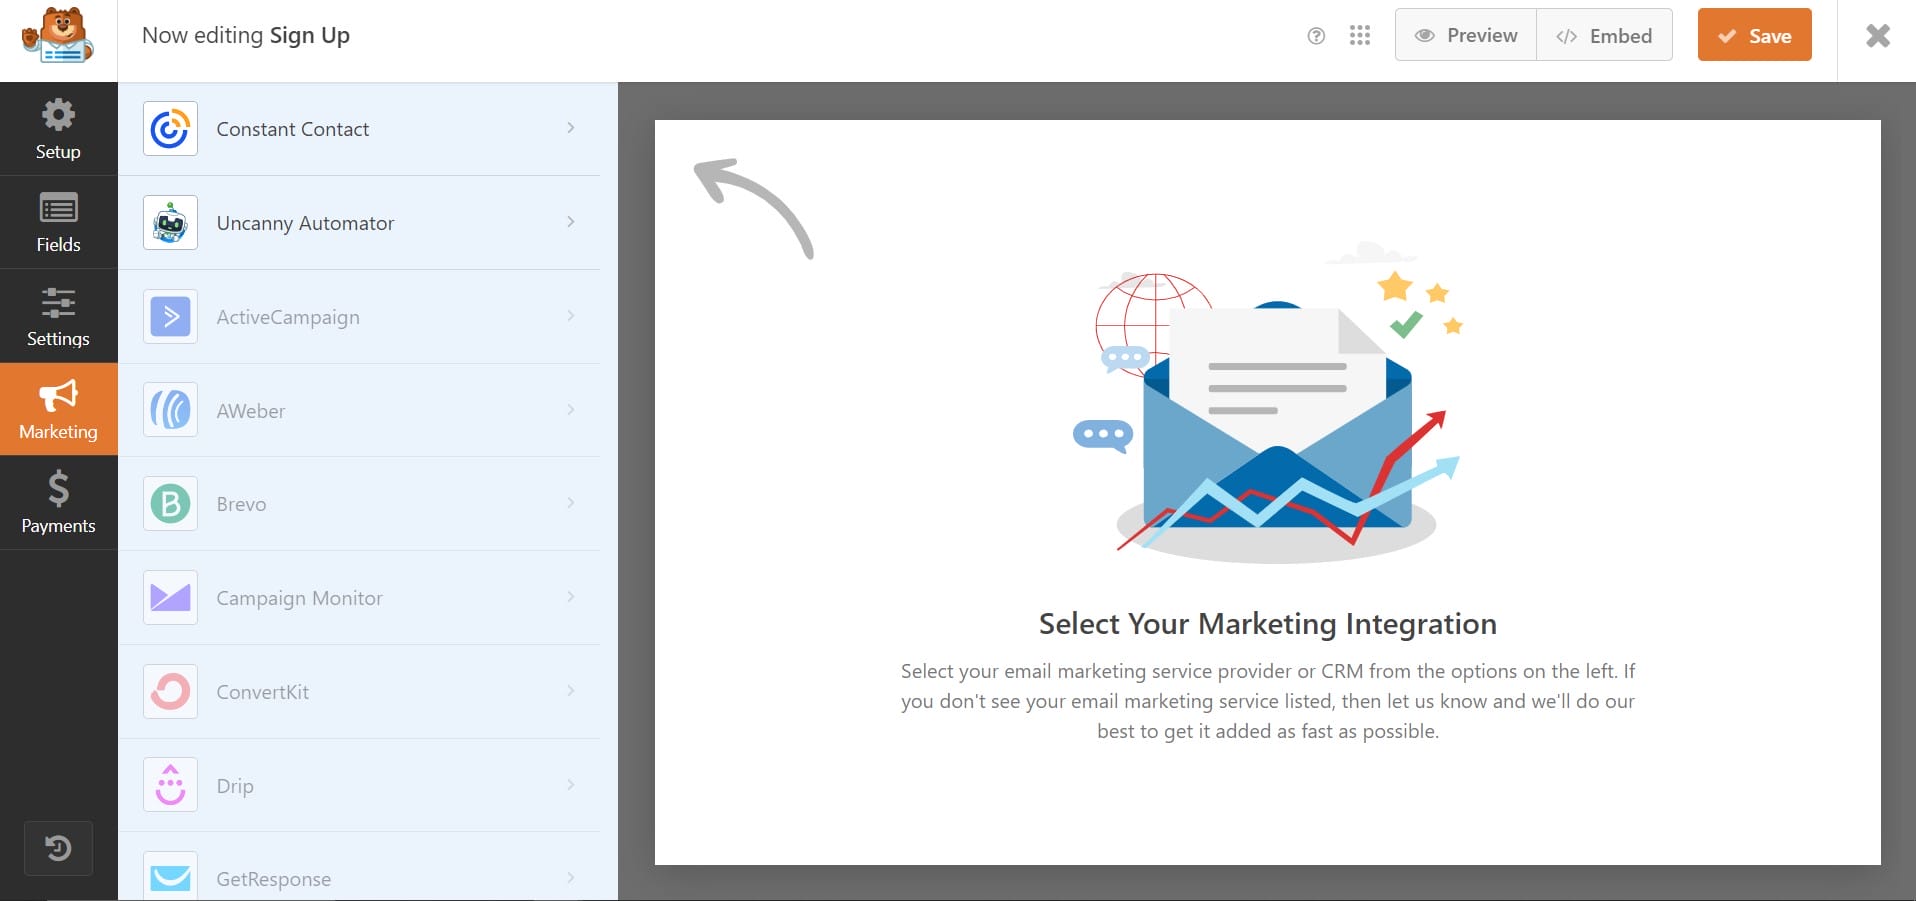
- General Settings: Under the Settings tab, you can configure general options such as form name, description, submit button text, and more.
- Integrations: WPForms integrates with popular email marketing services, payment gateways, and CRM platforms. Go to the Integrations tab to connect your form with these services.
7. Embed Your Form
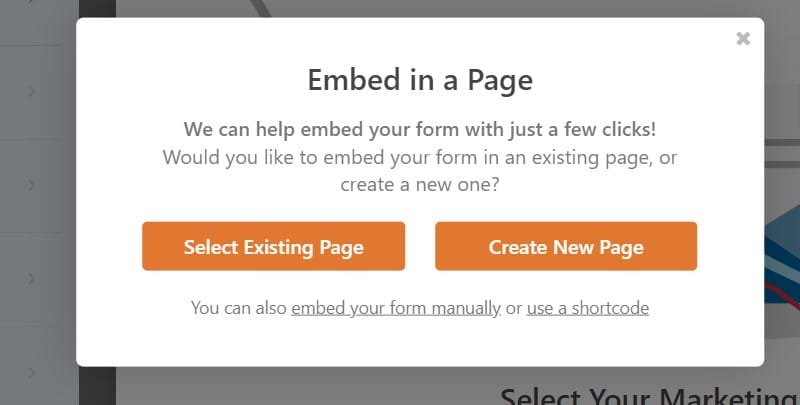
- Embed in a Page/Post: To add your form to a page or post, simply use the WPForms block in the WordPress editor. Select the form you created from the dropdown menu.
- Shortcode: Alternatively, you can use the shortcode provided by WPForms. Copy the shortcode and paste it into any page, post, or widget area where you want the form to appear.
8. Save and Publish
- Save Your Form: Make sure to save your form after making all the necessary configurations.
- Preview and Publish: Preview your form to ensure everything looks and functions as expected. Once satisfied, publish the form by saving or updating your page/post.
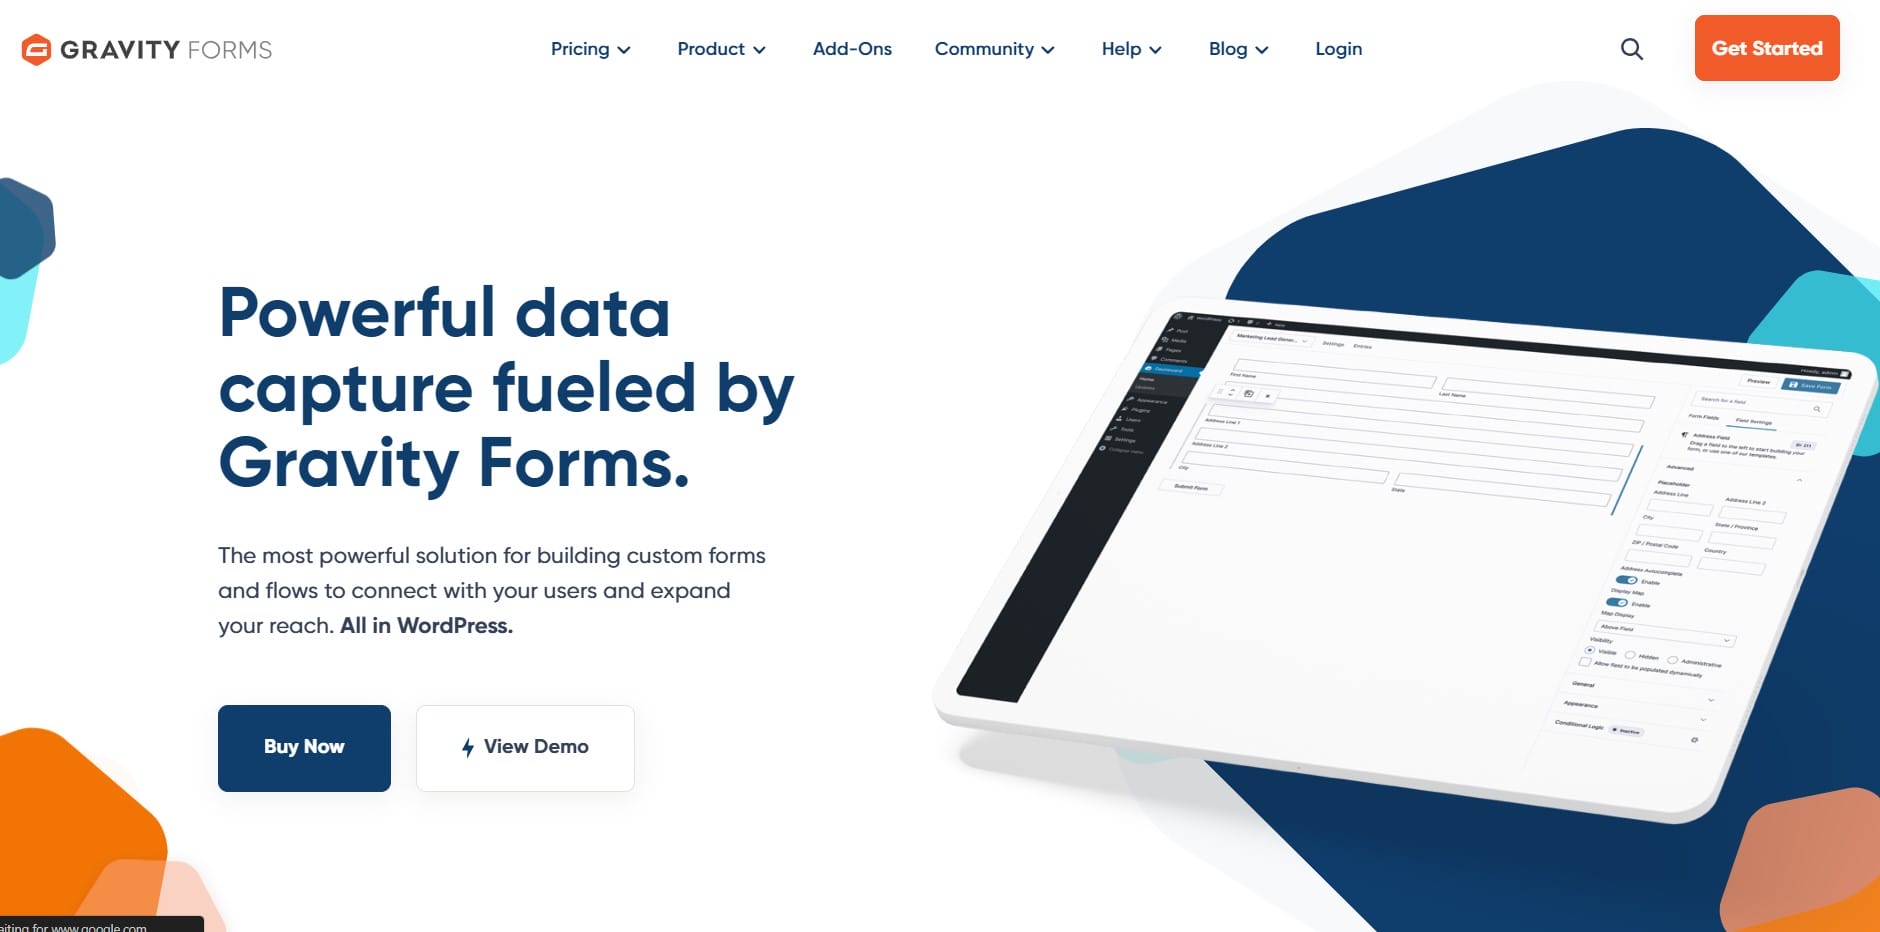
Configuring Gravity Forms
1. Install and Activate Gravity Forms
- First, you need to purchase a license from the Gravity Forms website.
- After purchasing, download the Gravity Forms plugin file.
- Go to your WordPress dashboard, navigate to Plugins > Add New, click on “Upload Plugin,” choose the downloaded file, and click “Install Now.”
- Once installed, click “Activate Plugin.”
2. Add a New Form
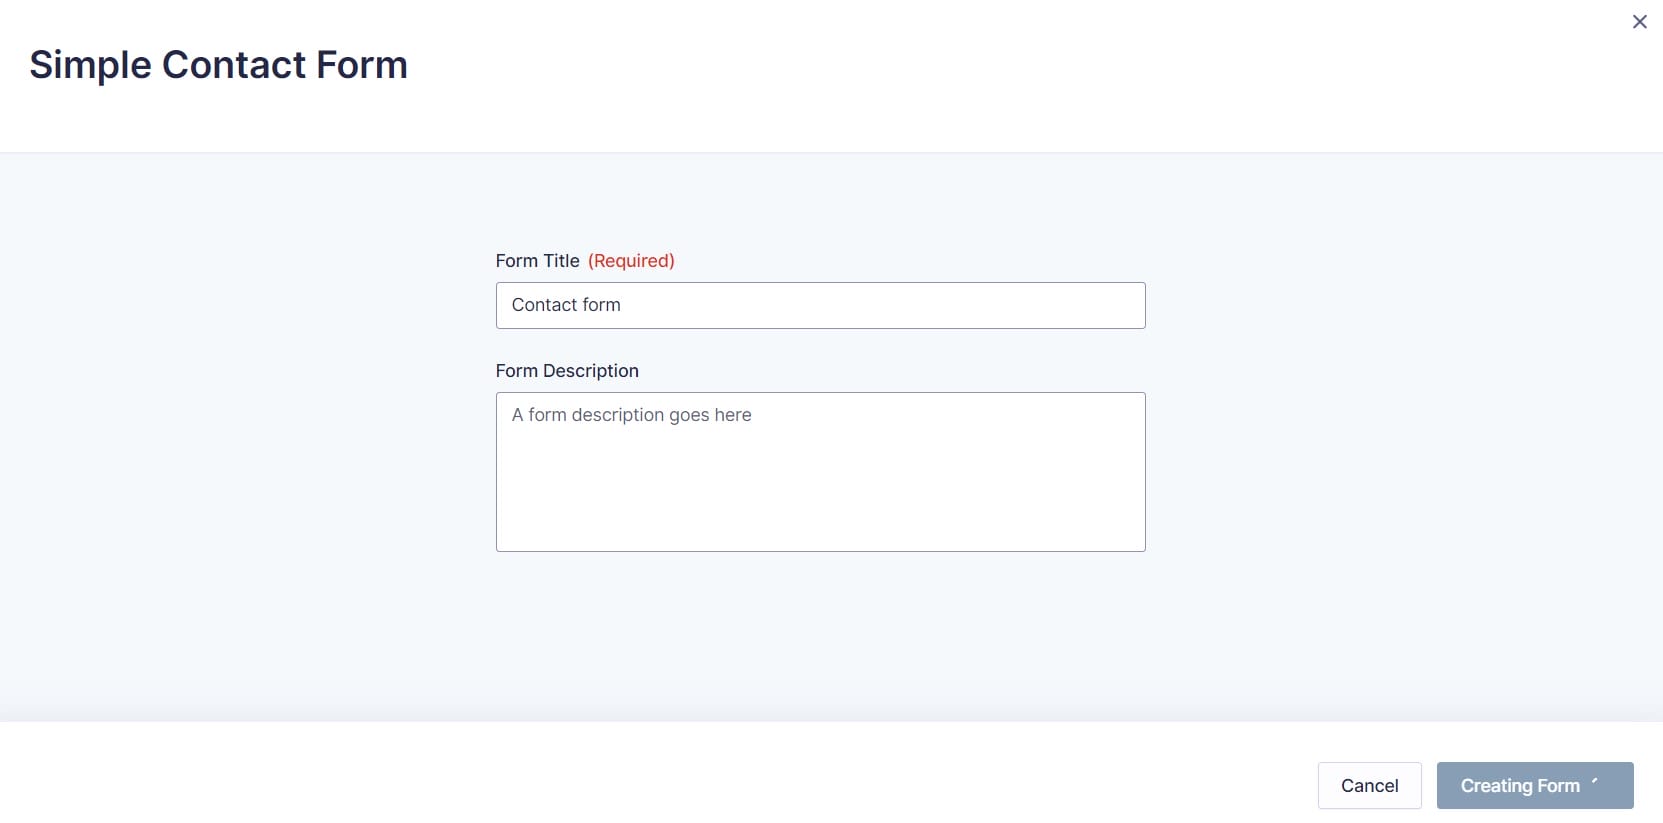
- In your WordPress dashboard, go to Forms > New Form.
- Enter a form title and description (optional), then click “Create Form.”
3. Build Your Form
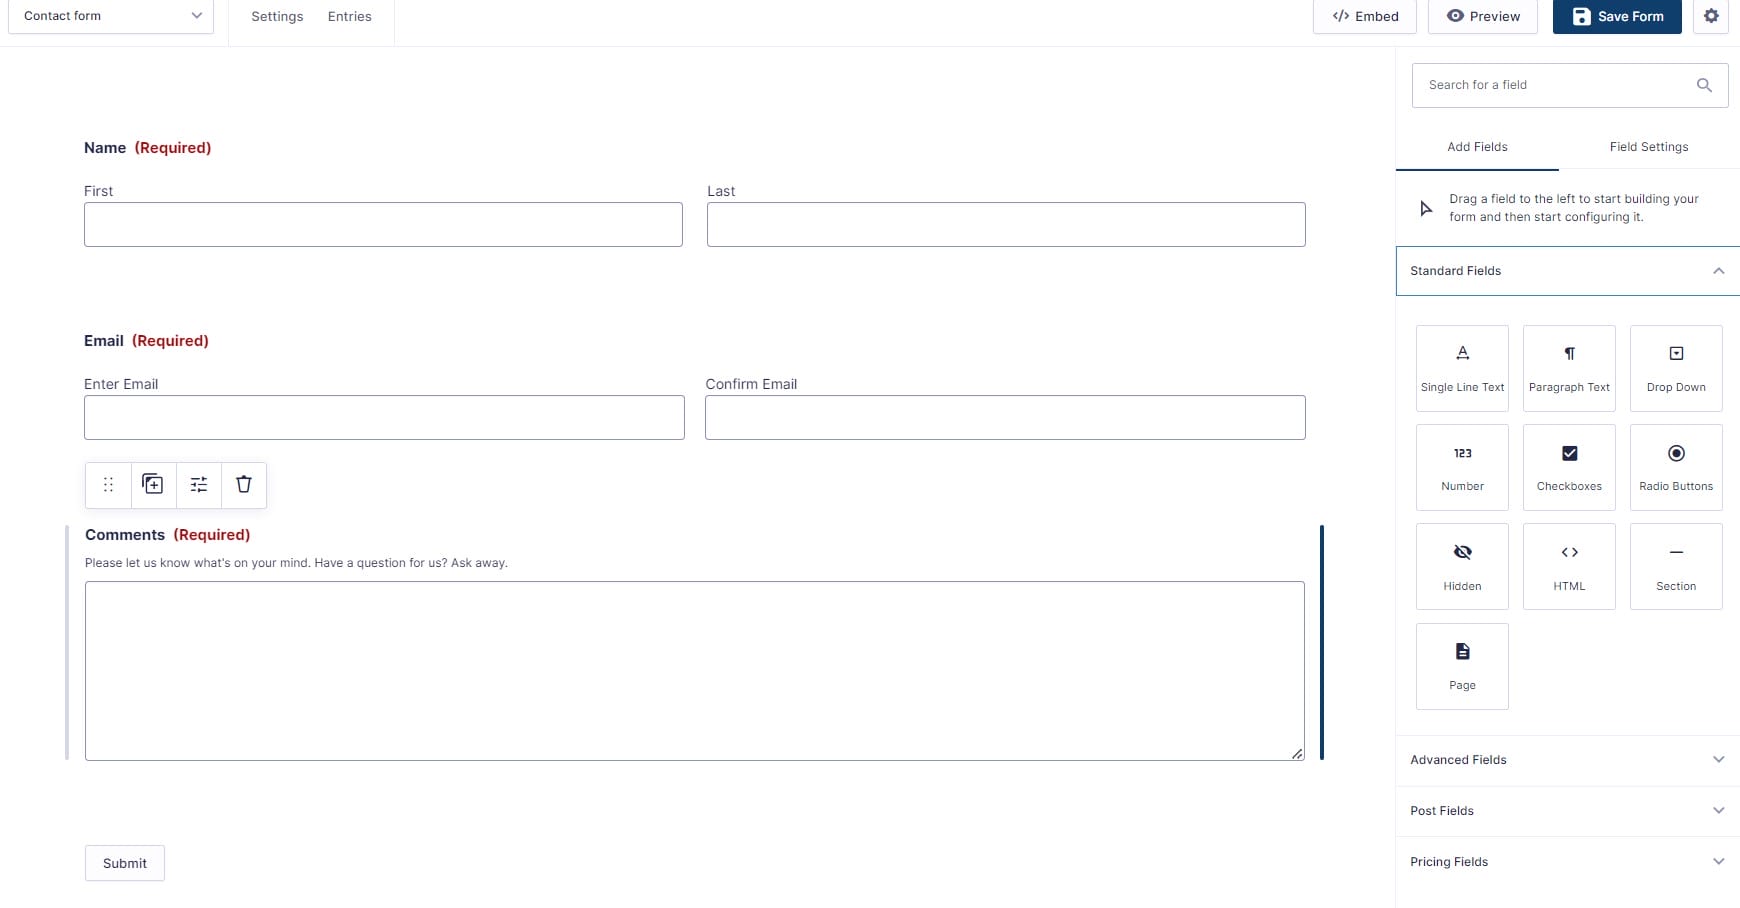
- Use the drag-and-drop form builder to add fields to your form. Gravity Forms offers a variety of field types, including Standard Fields (like single-line text and paragraph Text), Advanced Fields (like Name, Date, and Email), and Post Fields (like Post Title and post Content).
- Click on each field to configure its settings. You can change the field label, and description, make the field required, and add custom validation messages.
- Adjust default values, placeholder text, and CSS class names for custom styling.
4. Form Settings
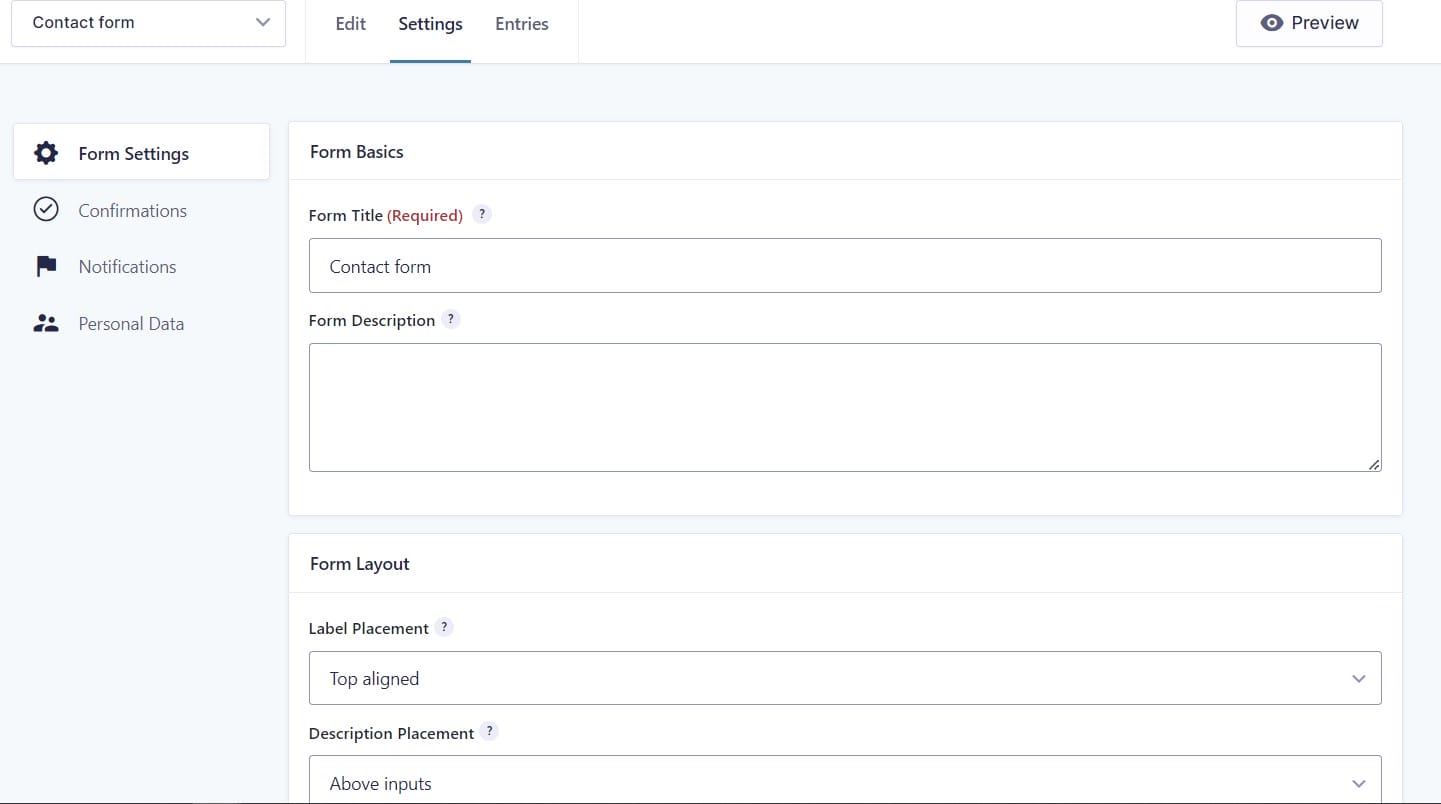
- Access the Form Settings to configure general options such as form title, description, form button text, and post-submission confirmation.
- Set up what happens after a user submits the form. You can display a confirmation message, redirect to a specific page, or send users to an external URL.
- Configure email notifications to be sent upon form submission. You can set up admin notifications, user notifications, and conditional notifications based on form field values.
5. Advanced Features
- Use conditional logic to show or hide fields based on user input. This feature helps create dynamic forms that adapt to user responses.
- Break longer forms into multiple pages to improve user experience. Add a Page field to divide your form into sections.
- Allow users to upload files with their form submission by adding a File Upload field.
6. Integrations
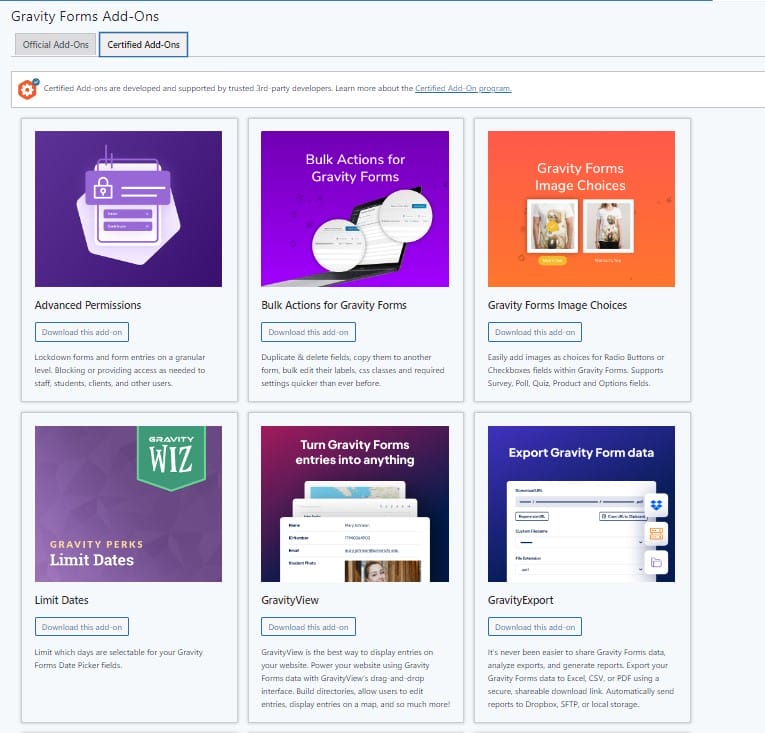
- Gravity Forms offers numerous add-ons for integrating with third-party services such as payment gateways (PayPal, Stripe), email marketing services (Mailchimp, AWeber), CRM systems (HubSpot, Salesforce), and more.
- Install and activate the necessary add-ons from your WordPress dashboard’s Gravity Forms Add-Ons page.
7. Embed Your Form
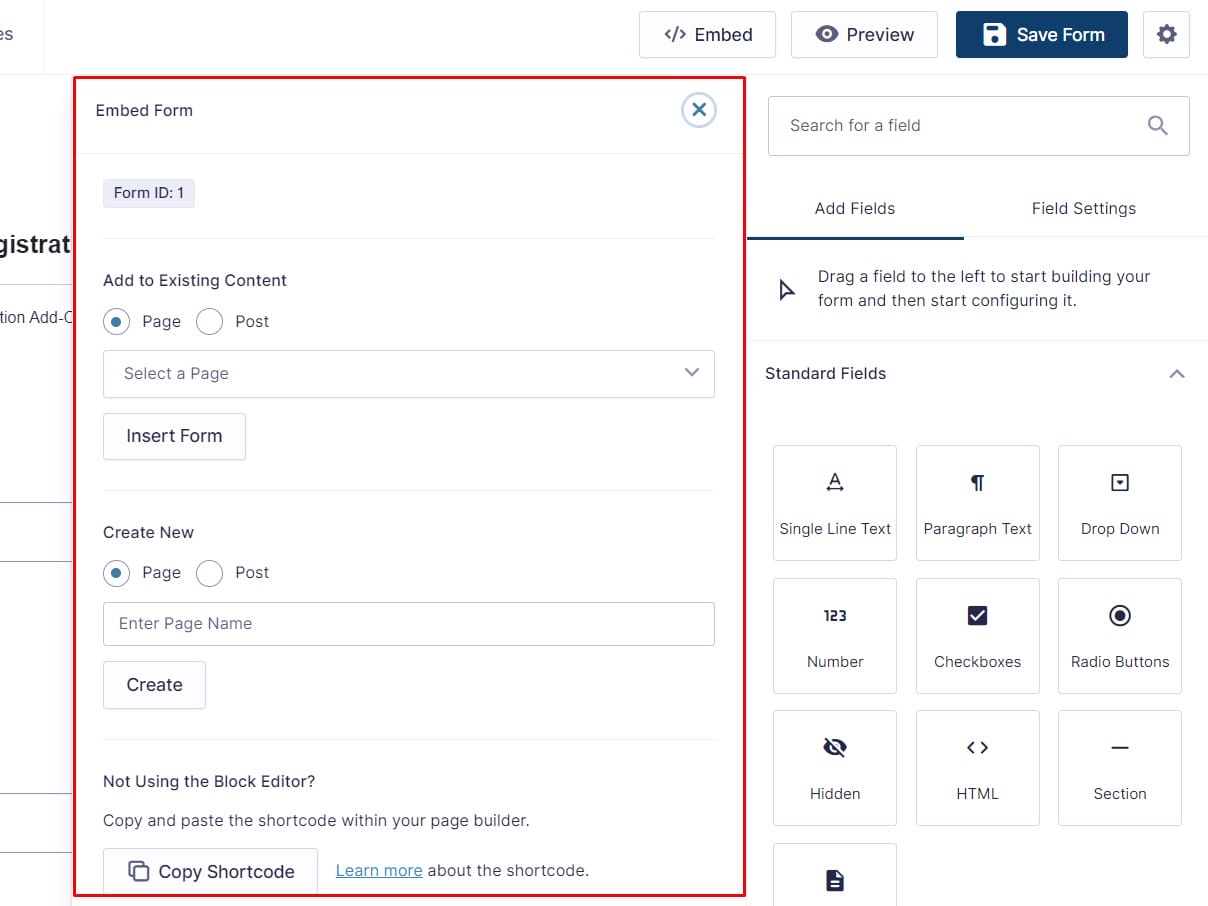
- Shortcode: To embed your form in a page or post, use the Gravity Forms shortcode. Go to Forms > Forms, find your form, and copy the shortcode.
- Add to Page/Post: Paste the shortcode into any page, post, or widget area where you want the form to appear.
- Gutenberg Block: If you are using the Gutenberg editor, you can add the Gravity Forms block and select your form from the dropdown menu.
8. Save and Test Your Form
- Save Your Form: Ensure all settings are configured correctly and save your form.
- Test Your Form: Always test your form to make sure it works as expected. Fill out the form as a user would and check that all notifications and confirmations are working properly.
Comparison Table For WPForms or Gravity Forms
| Feature / Aspect | WPForms | Gravity Forms |
|---|---|---|
| Ease of Use | Beginner-friendly with intuitive UI | User-friendly with drag-and-drop builder |
| Free Version | Yes (WPForms Lite) | No (only a basic trial is available) |
| Templates | Wide variety of pre-built templates | Limited templates but highly customizable |
| Integration Options | Good, includes major services | Extensive, supports numerous third-party services |
| Advanced Features | Limited in the free version, more in the Pro | Extensive, and includes advanced conditional logic, multi-page forms, etc. |
Choosing Between WPForms or Gravity Forms: Finding the Right Fit for Your WordPress Form Needs
WPForms or Gravity Forms is a difficult question to answer as both cater to different needs and preferences within the WordPress community. WPForms stands out for its user-friendly interface, extensive template library, and affordability, especially with its free version, WPForms Lite. It’s an excellent choice for beginners and those looking to quickly deploy functional forms without delving into complex configurations. WPForms Lite offers essential features for basic form needs, making it accessible to users on a budget or those new to form building.
On the other hand, Gravity Forms excels in offering advanced features and extensive customization options, albeit with a higher starting price point. It supports a wide range of integrations and third-party services, making it a robust solution for businesses and developers needing to create complex forms and automate workflows efficiently. Gravity Forms’ flexibility shines through its support for multi-page forms, advanced conditional logic, and a vast array of add-ons that extend its functionality far beyond basic form building.
Whether you choose WPForms or Gravity Forms depends largely on your specific requirements and expertise level. For straightforward, user-friendly form creation with ample template choices and budget-friendly options, WPForms or gravity forms are an ideal choice. If your needs are more advanced, requiring extensive customization, integrations, and sophisticated form functionalities, gravity forms would be the better option.
Interesting Reads:
WordPress Plugins for Boosting Site Speed
Best Online Image-to-Text Converter Tools

