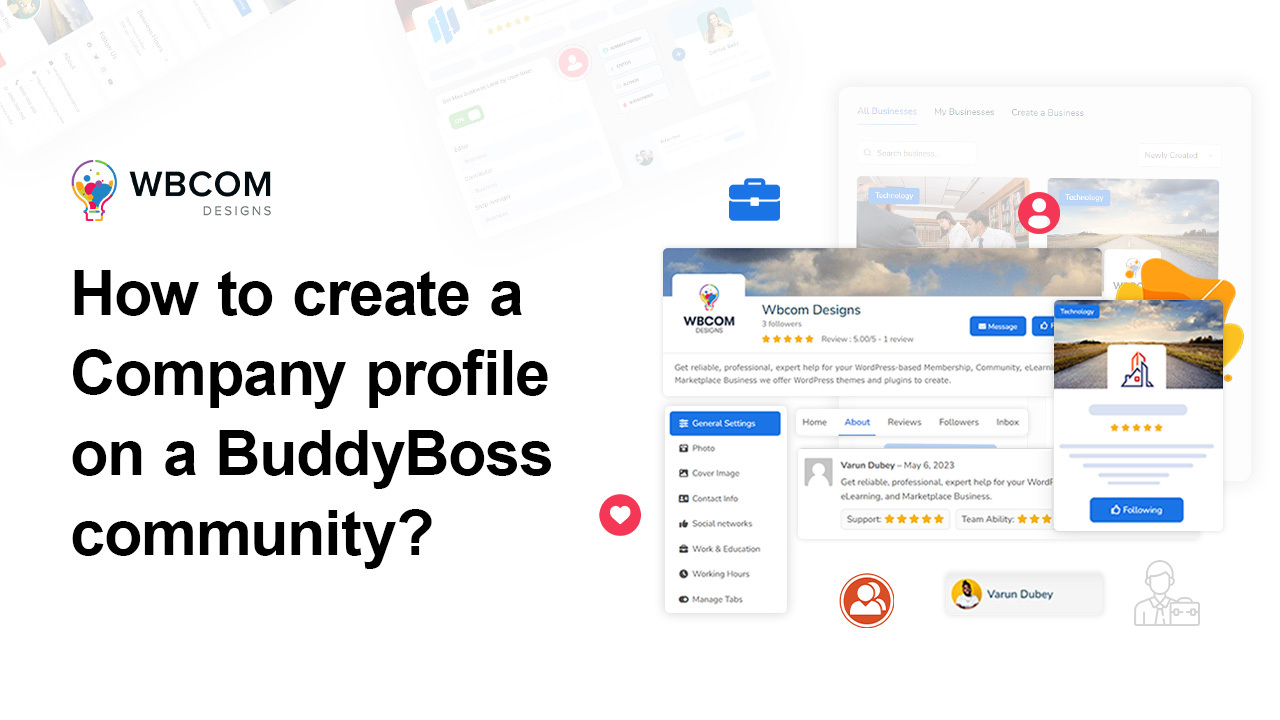
BuddyBoss is a powerful and customizable platform that allows you to create your own online community, course, or membership site on WordPress. You can connect with your customers, followers, or learners, and increase engagement, retention, and feedback. You can also integrate your platform with thousands of other services and apps, such as Zoom, YouTube Live, WooCommerce, LearnDash, and more. One of the features that BuddyBoss offers is the ability to create a company profile on your community. A company profile is a page that showcases your brand, mission, values, products, services, and achievements. It can help you attract new members, build trust and credibility, and showcase your expertise and authority. In this blog post, we will show you how to create a company profile on a BuddyBoss community using BuddyPress Business Profile plugin in three easy steps: creating a profile, customizing the profile settings, and adding content to the profile.
BuddyPress Business Profile plugin
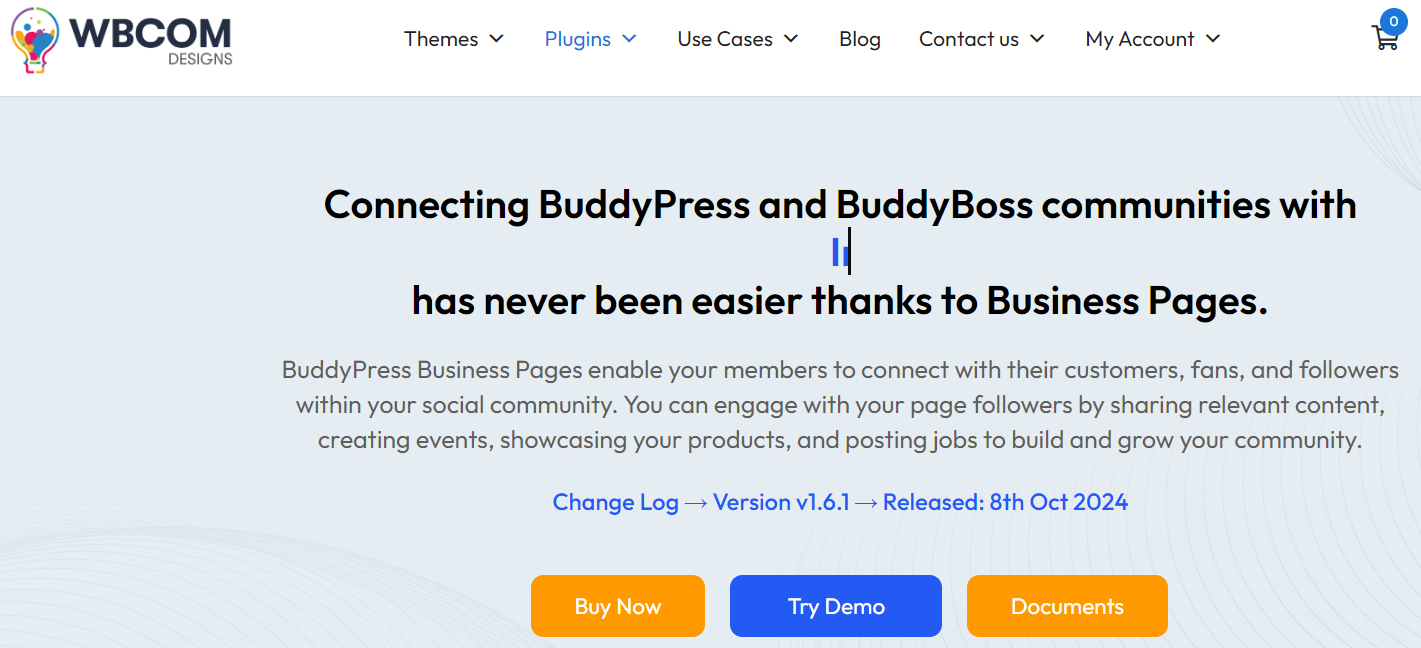
BuddyPress Business Profile is a plugin that enables you to create and display company profiles on your site powered by the BuddyBoss platform. You can use it to present your company’s details, products, services, reviews, ratings, and more. You can also make multiple company profiles and assign them to different members or groups.
With BuddyPress Business Profile, your members can build and manage their pages within your social network. They can engage with their audience by posting useful content, organizing events, showing their products, and offering jobs to attract and retain their community members.
Step 1: Creating a Company Profile
The first step to creating a company profile on a BuddyBoss community is to create a page. A page is a social area where members can follow you, interact with you, view activity feeds, join discussions, upload media and documents, and more.
To create a Company profile in the BuddyBoss community, you can follow these easy steps:
On the Business Directory page-
- Click on the “Create New Page” button.
- Type in your company profile name.
- Choose the category for your company profile.
- Write a description of your company profile.
- Upload a logo for your company profile.
- Add a cover image for your company profile.
- Click on the “Visit Business” button.
Step 2: Customizing the Company Profile Settings
The second step to creating a company profile on a BuddyBoss community is to customize the profile settings. With BuddyPress Business profile, company page owners can easily manage various settings for their pages. They can update their general details, such as their profile and cover photos, their contact information, their social network links, their work and education history, and their working hours. They can also customize their pages by managing the tabs, adding an action button, and changing the sidebar. Moreover, they can delete their pages if they want to.
Also Read: Best AI Tools for Robotics: Transforming Automation
Step 3: Adding Content to the Group

The third step to creating a company profile on a BuddyBoss community is to add content to the profile. You can use the different features that you enabled for your profile to showcase your brand identity, products, services, and achievements.
For example, if you want to share your company’s mission statement or vision statement with your members, you can create a post in the activity feed tab. If you want to upload your company’s logo or photos of your products or services, you can upload them in the media tab. If you want to post an open position or hire new talent for your company, you can create a job listing in the jobs tab.
By adding content to your profile regularly, you can keep your members engaged and informed about your company’s updates and offerings.
Summary
Creating a company profile on a BuddyBoss community is a great way to showcase your brand, connect with your audience and grow your business. By following the three steps that I have outlined in this blog post, you can create a company profile that reflects your company’s values, goals, and achievements.
I hope you found this blog post helpful and informative. If you have any questions or feedback, please feel free to leave a comment below or contact me directly. Thank you for reading and happy creating!
Intersting Reads:
10 Best Online Photo Resizer for LinkedIn
Best AI Tools for Urban Mobility: Enhancing Transportation Efficiency and Sustainability
The Best AI Tools Transforming Guest Experiences in Hospitality