
The landscape of education is evolving rapidly, with online learning becoming increasingly widespread. As educators and content creators strive to deliver engaging and effective e-learning experiences, the role of learning management systems (LMS) like LearnDash has become indispensable.
At the forefront of LearnDash’s arsenal of features lies the LearnDash Course Grid, an innovative tool designed to revolutionize how courses are presented, accessed, and managed within the digital realm.

Quick Links
Learndash Course Grid
The Course Grid add-on gives you the ability to create a responsive course library that can be inserted on any page or post on your site. This is a perfect feature if you have a variety of course offerings and want to give users the ability to filter through them by category.
The LearnDash Course Grid serves as a dynamic gateway to a world of knowledge, offering a visually captivating and intuitively organized interface for learners to explore and engage with educational content. As we embark on a journey to unravel the potential of LearnDash Course Grid, let us delve deeper into the reasons why it has emerged as a cornerstone of modern e-learning ecosystems.
Key Features of the LearnDash Course Grid
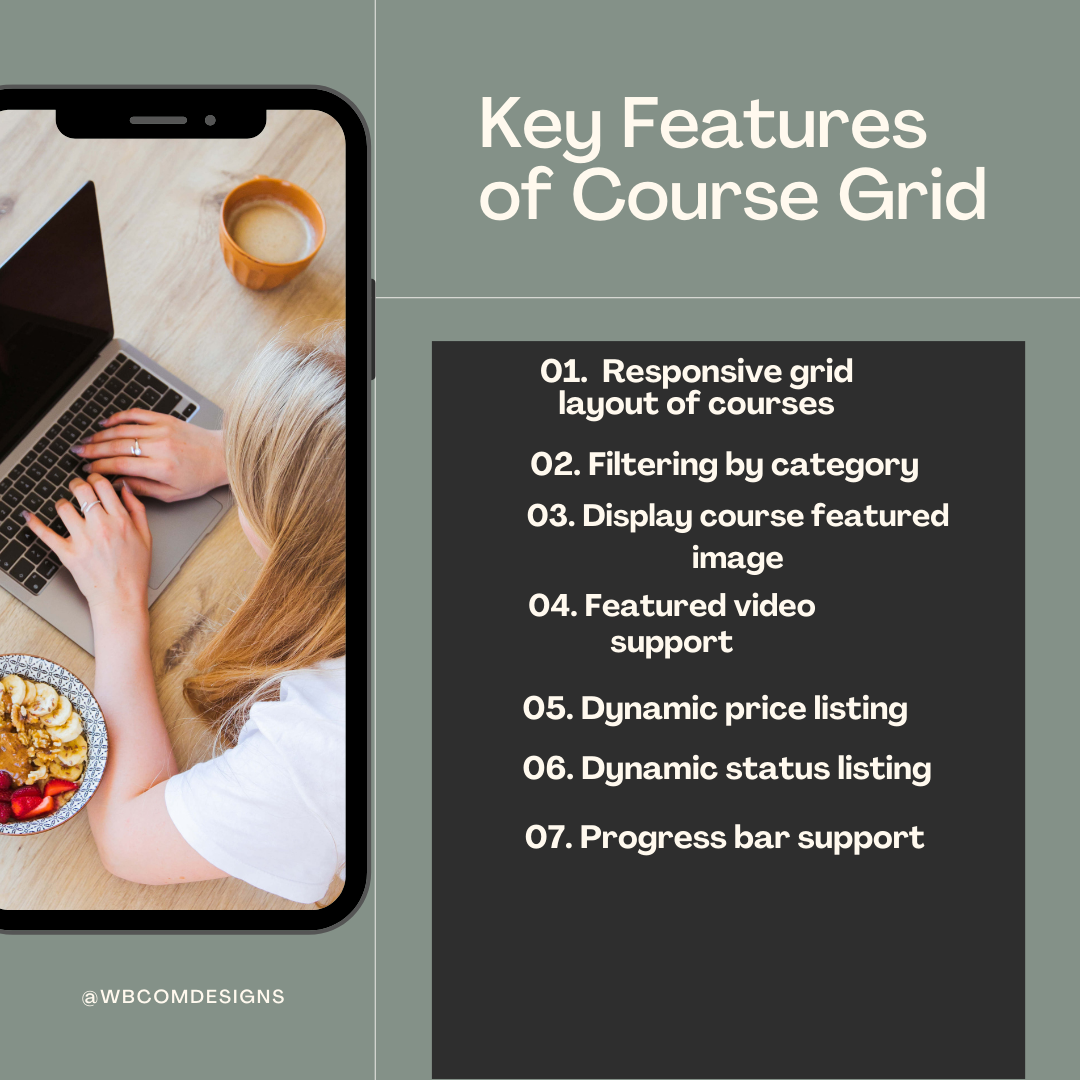
1. Responsive grid layout of courses: You can choose to display your courses in one, two, three, four, six, or twelve columns. Simply insert the shortcode onto a regular page or post and your courses will display.
2. Filtering by category: Easily allow users to search for courses by category using the category filter.
3. Display course featured image and short description: Courses are displayed with their featured image and a custom short description.
4. Featured video support: The ability to use a featured video instead of an image.
5. Dynamic price listing: The price of the course is automatically displayed.
6. Dynamic status listing: The price ribbon updates if a user has access to the course, displaying either “Enrolled” or “Completed.”
7. Progress bar support: The course grid can show the user’s course progress with a progress bar.
Also Read: AI-Powered Voice Assistants for Businesses
Why use LearnDash Course Grid?
1. Enhanced User Experience: By presenting courses in a visually appealing and organized grid layout, Course Grid enhances the overall user experience for learners. The intuitive navigation and filtering options make it easier for users to explore course offerings and select the ones that best align with their learning objectives.
2. Increased Engagement: A well-structured course grid captures learners’ attention and encourages them to explore multiple courses within your e-learning platform. The ability to preview course details and filter options empowers learners to make informed decisions, leading to increased engagement and participation.
3. Efficient Course Management: For administrators, LearnDash Course Grid simplifies course management tasks by providing a centralized platform to organize and showcase courses. The automated updates and customization options streamline the process of creating and maintaining a comprehensive course catalog.
How to use Learndash course grid?
To use the Learndash Course Grid, we first need to install it.
Installation
1: Add-ons Menu (requires an active LearnDash license)
1. In your WordPress admin area, navigate to LEARNDASH LMS > ADD-ONS.
2. Locate the LearnDash Course Grid add-on and click Install Now.
3. Click the Activate Plugin button.
2: Manual Upload
1. Download the plugin file (you must be logged in to do so).
2. In WordPress, navigate to PLUGINS > ADD NEW.
3. Click Upload Plugin and Browse for the.zip file you downloaded in Step 1.
4. Click Install Now and Activate Plugin after the plugin.
Also Read: Best Business Process Management Software
Using the Course Grid
There are three ways in which you can add a grid to any page on your LearnDash site:
1. Block
1. First, make sure that the plugin is activated and then visit the page where you want to add this plugin.
2. Click the + icon to add a new block, search for “LearnDash Course Grid,” and click on the block to insert it.
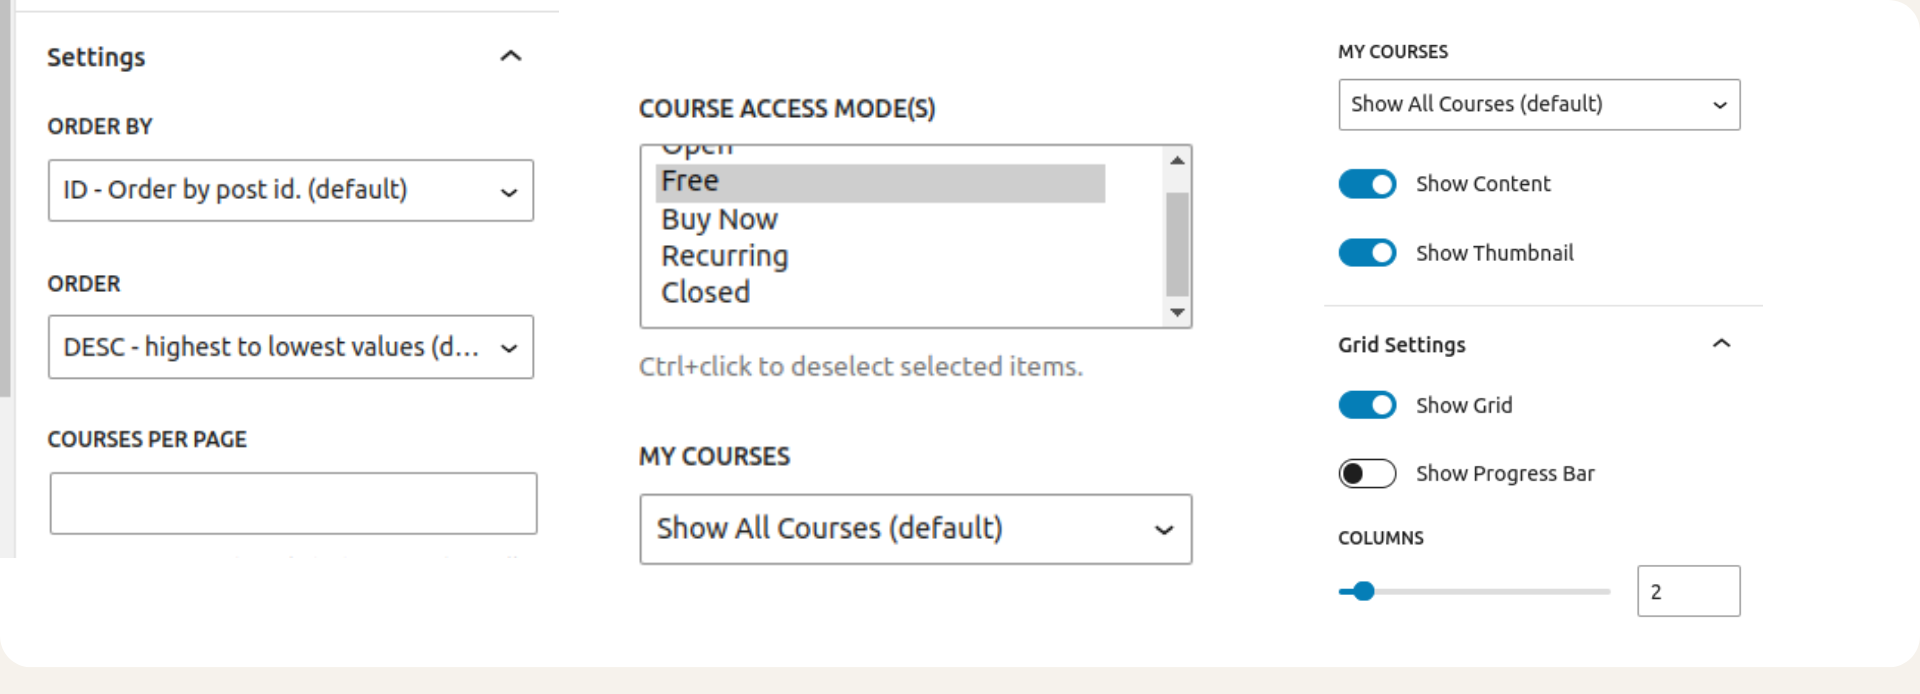
3. Now you can customize it to your requirements. The features that you can customise are as follows:
i) Order by: It shows how the results are ordered by. The default is ID.
ii) Course Per page: Number of posts per page. The default is 4.
iii) Order: How the results are ordered. Accepts ASC (ascending) or DESC (descending). The default is DESC.
iv) Enrollment status: Accepts enrolled, not-enrolled, or empty values. The default is empty, which means all statuses.
v) Progress status: accepts completed, in_progress, not_started, or empty values. The default is empty, which means all statuses.
vi) Show Content and Show Thumbnail: You can choose to show thumbnail, content or both.
vii) Course access mode: You can choose to show only free, buy now, open, recurring or closed.
2. Shortcode
You can also use shortcodes to use the LearnDash Course Grid on your page or post. You can find all the shortcodes here.
The course grid looks something like this on the BuddyX Pro theme page.
 Conclusion

LearnDash Course Grid stands as a cornerstone for modern e-learning platforms, offering a wealth of features and benefits that streamline course management and enhance user engagement. By leveraging the power of LearnDash Course Grid, administrators can create visually appealing course catalogs, simplify enrollment processes, and provide learners with a seamless navigation experience across devices.
Whether you’re a solo instructor, a corporate training department, or an educational institution, integrating “LearnDash Course Grid” and “BuddyX free” into your e-learning platform can elevate your offerings, enrich the learning experience, and unlock new possibilities for growth and success. If you want an even better course grid and want to take control of you site try “BuddyX Pro.”
Interesting Reads:

