Creating an engaging and vibrant community website involves more than just providing information. Including events can significantly enhance user interaction and participation. Adding events to your community website not only fosters a sense of belonging but also promotes active engagement among your audience. In this guide, we’ll explore various methods and steps to seamlessly integrate events into your community platform, ensuring an enriched and dynamic online experience for your users.
We are going to show how to add events to your community with simple steps. While talking about adding event to your community the must have plugin will work as a major weapon will be THE EVENT CALENDAR
THE EVENT CALENDAR
The Event Calendar is a popular WordPress plugin that enables users to effortlessly manage and display events on their websites. Developed by Modern Tribe, this plugin offers a user-friendly interface for creating, organizing, and showcasing events in a customizable calendar format. It allows for easy event creation, scheduling, and categorization, along with features such as ticketing, RSVP options, recurring events, and venue management. The Event Calendar plugin provides a versatile solution for individuals, businesses, organizations, and communities seeking to effectively showcase and manage their events on their WordPress-powered websites.
Steps of creating event through The event calendar
STEP 1:- Go to your dashboard Creating an event using The Event Calendar plugin in WordPress involves several steps.
1. Installation and Activation:
Log in to your WordPress dashboard.
Navigate to “Plugins” and click on “Add New.”
Search for “The Event Calendar” in the search bar.
Click “Install Now” next to the plugin and then click “Activate.”

2. Event Setup:
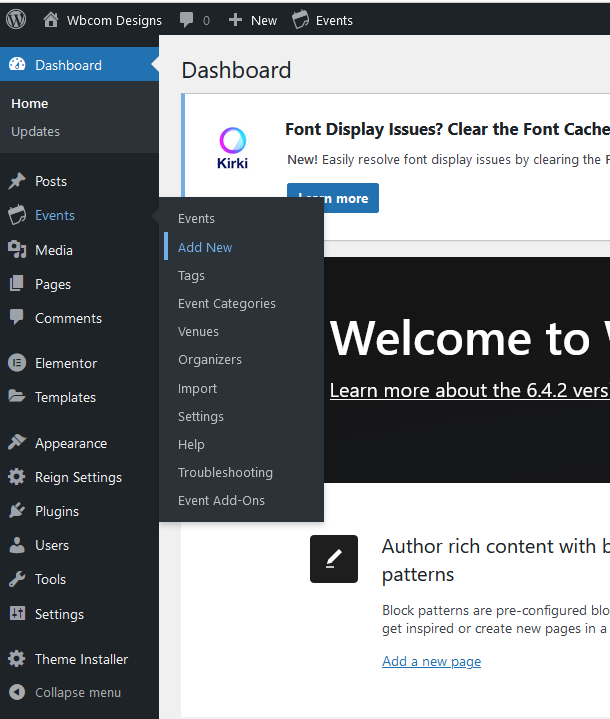
After activation, go to the left-hand sidebar of the WordPress dashboard and click on “Events.”
Click on “Add New” to create a new event.

3. Event Details:
Enter the event title in the provided field.
Add a detailed event description in the main content area.
Set the event start date and time, as well as the end date and time.
Optionally, you can set the event to recur if it happens regularly.
Assign event categories and tags for easy organization.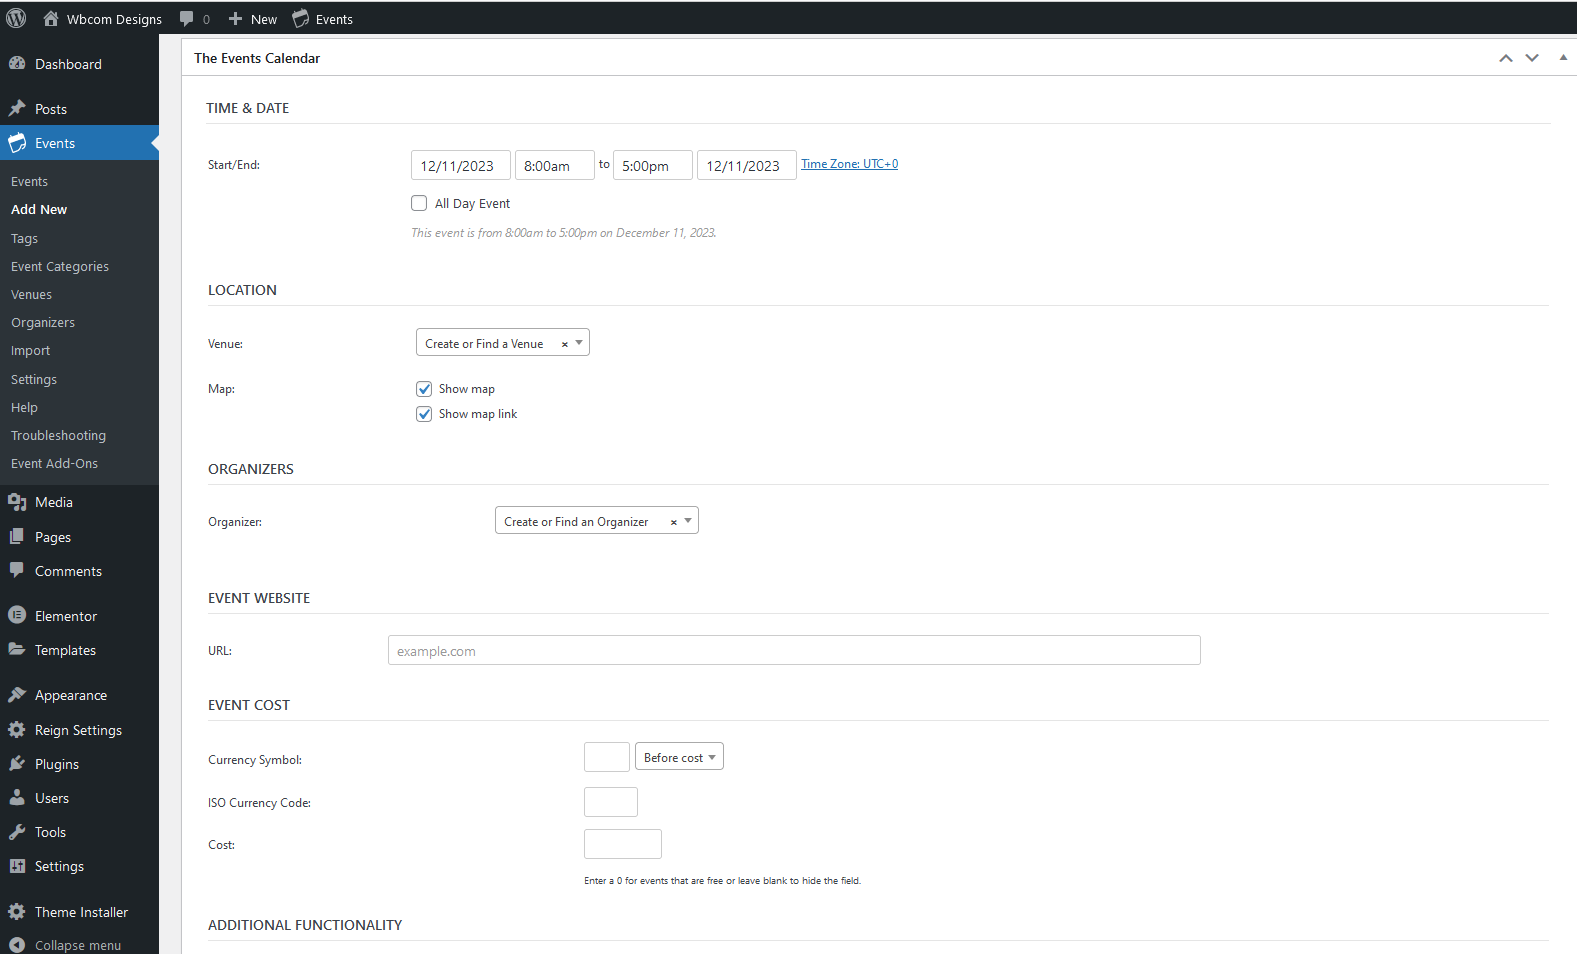
4. Event Location and Venue:
Enter the event venue details, including the venue name, address, city, state, country, and postcode.
You can add a map link or coordinates for the venue location if desired.
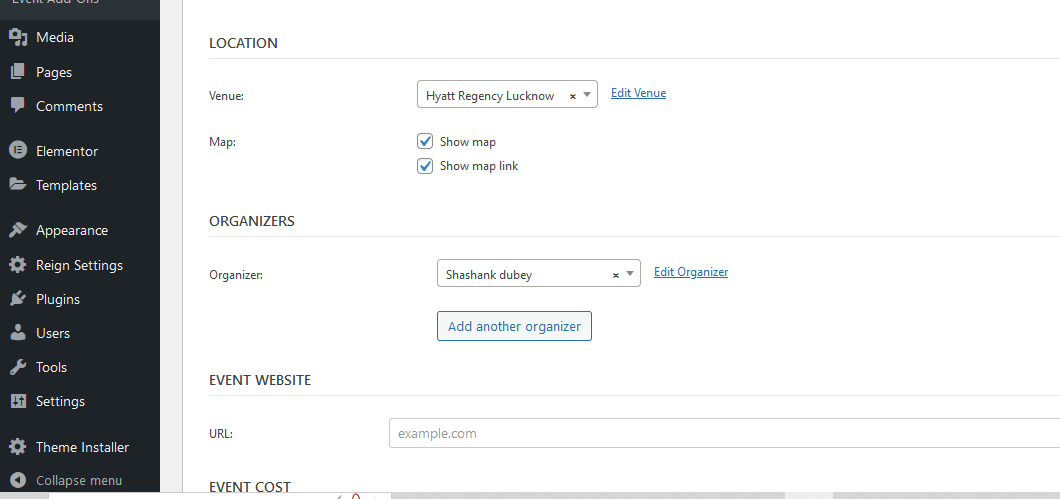
5. Event Organizer:
Fill in the organizer’s details, such as the organizer’s name, website, email, and phone number.
6. Event Image:
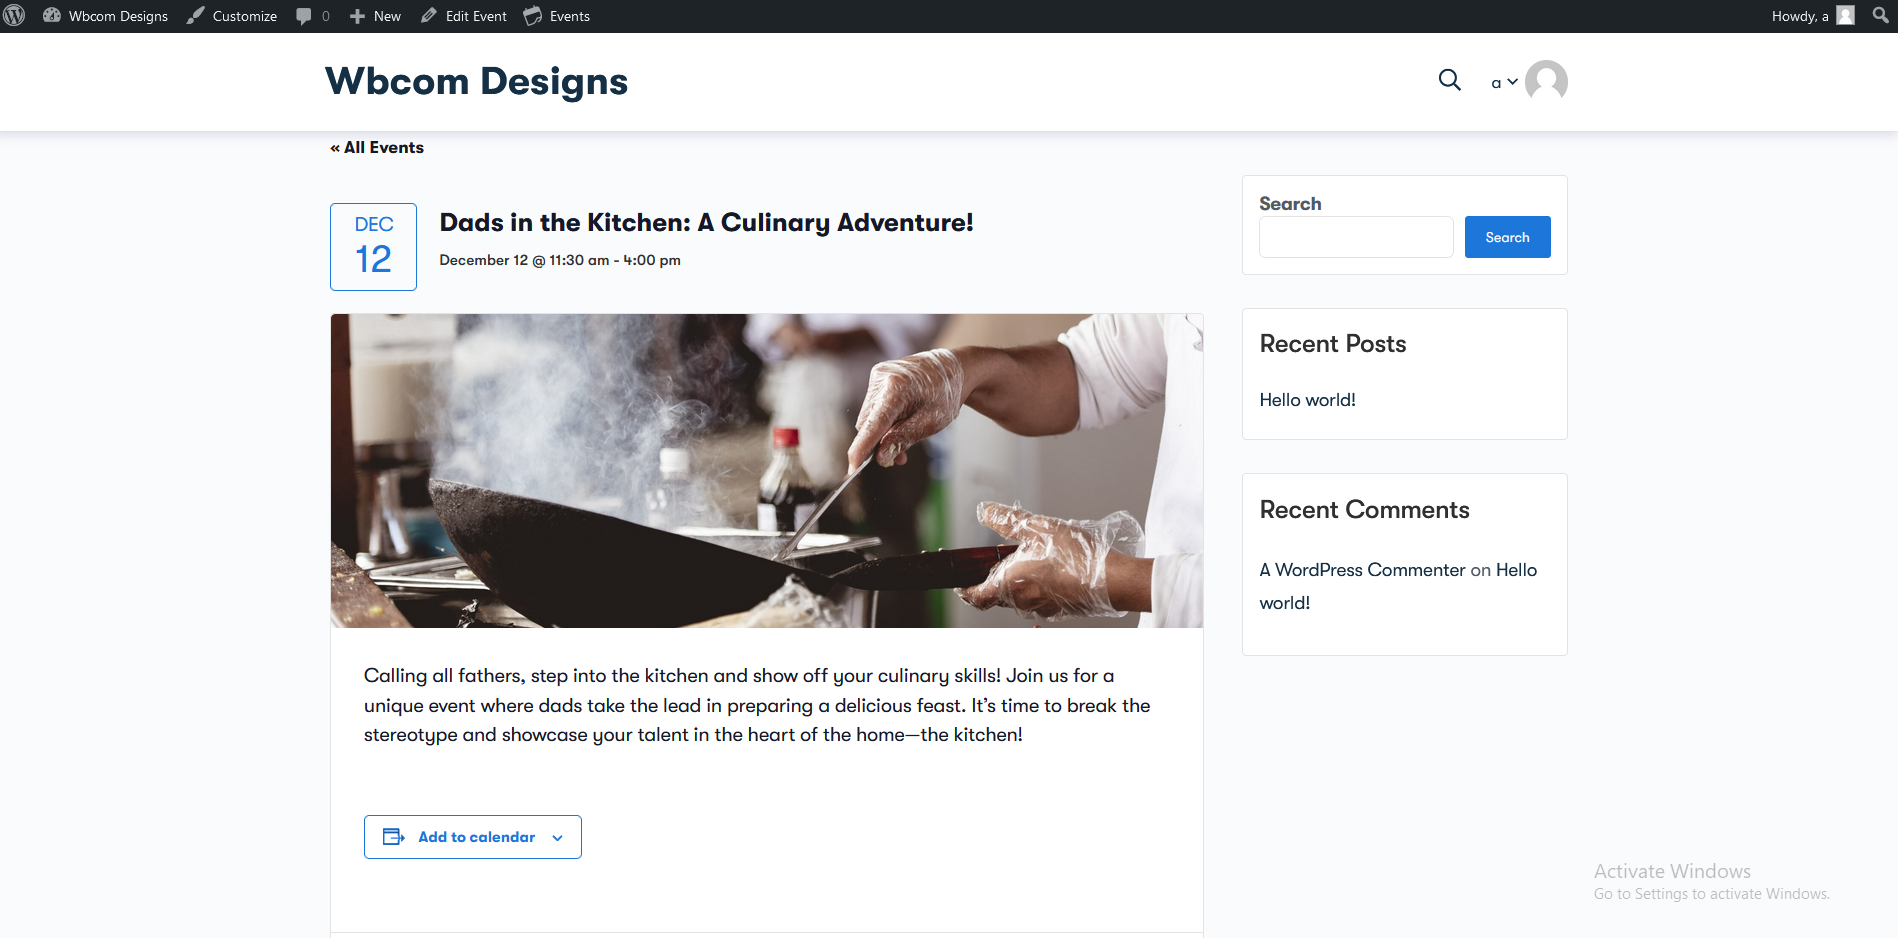
Set a featured image for the event. This image will represent the event in listings and detail pages.
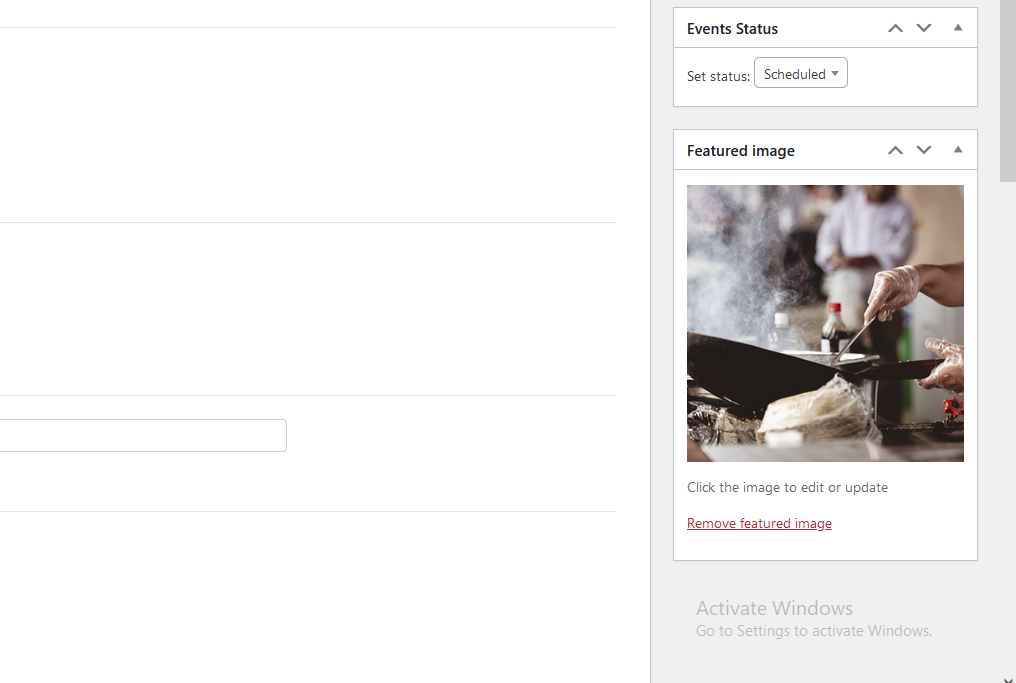
7. Event Settings:
Review additional settings such as event status (published or draft), visibility, comments, and more.
8. Save or Publish:
Once you’ve filled in all the necessary event details, click on “Save Draft” if you want to save it as a draft, or click on “Publish” to make the event live on your website.
Following these steps will enable you to create and manage events effectively using The Event Calendar plugin on your WordPress site.
Final thoughts on How to add event to you community website
Adding events to your community website is a great way to get people involved and create a lively, supportive community. You may develop an inclusive place that encourages participation and enhances the community experience by following these steps: clearly defining the purpose, selecting the appropriate platform, designing engaging event pages, effectively promoting, and building engagement. Events promote community life and growth by bringing people together and showcasing the diversity and energy of your area. Grab the chance to organize thought-provoking events, impart insightful information, and deepen the relationships in your community by turning your website into a center for communication and cooperation.