
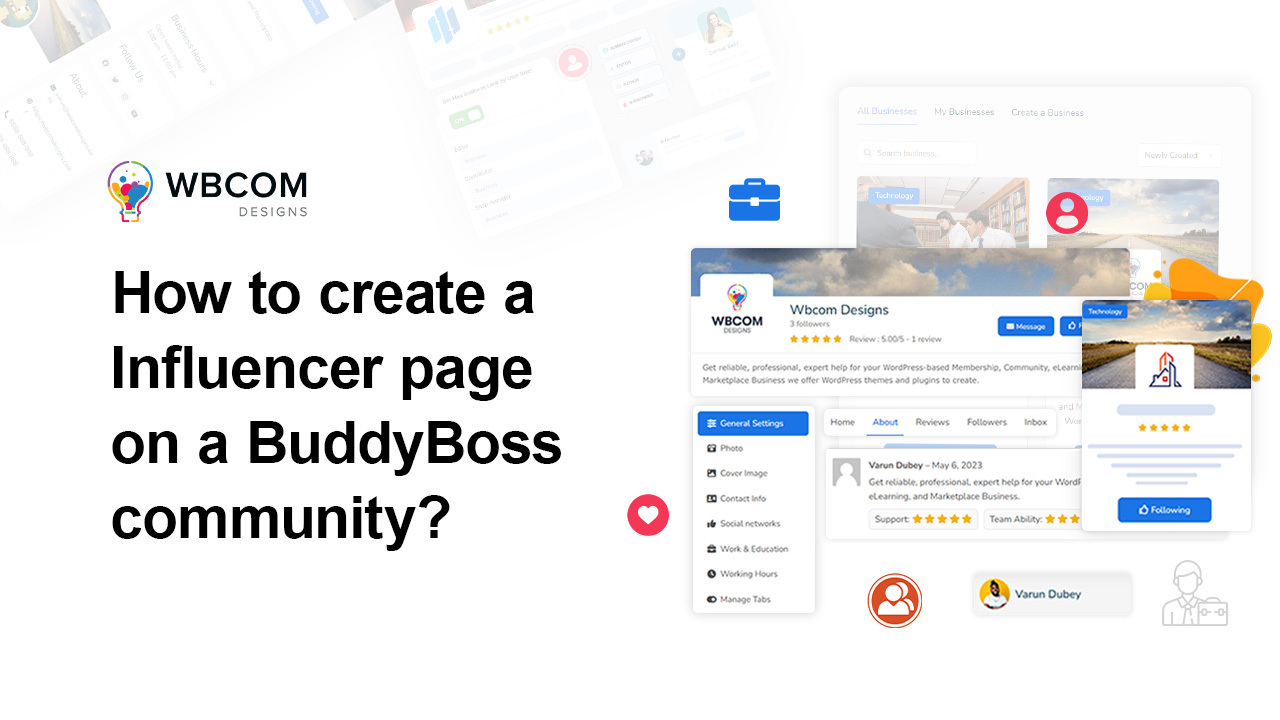
An influencer’s whole business runs on being findable and credible in one place. On a BuddyBoss community, that place can be a dedicated influencer page rather than just a regular member profile, something with room for a bio, a portfolio, reviews from brands or fans, and its own activity feed. Here’s how to set one up, and what the plugin actually includes as of its latest release.
What BuddyPress Business Profile Does
It’s a BuddyPress/BuddyBoss extension that lets members run a page separate from their personal profile, for a business, a brand, or, in this case, an influencer identity. Each page gets its own logo, cover image, contact details, and social links.
The current version (v2.1.0) has grown well past a basic profile page. It now includes:
- Star ratings and written reviews from other members.
- A searchable directory with map view.
- Weekly availability scheduling with an automatic “Open Now” status.
- Photo and video galleries.
- Follower counts, visible publicly.
- Integration tabs for WooCommerce, Events Calendar, and WP Job Manager, if you run those alongside it.
- LocalBusiness SEO schema, generated automatically for search engines.
For an influencer specifically, the reviews and follower-count features do a lot of the credibility-building work that used to need a separate testimonials plugin, and the map view and directory search give a discovery path that an ordinary member profile buried in the community’s member list simply doesn’t have.
Requirements
You’ll need an existing BuddyPress or BuddyBoss community, PHP 7.2 or newer, and WordPress 5.0 or later. It runs fine on Chrome, Firefox, and Safari, and is responsive across desktop, tablet, and mobile, worth checking directly on a phone before launch since most followers and a fair share of brand contacts will land on the page from mobile first.
Why a Dedicated Page Beats a Regular Member Profile
It’s fair to ask whether a heavily customized standard profile, extra bio fields, a links field, a portfolio field, would cover the same ground without the extra plugin. For someone just starting out with a very small following, it might genuinely be enough.
It stops working once there’s a real audience and brands actually paying attention. Custom fields don’t give you a feed distinct from personal activity, a public follower count separate from BuddyBoss’s mutual-friend model, reviews from brands or fans, or the ability to hand inbox management to an assistant without sharing account credentials. Those gaps, a dedicated feed, asymmetric following, reviews, and delegated access, are structural rather than cosmetic, and they’re the real reason a dedicated page earns its setup time.
Setting Up an Influencer Page
Install and activate the plugin, then click Create a Business from your community’s page-creation menu.
Enter the influencer’s name, a short description, and a category (something like “Content Creator” or “Public Figure” works, depending on how your community organizes categories). Click Create Business and Continue.
Add a profile photo, then a cover image. That’s the core setup done.
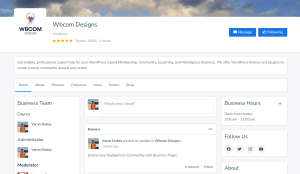
From there, the influencer can fill in availability hours (useful for collab bookings), start collecting reviews, and upload a portfolio through the gallery tab. Members browsing the community directory can find the page by category or by searching directly.
Building a Media Kit Directly Into the Page
Brands evaluating an influencer for a collaboration usually want the same handful of things fast: audience size, engagement examples, past brand work, contact info. A well-built page already contains most of that, structured and current, which means it can double as an informal, always-up-to-date media kit rather than a separate PDF that goes stale the moment a follower count or a portfolio piece changes.
The gallery tab is where past collaborations and content examples belong, organized by campaign or brand rather than dumped in chronologically with no context. A brand scanning the page for relevant past work should be able to find something in their category, beauty, tech, fitness, whatever’s applicable, without scrolling through everything the influencer has ever posted.
Reviews From Brands vs. Reviews From Fans
The reviews tab ends up serving two different audiences for an influencer page, and it’s worth being deliberate about both rather than treating all reviews the same. A brand’s review after a completed collaboration functions like a professional reference, specific, credibility-building, useful to the next brand considering working together. A fan’s review functions more like a testimonial of general appreciation, still valuable for social proof, but a different kind of signal.
Where possible, prompt a brand partner for a review that mentions something specific about the collaboration, deliverables, timeline, results, rather than a generic compliment. A specific brand review does noticeably more to convert the next potential partnership than a vague one, and it’s worth a direct, polite ask after a project wraps rather than hoping it happens organically.
Handling Fan and Brand Messages Without One Inbox Drowning
The private-messaging inbox mixes two very different kinds of traffic for an influencer, casual fan messages and serious brand inquiries, and treating them identically wastes time on both ends. As the page grows, bring on an assistant or manager with editor or moderator access to triage routine messages, while flagging anything that looks like a genuine brand opportunity for the influencer’s direct attention.
Set up this triage process before message volume becomes unmanageable, not after a promising brand inquiry gets buried under a hundred fan messages and missed entirely. A missed brand opportunity is a more costly failure mode here than a slow reply to a casual fan, worth reflecting in how the inbox gets prioritized day to day.
Weekly Availability: More Useful Than It Sounds
The availability scheduling feature was likely built with local businesses in mind, but it translates surprisingly well to influencer work involving bookings, collab calls with brands, paid consultations, appearance slots at events. Setting realistic, current hours here does real work: it sets expectations before someone even reaches out, cutting down on back-and-forth scheduling messages that would otherwise eat into time better spent on content or partnerships.
Keep it honest rather than aspirational, hours that look open but rarely get answered promptly train visitors to expect availability that doesn’t actually exist, which does more damage to trust than simply marking narrower, accurate hours. If bookings run through a separate calendar tool entirely, use the description field to point there directly rather than leaving a stale weekly grid that doesn’t reflect the real process.
Extending the Rest of Your Community
A business-profile plugin covers one piece of a BuddyBoss community. A few other Wbcom Designs add-ons that pair well with it:
- BuddyPress Member Type (free), classify members into custom types with their own roles and profile fields.
- BuddyPress Member Blog / Member Blog Pro (free / from $49), lets members post from their own profile, with the Pro tier adding posting quotas and co-authorship.
- BuddyPress Check-ins / Check-ins Pro (free / from $49), location tagging via Google Places, with maps and nearby-member search on the Pro tier.
- BuddyPress Statistics (from $49), tracks registrations, posts, comments, and engagement trends across your community.
Using the WooCommerce and Job Manager Integrations
For influencers who sell something directly, merchandise, digital products, presets or templates, the WooCommerce integration tab keeps a storefront visible from the same page fans and brands are already browsing, rather than sending them off to a disconnected store. This is worth the setup time for someone with an ongoing catalog, less so for a single limited drop that doesn’t justify the ongoing maintenance.
The Events Calendar and Job Manager tabs fit less obvious but still real use cases, an influencer running paid meet-and-greets or workshops can list them as events, and one open to brand or creative collaborations can post opportunities the way a business would post a job listing. Neither is essential, but both remove friction for an influencer whose work goes beyond straightforward content posting.
Growing Followers Inside the Community Without It Feeling Forced
The public follower count on the page is a visible number, which makes it tempting to inflate through low-effort asks unrelated to genuine interest in the content. That approach tends to backfire quickly: a follower count that doesn’t match actual activity, likes, comments, review volume, is easy for both fans and brands to notice, and the mismatch reads worse than a smaller, more engaged number.
Real growth here comes mostly from cross-promoting the community page through channels that already exist, a mention in an Instagram bio or story, an email newsletter, a call-to-action at the end of existing content, rather than any mechanism specific to the plugin itself. A modest but genuinely engaged following on the community page also does more to impress a brand evaluating a potential partnership than an inflated number with no visible activity behind it.
Before the Public Announcement
Treat the launch as a small event rather than something automatic the moment the page is technically live. Confirm every field is filled in, test the inbox from a separate account, and check how the page renders on mobile, the overwhelming majority of an influencer’s audience will be viewing from a phone.
Have a handful of activity-feed posts and at least a few gallery items ready before pointing anyone to the page. An empty feed or gallery on a brand-new influencer page undercuts the exact credibility the page is supposed to establish, while a modestly filled-out one gives an arriving visitor, fan or brand, something to actually evaluate.
Writing a Bio That Converts Both Fans and Brands
The main description field has to do double duty here, read by fans deciding whether to follow and by brands deciding whether to reach out, which means it’s worth more editorial care than a quick copy-paste from an Instagram bio. Lead with what the influencer actually covers and who the audience is, specifics that help a brand quickly judge fit, rather than a vague, enthusiastic paragraph that could describe almost anyone in the space.
Keep it to two or three tight paragraphs, natural and specific rather than dense with keywords, since the plugin’s directory search weighs this field and clear writing tends to surface better anyway. Update it whenever the content focus shifts meaningfully, a bio still describing an old niche the influencer has since moved away from misleads exactly the audience, brands especially, who most need it to be accurate.
Onboarding a Manager or Assistant Into the Page
A lot of influencer pages start as a solo effort and eventually get handed off, fully or partially, to a manager or assistant handling brand inquiries and routine posting. Design onboarding for that transition rather than assuming the influencer will personally stay on top of every setting screen indefinitely. A short written walkthrough of where the key fields live, what tone to use in replies, and which kinds of messages need to be escalated saves a lot of avoidable back-and-forth compared to a new manager reverse-engineering the interface alone.
Be specific about what counts as a brand opportunity worth flagging immediately versus routine fan correspondence that can wait. A manager without that guidance either escalates everything, defeating the point of delegating, or under-escalates and lets a real opportunity sit unanswered, both worth avoiding with a few minutes of upfront clarity.
Choosing Visibility: Public, Private, or Hidden
Public visibility fits nearly every influencer page, since maximum discoverability by both fans and prospective brand partners is usually the entire point. Private visibility suits a smaller, more curated following, less common for influencer work specifically, but relevant for someone building a closer-knit paid community rather than open reach.
Hidden visibility mostly makes sense while the page is still being built out, before the first public post, rather than as a long-term state. A hidden page forfeits the search and directory visibility that’s the main reason to use this plugin over a standard member profile, so treat it as temporary staging, not a permanent setting.
Cover Image and Profile Photo: First Impression Before the Bio
A brand or fan reacts to the cover image and profile photo before reading a single word of the bio, which makes them worth more attention than the quick, whatever’s-on-hand choice they often get. A low-resolution or awkwardly cropped image undercuts an otherwise well-built page, while sharp, on-brand visuals do more for a credible first impression than the description text underneath.
Match the visual identity used elsewhere, Instagram, TikTok, a personal website, rather than treating the BuddyBoss page as a separate visual space with its own look. Consistency across platforms makes an influencer instantly recognizable to someone who’s seen them elsewhere first, and a mismatched identity across platforms creates a small but real moment of doubt about whether it’s actually the same person or brand.
Keeping the Page Current
An influencer page set up once and left alone drifts fast in a space that moves as quickly as content and follower growth do, an outdated follower count, a gallery missing recent brand work, contact details that changed. None of this breaks the page technically, but it undercuts credibility with exactly the audience, brands doing due diligence, most likely to notice.
A monthly check, gallery updated with recent work, bio still reflecting the current niche and focus, contact info current, keeps the page feeling actively maintained rather than abandoned after the initial setup burst of enthusiasm. Fold this into whatever content-planning routine already exists rather than treating it as a separate task that competes for attention.
Frequently Asked Questions
Can more than one person manage the same influencer page? Yes, role management supports multiple assigned managers with different permission levels, each keeping their own login, useful for an influencer working with a manager or agency.
Does the LocalBusiness schema make sense for an influencer with no physical location? The address field can be left blank without breaking the page, it just won’t appear on the map view, while remaining fully searchable through the directory’s keyword search and browsable by category.
Can the page show follower counts from other platforms, not just the community itself? Not automatically, the built-in follower count reflects the BuddyBoss community specifically. Cross-platform stats need to be added manually in the About or bio fields if the influencer wants to reference their reach elsewhere.
What happens to reviews and follower history if the page is deleted? Both are tied to the specific page entry and are removed with it. For an influencer just pausing content rather than stopping entirely, hiding the page instead of deleting it preserves that history for whenever it’s reactivated.
Is there a limit on how many gallery items or portfolio entries a page can have? No fixed cap in the plugin itself, though a very large, unorganized gallery becomes hard for a visiting brand to navigate. Grouping items by campaign or category rather than uploading everything as one long undifferentiated stream keeps a large portfolio usable as it grows.
Can the page integrate with an existing link-in-bio tool the influencer already uses? Not as a direct integration, but nothing stops you from linking to it from the social-links widget or the About section, treating the BuddyBoss page as one more discoverable surface pointing toward the same set of destinations rather than a replacement for it.
Current pricing for BuddyPress Business Profile itself: Personal (1 site) $59/year, Professional (5 sites) $129/year, Agency (unlimited sites) $299/year, with lifetime license options also available. All three tiers ship the full feature set, the license only changes how many sites a single purchase covers.
Browse the rest of the Wbcom Designs plugin catalog for the full add-on lineup.
Interesting Reads:
How to Create a Celebrity Profile on a BuddyBoss Community?
How to Create a Fan Page on a BuddyBoss Community?
How Do Shortcodes Enhance The Functionality and Display of BuddyPress Components?