

Poorly optimized images are one of the most common reasons a WordPress site loads slowly. Compressing and resizing them properly, without visibly hurting quality, is one of the highest-leverage speed fixes available, and it doesn’t require touching code. It’s also the fix most site owners put off longest, since a slow-loading page still looks fine at a glance, the cost only shows up in analytics as bounce rate and in Google Search Console as a Core Web Vitals warning nobody notices until traffic starts slipping.
What Image Optimization Actually Does
It’s compression and resizing, done in a way that keeps images looking sharp while cutting file size. Lossless compression, lazy loading, and modern format conversion (WebP, AVIF) are the main techniques most of these plugins use. Lossless compression strips metadata and redundant data without touching a single visible pixel, typically shaving 20-30% off a file with zero quality tradeoff. Lossy compression goes further, discarding some visual information the human eye barely notices, and can cut file size by 60-80% depending on the image and the aggressiveness setting. Lazy loading is a separate but related technique: it delays loading an image until it’s actually about to scroll into view, so a page with forty images below the fold doesn’t force the browser to download all forty before the visible part of the page finishes rendering.
Why It Matters
Faster load times keep visitors around longer and matter directly for SEO, since page speed is a real ranking factor. Smaller images also mean less bandwidth and storage load on your host, which matters more than it sounds like once a media library gets large. A site with a few years of blog content and a habit of uploading full-resolution camera photos directly into posts can easily be carrying gigabytes of unoptimized media, most of it never resized down from an original that was captured at four or five times the resolution the theme actually displays it at.
Images and Core Web Vitals, Specifically
Google’s Core Web Vitals metrics, Largest Contentful Paint (LCP) in particular, are directly affected by image weight more often than any other single factor on a typical content site. LCP measures how long it takes the largest visible element on the page to render, and on most blog posts and landing pages, that largest element is a hero image or a featured image sitting near the top of the page. An unoptimized 4MB photo used as a featured image can single-handedly push LCP well past Google’s “good” threshold, regardless of how fast everything else on the page loads. This is why image optimization tends to produce a more visible Core Web Vitals improvement than almost any other single change a site owner can make without touching code, cutting that one image down to a properly sized, properly compressed file often fixes the metric outright.
10 Best WordPress Image Optimization Plugins
1. Smush

Free (WordPress.org, v4.2.0), with bulk optimization for existing media, lazy loading, and CDN integration. Smush is one of the more widely installed options in this category, and its free tier is genuinely usable long-term rather than a crippled trial, bulk optimization covers your entire existing media library, not just new uploads going forward, which matters if you’re retrofitting optimization onto a site with years of accumulated images already in place.
2. ShortPixel
Supports JPEG, PNG, GIF, and WebP with both lossy and lossless modes, plus a backup option to restore originals if a compression pass goes too far. Free tier + paid from $4.99/mo. The backup-and-restore option is worth calling out specifically: it’s the safety net that makes aggressive lossy compression a lot less risky to experiment with, since you can always roll a batch back to the pre-compression original if a setting turns out too aggressive for a particular image type.
3. EWWW Image Optimizer
Optimizes on your own server rather than uploading to a third-party cloud service, worth knowing if data residency or privacy is a concern. Adaptive quality setting balances compression against visible quality automatically. Free (unmetered local) + cloud tier from $9/mo. The on-server option matters for a specific class of site, one handling sensitive imagery (medical, legal, financial contexts) where sending files to a third-party cloud processor at all, even briefly for compression, isn’t something the site’s compliance requirements allow.
4. Imagify
From the WP Rocket team. Three compression levels (Normal, Aggressive, Ultra) plus WebP conversion. Free tier + paid from $4.99/mo. If you’re already running WP Rocket for caching, Imagify’s shared origin means the two tools tend to play well together, and the tiered compression levels give you a straightforward way to dial in the right tradeoff per image type rather than committing to one global aggressiveness setting.
5. Optimole
Cloud-based: images are compressed and served through Optimole’s own CDN, dynamically resized per visitor’s screen. Includes lazy loading and watermarking. Free tier + paid from $19/mo. The per-visitor dynamic resizing is the standout feature here: instead of generating a fixed set of image sizes at upload time, Optimole serves an image cropped and sized specifically for the requesting device’s actual viewport, which can meaningfully outperform a static-size approach on a site with a wide mix of desktop and mobile traffic.
6. WP Compress
Built with agencies in mind: on-the-fly per-device optimization, scheduled optimization runs, and remote management across multiple sites from one dashboard. Free tier + paid from $5/mo. Worth a look specifically if you or your agency manages several WordPress sites and want one central place to monitor and trigger optimization across all of them rather than logging into each site’s admin separately.
7. Kraken.io
Both lossy and lossless compression, bulk processing, and a real API for developers who want to build optimization directly into a deployment pipeline rather than relying on the WordPress admin UI. Free tier + paid from $5/mo. The API access is the differentiator: if your workflow involves generating or uploading images programmatically outside the normal WordPress media library flow, Kraken’s API lets you fold compression into that pipeline directly rather than optimizing after the fact inside wp-admin.
8. TinyPNG
The WordPress plugin for the widely-used TinyPNG compression service. JPEG and PNG support, bulk optimization, straightforward automatic compression on upload. Free tier + pay-per-image beyond that (~$0.009/image). TinyPNG’s underlying compression algorithm has a long track record outside WordPress too, it’s the same engine behind a widely used standalone web tool, so the compression quality here is well-tested territory rather than a newer, less-proven approach.
9. reSmush.it
Free (WordPress.org, updated June 2026), automatic optimization on upload plus bulk optimization for existing media. The budget pick on this list if you don’t need cloud CDN delivery or advanced controls. It’s a genuinely no-frills option, and for a smaller site without heavy image volume, that’s a feature rather than a limitation, there’s nothing to configure beyond activating it.
10. ImageRecycle
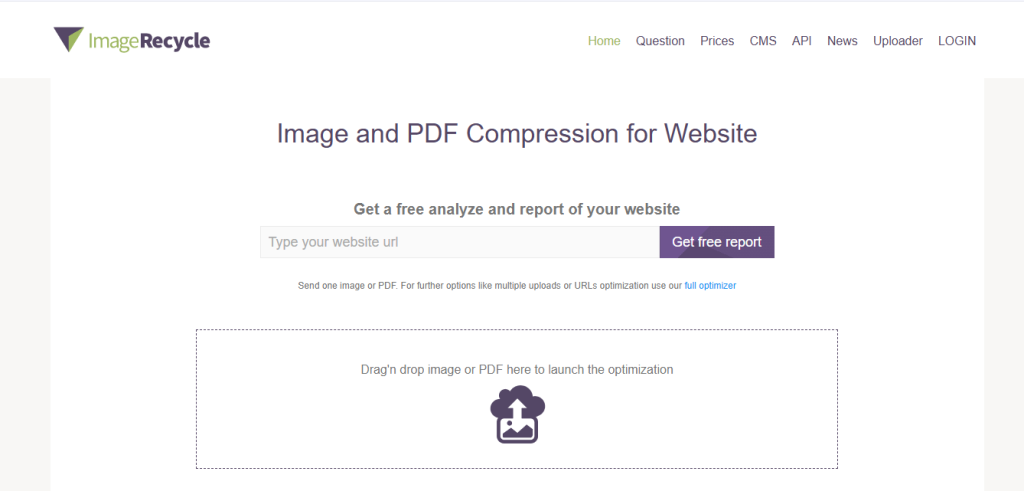
Handles PDFs alongside images, worth knowing if your media library includes downloadable documents, not just photos. WebP support and CDN integration included. This is a genuinely different use case than the other nine entries here, if your site distributes downloadable PDF guides, spec sheets, or reports alongside photography, ImageRecycle covers both in one tool rather than needing a separate PDF-compression workflow.
Comparing the Ten at a Glance
| Plugin | Free Tier | Processing Location | Standout Feature |
|---|---|---|---|
| Smush | Yes, full-featured | Cloud | Widely installed, solid free tier |
| ShortPixel | Yes + $4.99/mo | Cloud | Backup/restore originals |
| EWWW | Unmetered local | Local server | On-server processing for privacy |
| Imagify | Yes + $4.99/mo | Cloud | Tiered compression levels |
| Optimole | Yes + $19/mo | Cloud CDN | Per-device dynamic resizing |
| WP Compress | Yes + $5/mo | Cloud | Multi-site agency dashboard |
| Kraken.io | Yes + $5/mo | Cloud | Developer API access |
| TinyPNG | Yes + pay-per-image | Cloud | Proven standalone engine |
| reSmush.it | Fully free | Cloud | No-frills budget option |
| ImageRecycle | Paid | Cloud | Also compresses PDFs |
WebP and AVIF: What’s Actually Different
Most of the plugins above offer WebP conversion, and a growing number are adding AVIF support too, so it’s worth understanding what these formats actually change versus a standard JPEG or PNG. WebP typically produces files 25-35% smaller than an equivalent-quality JPEG, with support now baked into every major modern browser. AVIF goes further still, often another 20-30% smaller than WebP at comparable visual quality, but browser and tooling support is newer and slightly less universal, and encoding AVIF is more computationally expensive, which matters if you’re compressing thousands of images and processing time or server load is a real constraint. Most plugins handle this gracefully with an automatic fallback: serve WebP or AVIF to browsers that support it, fall back to the original JPEG or PNG for anything that doesn’t, so you get the size benefit without breaking the experience for older browsers.
Choosing One
Compression quality matters less between these than it used to, most produce visually similar results. What actually differs is pricing model (per-image vs. flat monthly vs. free-with-limits) and whether you want cloud processing or on-server, so pick based on your hosting setup and image volume rather than assuming one is objectively better than the rest.
A Realistic Setup Checklist
- Run a bulk optimization pass first. Whichever plugin you land on, the biggest single win usually comes from optimizing your existing media library, not just new uploads going forward. Set aside time for this on a larger library, bulk processing thousands of images can take hours depending on your host’s resources.
- Set a maximum upload dimension. Most of these plugins let you cap the maximum width and height an uploaded image gets resized down to, which matters because compression alone doesn’t fix a 6000px-wide camera photo being displayed at 800px in your theme, resizing does that job, and compression handles the rest.
- Confirm WebP or AVIF actually serves correctly. After enabling next-gen format conversion, check your site’s network tab in browser dev tools on a few pages to confirm images are actually being delivered in the new format, not silently falling back to the original because of a server configuration gap.
- Re-check page speed after, not just before. A tool like PageSpeed Insights or GTmetrix run both before and after gives you concrete evidence the optimization pass actually moved the needle, rather than assuming it worked because the plugin reported a compression percentage.
Lazy Loading: A Closer Look at What It Actually Saves
Lazy loading gets bundled into most of these plugins almost as an afterthought, but it’s worth understanding on its own terms since it solves a genuinely different problem than compression does. Compression makes each individual image file smaller. Lazy loading changes when those files get requested at all. A long blog post with fifteen inline images, only the first two or three of which are visible without scrolling, doesn’t need the browser to fetch all fifteen before the page becomes usable. Lazy loading defers everything below the initial viewport until the visitor actually scrolls close enough to need it, which can meaningfully cut the total data transferred on a first page load, particularly for visitors who never scroll to the bottom of a long article at all.
Modern WordPress has native lazy loading built into core as of several versions back, adding the loading="lazy" attribute automatically to images below the fold. This means some of what these plugins offer as a lazy-loading feature is now redundant with what WordPress already does out of the box, though plugin-level implementations sometimes add finer control, adjustable thresholds for how far in advance an image starts loading before it’s visible, or exclusions for specific images you always want to load immediately regardless of position.
A Realistic Testing Methodology
Rather than trusting a plugin’s own compression-percentage reporting at face value, a short independent testing pass is worth the time before rolling any of these out across a full media library. Pick five or six representative images from your own site, a product photo, a screenshot, a portrait, a graphic with text overlay, since these different image types compress very differently and a setting that looks great on one can look rough on another. Run each through your candidate plugin at the compression level you’re considering, then view the result at actual display size (not zoomed in past what a visitor would ever see) side by side with the original. This catches the specific failure mode that pure file-size numbers hide: a plugin can report an impressive 70% size reduction while introducing visible banding or blur that a quick glance at the compression percentage alone would never reveal.
Common Mistakes Worth Avoiding
Compressing without resizing first. A 5000px-wide image compressed down in file size but still displayed at its full original dimensions in the HTML (rather than resized to the actual display width) still forces the browser to decode a much larger image than it needs to render, even if the file transferred faster. Dimension control and compression are two separate jobs, and skipping the first one leaves real performance on the table.
Over-compressing photography with fine detail. Aggressive lossy settings that look fine on a simple graphic or screenshot can introduce visible artifacting on a photo with lots of fine texture, skin tones, fabric, foliage. Spot-check a sample of your actual image types at whatever compression level you settle on, rather than trusting a single global setting blindly across a genuinely varied media library.
Ignoring images embedded through page builders or widgets. Some optimization plugins only reliably catch images uploaded through the standard media library flow, and can miss background images set through CSS, page-builder-specific image modules, or theme customizer uploads. Worth spot-checking a few non-standard image placements after setup to confirm coverage is actually complete.
Frequently Asked Questions
Will image optimization noticeably hurt visual quality?
At sensible compression settings, no, most visitors won’t notice a difference. The risk grows at more aggressive lossy settings on detail-heavy photography, which is why spot-checking results rather than trusting a default blindly is worth the few minutes it takes.
Do I need to optimize images if I’m already using a CDN?
Yes, a CDN speeds up delivery of whatever file size you’re serving, it doesn’t reduce that file size on its own unless the CDN specifically includes image optimization as part of its service (several of the cloud-based plugins above bundle both). An unoptimized 4MB image served from a CDN is still a 4MB image, just delivered from a server closer to the visitor.
Should I optimize images already in my media library, or only new uploads?
Both, and existing images are usually the bigger opportunity on a site that’s been running for a while. New-upload-only optimization leaves years of accumulated unoptimized media untouched, which is exactly the content most likely to be weighing down your oldest, often highest-traffic posts.
Is cloud-based processing safe for a site with sensitive images?
Reputable providers process and discard images rather than retaining them, but if your images are genuinely sensitive (medical records, confidential documents, anything under strict compliance requirements) an on-server option like EWWW’s local processing avoids sending files to a third party at all, which is worth the tradeoff even if it means somewhat more server load during processing.
How much of a speed improvement should I realistically expect?
It varies heavily by how unoptimized your starting point is. A site that’s never run any image optimization and has been accepting full-resolution camera uploads for years can see a dramatic Core Web Vitals improvement from a single bulk pass. A site that’s already been reasonably careful about upload sizes will see a smaller, still worthwhile, incremental gain. Either way, measuring before and after with the same tool on the same page is the only way to know for certain rather than guessing from how the site feels while browsing it yourself.