

Unoptimized images are one of the most common reasons a WordPress site loads slowly. A single hero image straight off a DSLR or a stock photo library can weigh three or four megabytes before you have touched a single setting, and multiply that across a dozen images on a page and you have a Largest Contentful Paint problem before you have written a line of copy. Compressing those files, without a visible quality hit, is one of the highest-value, lowest-effort things you can do for load times, and it feeds directly into Core Web Vitals and search ranking too. Google has been explicit for years that page experience signals, including load speed, factor into how content gets ranked, and images are consistently the single biggest contributor to page weight on a typical WordPress site.
The good news is that this is a solved problem. You do not need to manually run every upload through Photoshop’s “Save for Web” dialog or remember to compress images before you add them to a post. A properly configured optimization plugin does it automatically, on upload, and can retroactively work through your existing media library too. The trick is picking the right one for your situation, because “best” here depends heavily on how many images you handle, whether you are already paying for a CDN, and how much manual control you want over the trade-off between file size and visual quality.
What to Look For
A few things separate a good image plugin from a mediocre one. First, real lossy and lossless compression options, not just one. Lossless compression strips unnecessary metadata and optimizes the encoding without touching a single pixel, which is safe but only saves you 10-20% typically. Lossy compression discards some visual information the human eye barely notices, and can cut file size by 60-80% with careful settings. A plugin that only offers one or the other is giving you half the toolkit.
Second, automatic optimization on upload plus bulk optimization for your existing media library. If you have been running a site for a few years, you likely have hundreds or thousands of unoptimized images already sitting in your uploads folder. A plugin that only handles new uploads going forward leaves that legacy weight untouched.
Third, WebP and increasingly AVIF conversion. Both formats routinely produce smaller files than JPEG or PNG at equivalent visual quality, and browser support for both is now near-universal. A plugin that still only outputs JPEG/PNG in 2026 is behind the curve.
Fourth, a pricing model that scales sensibly with how many images you actually process. Some plugins charge per image, some charge a flat monthly fee regardless of volume, and some are free with unlimited local compression but no cloud processing. None of these is universally “better,” it depends on your volume and whether you want the compression happening on your own server or offloaded to someone else’s infrastructure.
Fifth, compatibility with your theme, page builder, and any CDN or caching plugin you already run. This matters more than people expect. Some optimization plugins conflict with aggressive caching setups or rewrite image URLs in ways that break page builder layouts that reference specific file paths. Test on staging before you roll anything out on a live site with real traffic.
12 WordPress Image Optimization Plugins
1. ShortPixel

ShortPixel covers lossy, glossy, and lossless compression plus WebP/AVIF conversion, with a free tier limited by monthly image count and paid plans from $4.99/month. What sets it apart from most competitors on this list is the “glossy” middle setting, a compromise level between lossy and lossless that most sites end up using once they realize pure lossless barely moves the needle. It also has a genuinely capable bulk optimizer for existing media libraries and integrates cleanly with most page builders. Active, v6.5.5, updated within the last week.
2. Optimus
Optimus is a lighter-weight option, lossless compression on upload with WebP support. Free core, premium from €29/year adds bulk optimization and lossy compression. It is a sensible pick if you want something that just works in the background without a lot of configuration screens to think about, and the developer (KeyCDN) has a track record of keeping the plugin maintained without feature bloat. Active, v1.6.3.
3. Smush
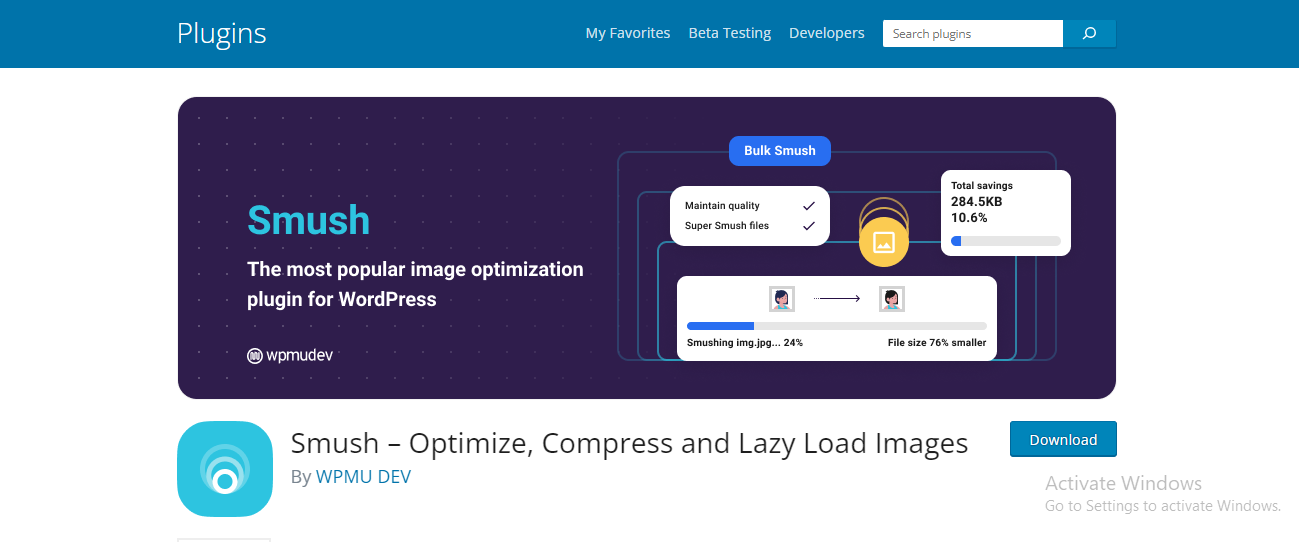
Smush (WPMU DEV) bundles compression with lazy loading and image resizing detection, it will flag oversized images that are being scaled down in the browser rather than served at the correct dimensions, which is a surprisingly common and easy-to-miss source of wasted bandwidth. Free core with a paid tier from $5/month for unlimited compression. Active, v4.2.0, one of the most widely used plugins in this category with well over a million active installs, which also means it has been battle-tested against a huge range of theme and plugin combinations.
4. Imagify
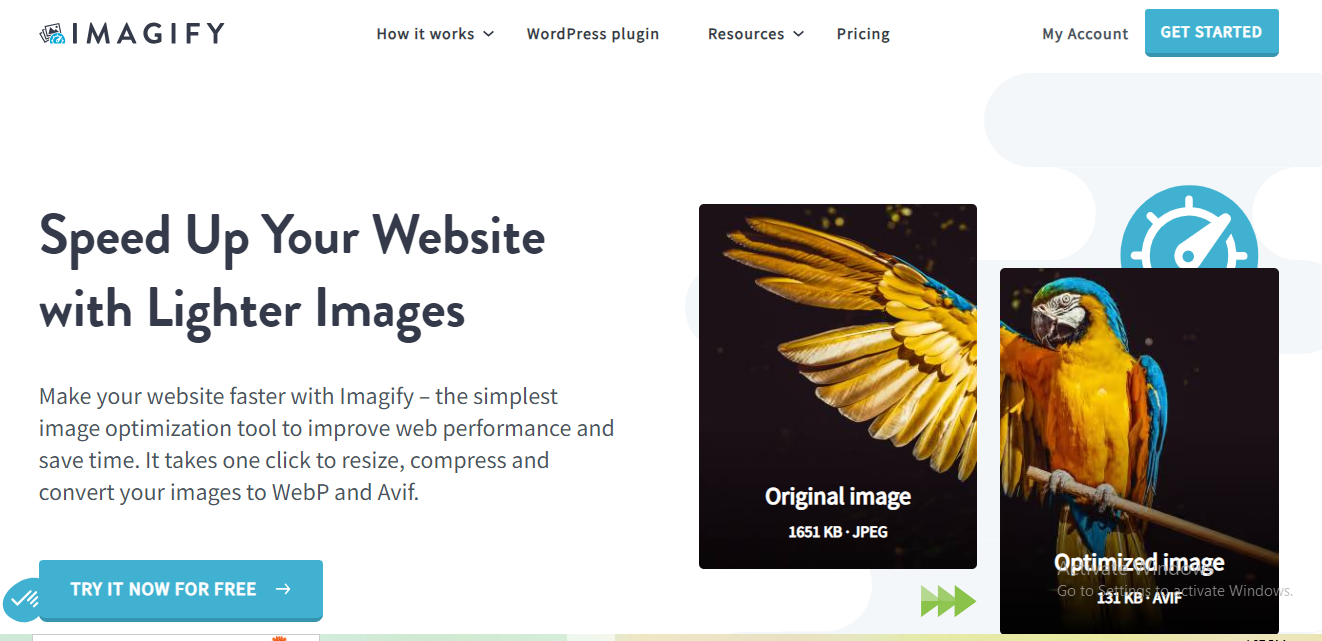
Imagify (same team as WP Rocket) offers automatic and manual optimization with WebP/AVIF support and three compression levels: normal, aggressive, and ultra. Free tier with monthly quota, paid from $4.99/month. Active, v2.3.0. The obvious reason to pick this one is if you are already running WP Rocket for caching, since the two plugins are built to work together and share a settings philosophy, but it stands fine on its own too.
5. EWWW Image Optimizer
EWWW stands out for offering unmetered local-server compression as a free option, alongside cloud compression for $9/month+. This matters if you process a lot of images and do not want to pay a per-image fee forever, since the local option runs the compression binaries directly on your own server rather than shipping files off to a third party. The trade-off is that local compression is slower and puts more load on your hosting, which is a real consideration on shared hosting plans. Active, v8.7.4, updated within the last two weeks.
6. Perfect Images (formerly WP Retina 2x)

WP Retina 2x has been renamed Perfect Images, and it now covers thumbnail regeneration and WebP/AVIF conversion generally, not just retina-display images like the original name implied. It is worth knowing about this rename specifically because a fair number of “best plugins” roundups still floating around online reference the old name and old feature set, which can send you looking for a plugin that no longer technically exists under that name. Free, active, v7.1.8.
7. Imsanity
Imsanity takes a narrower approach: it just resizes oversized uploads down to sane dimensions automatically, no compression algorithm to configure. This solves a specific and common problem, an author uploading a 6000×4000 pixel photo straight from a phone camera into a post that only displays it at 800 pixels wide. Free, active, v2.9.2. Good as a simple safety net that catches oversized uploads before they even get to the compression stage, not a substitute for real compression on its own.
8. Optimole
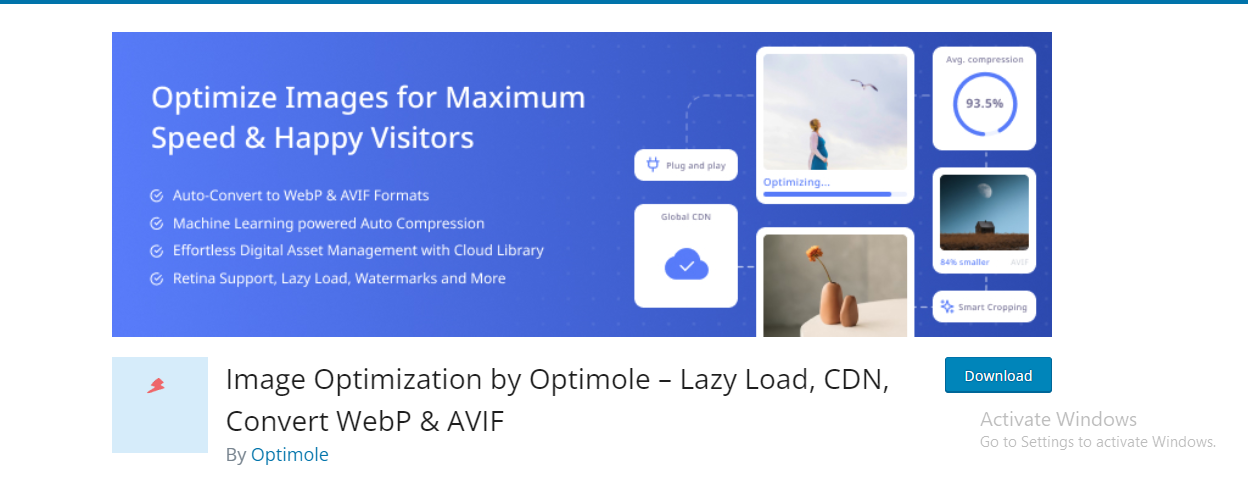
Optimole serves images from the cloud, adapted per device and screen size on the fly, rather than just compressing files sitting in your media library. This is a meaningfully different architecture from the other tools on this list, instead of generating a fixed set of resized versions ahead of time, it decides the right size and format at request time based on the visitor’s device and connection. Free tier available, paid from $19/month. Active, v4.2.10.
9. TinyPNG
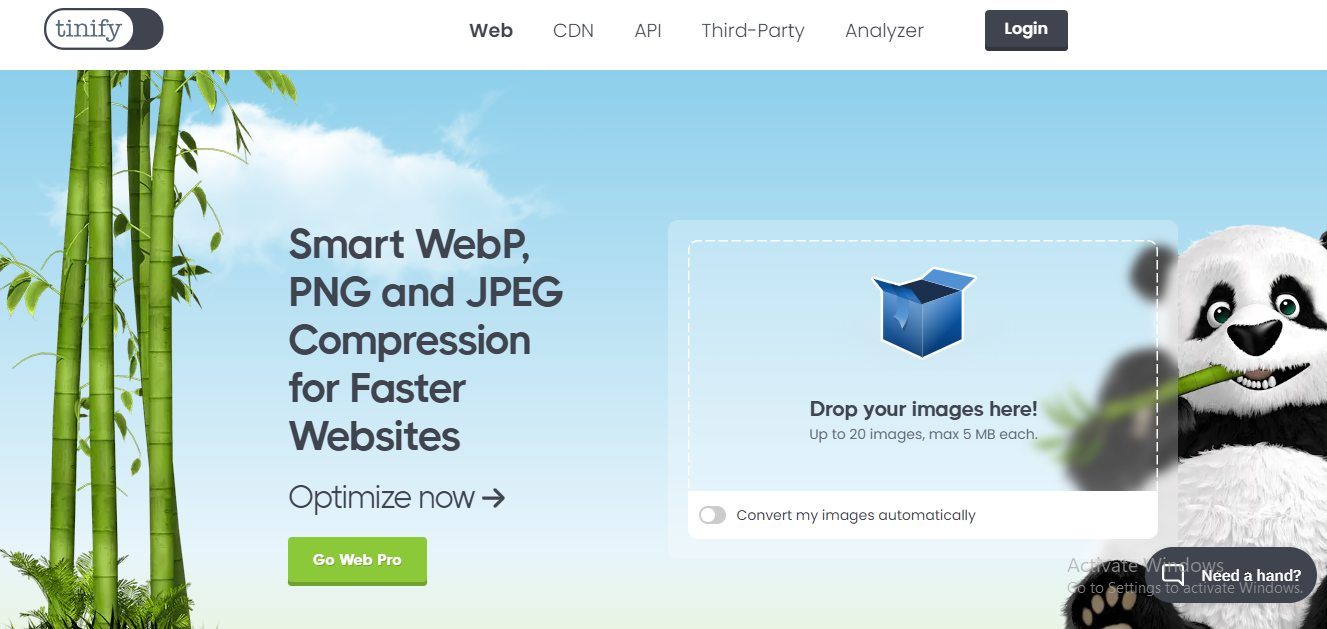
TinyPNG‘s smart compression is well known outside WordPress too, the same engine many designers use standalone through the tinypng.com website before ever touching a WordPress plugin. Limited free tier, then pay-per-image at roughly $0.009/image. Active, v3.7.0. Because the underlying algorithm is the same one used by the standalone tool, it is a reasonable choice for teams who already have designers using TinyPNG in their workflow and want the WordPress side to match.
10. Cloudinary

Cloudinary is the heavyweight option here, dynamic resizing, format conversion, content-aware cropping, and a global CDN, essentially a full media management platform with WordPress as one of several ways to plug into it. Free tier is limited; paid plans start at $89/month, aimed at larger sites with real image-delivery demands, think ecommerce catalogs with thousands of product photos or media-heavy publishers. Active, v3.3.5.
11. WP Compress
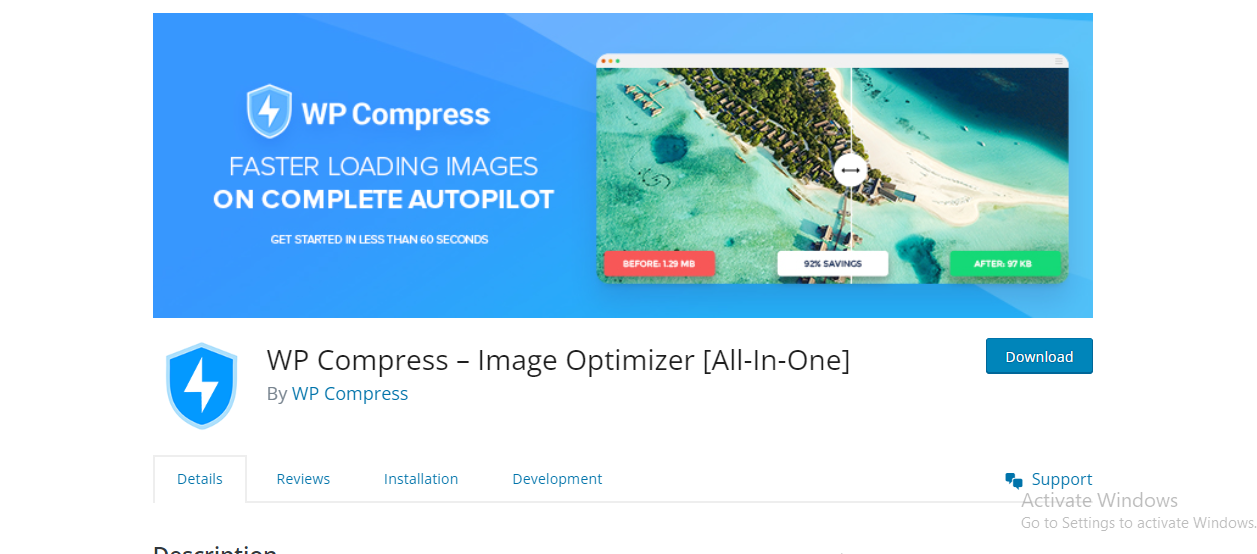
WP Compress bundles compression with lazy loading and CDN integration into one plugin, positioning itself as a broader performance suite rather than a single-purpose image tool. Free tier limited, paid from $5/month. Active, v7.10.09. Worth a look if you would rather manage lazy loading, CDN delivery, and compression through one dashboard instead of stitching together three separate plugins.
12. Kraken.io

Kraken.io combines compression with resizing options for fitting images to specific dimensions, and has a longer track record than most of the newer entrants on this list, having been a standalone image API well before WordPress plugins were the primary way people used it. Free tier limited, paid from $5/month. Active, v3.0.3, 10,000+ installs, 4.5/5 rating.
How Much Does This Actually Save?
Numbers help here more than vague reassurance. A typical unoptimized JPEG straight from a phone camera, 4-6MB, will usually compress down to somewhere between 400KB and 900KB with a moderate lossy setting, without a visible quality difference at normal viewing sizes. Convert that same file to WebP and you often shave another 20-30% off on top of the JPEG compression. Run that math across a blog post with eight images and you have gone from roughly 40MB of page weight down to under 5MB, which is the difference between a page that loads in two seconds on a decent connection and one that takes fifteen. That gap shows up directly in bounce rate, and Google’s own research has repeatedly found that conversion and engagement both drop sharply as load time crosses the three-second mark.
It is worth actually measuring this on your own site rather than assuming a plugin is doing its job. Google PageSpeed Insights and the Core Web Vitals report in Search Console will both flag “Serve images in next-gen formats” and “Efficiently encode images” as specific opportunities if your optimization setup is not catching everything, image by image, with the exact byte savings estimated. Running that audit before and after installing an optimization plugin is the only way to know for certain whether the plugin’s default settings are aggressive enough for your content, or whether you need to dial in a more aggressive compression level manually.
Bulk Optimizing an Existing Media Library
If you are switching plugins, or turning on optimization for the first time on a site that has been running for a while, the bulk optimization step matters as much as the ongoing automatic compression. Most of the plugins above queue existing images and process them in batches to avoid timing out or overloading shared hosting, which means a media library with a few thousand images can take hours, sometimes longer on lower-tier hosting plans with strict resource limits.
Two practical tips here. First, run the bulk job during low-traffic hours if your host counts CPU seconds or has aggressive resource throttling, since a sustained optimization run competing with live visitor traffic can slow the whole site down temporarily. Second, always keep the “backup original images” option enabled the first time you run a bulk job, even though it uses extra disk space, until you have confirmed the compressed output looks correct across your image-heavy pages. Once you are confident the settings are dialed in, you can turn that safety net off to save storage.
A Few Things That Trip People Up
Running two image optimization plugins at once is a common mistake. It rarely produces better compression, since most of these tools compete for the same upload hook, and it frequently causes duplicate processing, wasted API quota, or outright conflicts where one plugin’s WebP output confuses the other’s bulk optimizer. Pick one and deactivate the rest.
Another one: enabling aggressive lossy compression without spot-checking the results on product photography or anything where fine detail matters. The default “safe” settings on most of these plugins are tuned conservatively for a reason, and cranking compression to the maximum can introduce visible artifacts on images with subtle gradients, like skies or skin tones, well before the file size savings become worth it.
Finally, remember that WebP and AVIF conversion only helps if your theme or CDN actually serves the converted format to browsers that support it, with a JPEG or PNG fallback for the rare browser that does not. Most modern plugins handle this automatically through the picture element or content negotiation, but if you are layering a CDN or caching plugin on top, it is worth confirming the converted formats are actually being delivered rather than just sitting unused in your uploads folder.
Common Questions
Will image compression hurt SEO by making photos look worse?
Not if you stick to the moderate lossy or “glossy” settings most plugins default to. The visual difference at those levels is essentially undetectable to a normal visitor scrolling a page on a phone or laptop screen, while the file size savings are substantial. The risk only shows up when someone manually cranks compression to its most aggressive setting to chase maximum savings, which is where banding and blocky artifacts start appearing on gradients and skin tones.
Do I need both a CDN and an image optimization plugin?
Yes, they solve different problems. A CDN moves the already-optimized file physically closer to the visitor to cut network latency. An optimization plugin makes the file itself smaller in the first place. Running only a CDN with unoptimized 4MB images still leaves you shipping unnecessary bytes, just from a server that is geographically closer.
Can I switch optimization plugins later without losing my images?
Generally yes, as long as the previous plugin kept backups of your original, uncompressed files (most do, as an option). Switching plugins usually means re-running a bulk optimization pass under the new plugin’s settings, since compression metadata and generated WebP/AVIF versions are typically plugin-specific and do not carry over automatically.
What about images added through a page builder rather than the media library?
As long as the image is uploaded into the WordPress media library, which is true for the overwhelming majority of page builder image fields including Elementor, Divi, and the block editor, the optimization plugin processes it the same way regardless of which builder placed it on the page. The exception is background images referenced by external URL rather than uploaded, which bypass the media library entirely and will not be touched by any of these plugins.
Picking One
For most sites, ShortPixel, Imagify, or Smush cover the basics well and won’t need replacing. If you’re already running WP Rocket, Imagify is the natural pairing since it comes from the same developer and shares configuration conventions. Cloudinary and Optimole make more sense once you’re dealing with a large, high-traffic image library where cloud-based, on-the-fly delivery pays for itself in bandwidth and server load saved. And if budget is the main constraint, EWWW’s unmetered local compression or the fully free tools like Imsanity and Perfect Images will get you most of the way there without a recurring bill.
A reasonable way to narrow it down quickly: if you run a small brochure or blog site with a modest, occasional stream of new images, a free plugin with automatic on-upload compression is genuinely enough, you will rarely hit a monthly quota and the savings are just as real as on a paid tier. If you run an ecommerce store adding dozens of new product photos a week, budget for a paid plan from the start, since free-tier image caps get consumed fast and you do not want compression silently stopping mid-month because you hit a limit. And if your site is primarily served through a CDN already, like Cloudflare or a managed host’s built-in edge network, check whether that CDN already offers image optimization as a feature before adding a second layer, since some hosts (Cloudways, Kinsta, WP Engine among others) bundle basic compression and next-gen format conversion at the server level, which can make a dedicated plugin redundant rather than complementary.
Whichever plugin you land on, the actual habit that matters most long-term is resisting the urge to upload full-resolution camera or stock-photo files and letting the plugin “handle it.” Cropping and resizing an image to roughly the dimensions it will actually display at, before upload, still produces a smaller and sharper result than compressing an oversized file down after the fact. Compression plugins are there to catch what slips through that process, not to replace sensible image sizing as the first line of defense.