
To create and sell online courses on WordPress in 2026, you need four things: a domain and hosting plan, WordPress.org installed as your CMS, a Learning Management System (LMS) plugin like LearnDash, and a compatible theme like BuddyX Pro. The full setup takes less than a day and gives you complete ownership over your content, pricing, and student data, unlike third-party course platforms that take a cut of every sale and restrict your customization options.
This guide walks through each step in detail, from choosing your domain to launching your first course with a learner community.
Why Create and Sell Online Courses with WordPress?
E-learning has grown into one of the most accessible income streams for educators, coaches, and subject matter experts. WordPress is a particularly strong foundation for course creators because it gives you full flexibility over your site’s design, integrations, and business model. You’re not locked into another platform’s fee structure or content policies.
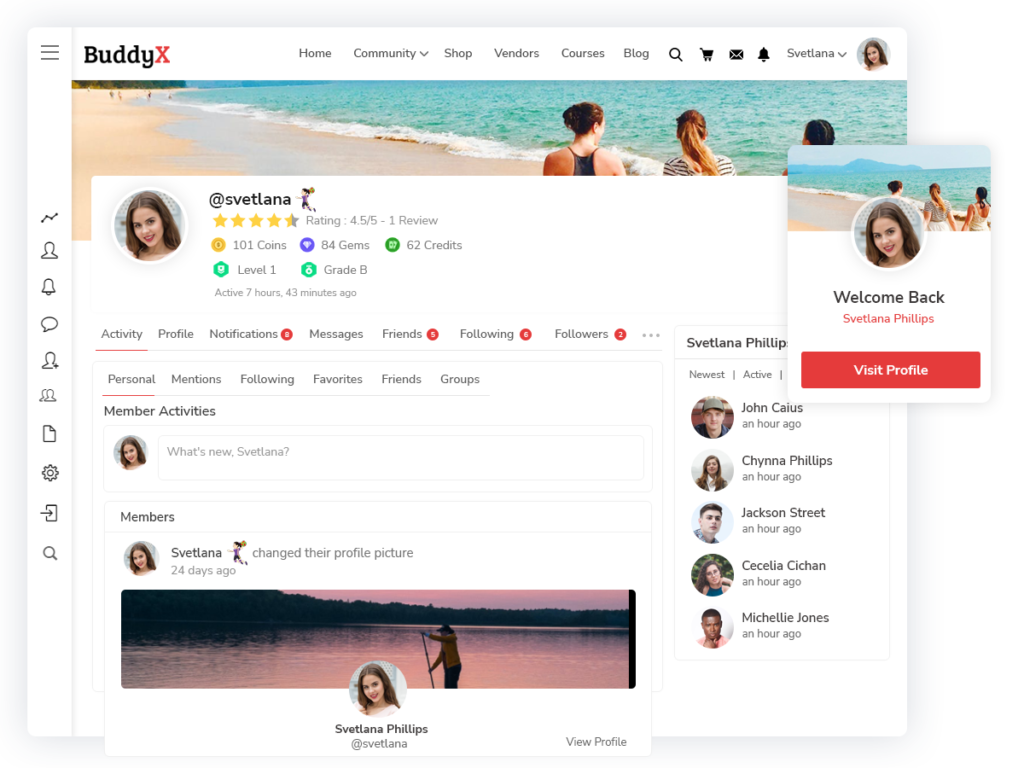
With a compatible theme like BuddyX, you can build a complete online learning website that handles courses, community features, and member management in one place. Here’s why WordPress is the right choice:
- Ownership and Control - You get complete control over your website, course content, pricing, and student data. No revenue sharing with third-party platforms.
- Multiple Themes and Add-ons - WordPress offers an extensive library of themes and add-ons. BuddyX Pro is purpose-built for community-driven learning sites and sets up a fully-functional website quickly.
- Economical - WordPress itself is free. With affordable themes and LMS plugins, you can launch a professional e-learning platform without a large upfront investment.
- Design and Layout Flexibility - Customize every visual and layout element of your site to match your brand and learning style.
Also Read: WordPress reCaptcha Plugin: Why You Should Add On Your Website?
Things You’ll Need to Build Your E-Learning Website
Before building your course site, here’s what you’ll need in place:

Domain Name and Hosting Plan
Choose a domain name that aligns with your e-learning niche and is easy to remember. Ideally it becomes your brand name long-term. Pair it with a reliable hosting provider that can handle your course content, video files, and concurrent learners. Your hosting plan can start modest and scale as your student base grows.
CMS like WordPress
After securing your domain and hosting, install WordPress.org as your content management system. WordPress lets you build a complete website without coding knowledge. The setup is straightforward and takes only a few minutes through most hosting control panels.
Learning Management System
To create and sell online courses, you need an LMS plugin. LearnDash is one of the most powerful and feature-rich options available for WordPress. It handles course creation, quizzes, certifications, drip content, and payment processing, everything you need to deliver a professional learning experience.
Compatible Theme
Your theme determines how your course site looks and how well it integrates with your LMS. BuddyX Pro is built specifically for community-driven learning sites with native LearnDash and BuddyPress integration. It includes a quick demo import that sets up your site’s layout and features in minutes without manual customization.
Also Read: How to Add WooCommerce Quick View Feature? A Comprehensive Guide
How to Build Your E-Learning Website Using BuddyX Theme
Here’s a step-by-step walkthrough for building your course site with BuddyX and LearnDash:
- Step 1 - Purchase a domain name and hosting plan. Choose a domain that can serve as your brand name long-term, and a hosting plan that fits your current budget with room to scale.
- Step 2 - Install WordPress.org on your hosting account. Most major hosts offer one-click WordPress installation through their control panel.
- Step 3 - Install and activate the LearnDash LMS plugin. Configure your course structure, set up payment options, and create your first course modules.
- Step 4 - Purchase and install BuddyX Pro. Go to Dashboard > Appearance > Themes, upload the theme zip file, and activate it. Use the quick demo import to launch a complete e-learning layout instantly.
- Step 5 - Build your learner community and launch your first courses. Use BuddyX Pro’s community features to create discussion groups, member profiles, and activity feeds that complement the learning experience.

Build Your Learner’s Community by Launching Courses
The most successful online course creators build more than a course library, they build a community. When learners can connect with each other, ask questions, and share progress, completion rates and satisfaction scores go up significantly. Combining BuddyX Pro with LearnDash gives you both a powerful LMS and a social community layer in one platform. Start sharing your knowledge through interactive courses, and let the community grow around it.
Interesting Reads:
GIF Plugin: Why You Should Add to Your Community Website?
Why Add Coming Soon Courses Plugin to Your e-Learning Platform?