
Registration Page Branding
Pro featureCreate an inviting registration experience that encourages new members to join your community.
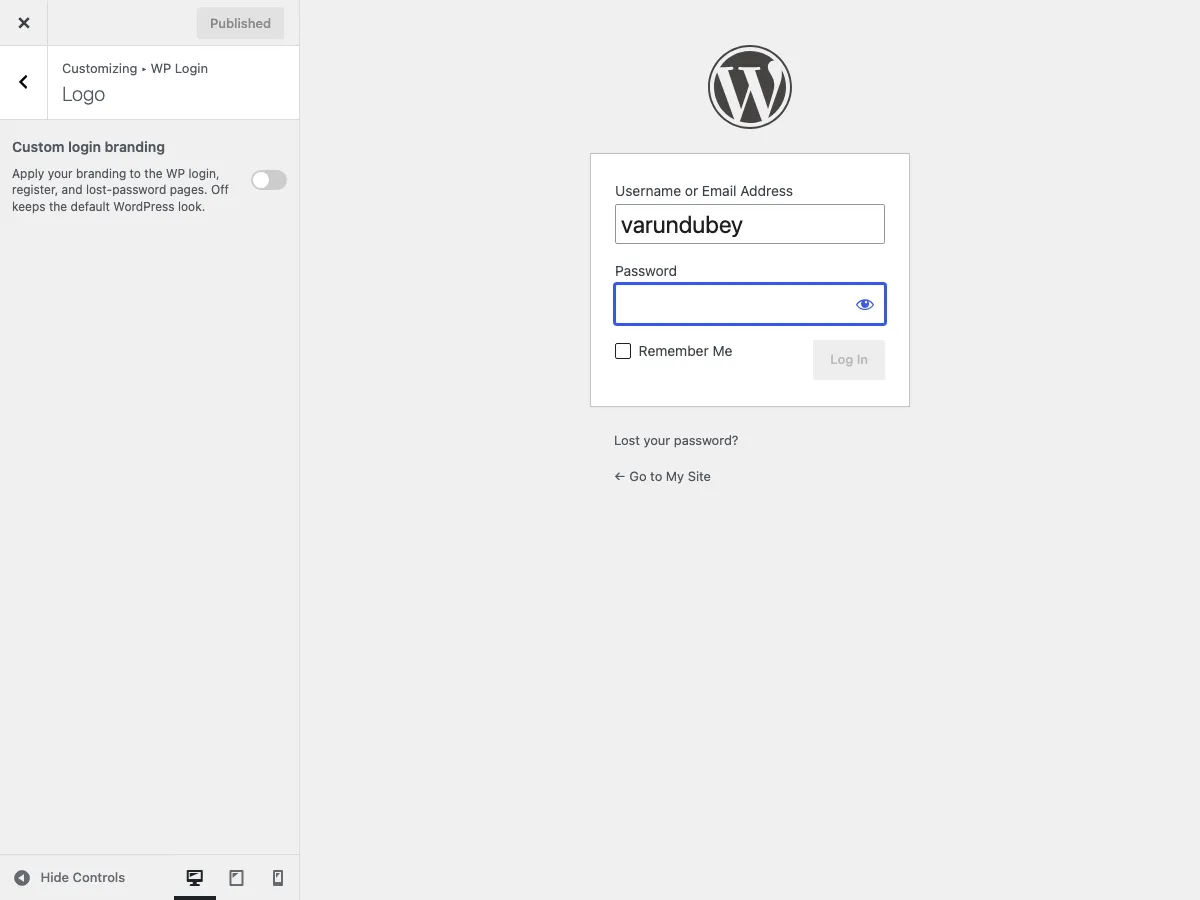 Split view registration page customization
Overview
When BuddyPress is active, BuddyX Pro provides special customization options for your registration page. You can add custom backgrounds, welcome messages, and split-screen layouts to make registration more engaging.
Requirements:
- BuddyPress plugin must be installed and activated
- Registration must be enabled in BuddyPress settings
Getting Started
- Install and activate BuddyPress plugin
- Go to WordPress Admin → Appearance → Customize
- Open the WP Login panel, then the Register section
- Enable Toggle Split View to activate customization options
What You Can Do
Split View Layout
Transform your registration page with an attractive split-screen design.
How it works:
- Left side: Custom background image with welcome message
- Right side: Registration form
- Mobile: Stacks vertically for perfect mobile experience
To enable:
- Turn ON Toggle Split View switch
- Additional customization options will appear
Background Image
Add a stunning background image to the left side of the registration page.
| Setting | Description | Recommended |
|---|---|---|
| Background Image | Upload image for left side | 960×1080px |
Best practices:
- Use high-quality images showing community interaction
- Avoid busy images that distract from the message
- Ensure good contrast with text overlay
- File size: Under 500KB for fast loading
Image ideas by site type:
- Social Network: People connecting and interacting
- Learning Platform: Students or classroom activities
- Fitness Community: Group workout or active lifestyle
- Business Network: Professional collaboration
- Hobby Community: Members enjoying the activity
Welcome Content
Greet new members with personalized messaging on the left side.
| Setting | Description | Default |
|---|---|---|
| Custom Heading | Main headline | "Let's stay connected!" |
| Custom Text | Supporting description | "Join our community today..." |
Heading tips:
- Keep it short and welcoming (3-6 words)
- Use action words: "Join," "Welcome," "Connect"
- Make it about THEM, not you
- Create excitement and belonging
Good examples:
- "Welcome to [Community Name]!"
- "Join thousands of members"
- "Your journey starts here"
- "Connect with like-minded people"
- "Become part of something great"
Description tips:
- Explain the benefit of joining (1-2 sentences)
- Highlight what makes your community unique
- Keep it concise and scannable
- Focus on value, not features
Good examples:
- "Join our community today to broaden your network and connect with new people!"
- "Get access to exclusive content, connect with experts, and grow your skills."
- "Find your tribe. Share your passion. Make lasting connections."
Visual Customization
Control how your welcome content appears on the background.
| Setting | Description | Range | Default |
|---|---|---|---|
| Overlay Opacity | Darken background for text readability | 0-100% | 70% |
| Custom Color | Text color for heading and description | Any color | White (#ffffff) |
Overlay Opacity:
- 0% - No overlay, full image brightness
- 30-50% - Light overlay, still shows image detail
- 50-70% - Medium overlay, balanced visibility (recommended)
- 70-90% - Dark overlay, maximum text contrast
- 100% - Solid black, hides image completely
Choosing text color:
- White works best for most images
- Use dark colors only with very light backgrounds
- Ensure WCAG AA contrast ratio (4.5:1 minimum)
- Test on mobile devices
Page Structure
When split view is enabled, the registration page displays:
┌─────────────────────────────────────────────┐
│ Desktop Layout (Wide Screens)               │
├──────────────────┬──────────────────────────┤
│                  │                          │
│  Background      │  Registration Form       │
│  Image +         │                          │
│  Welcome         │  - Username              │
│  Message         │  - Email                 │
│                  │  - Password              │
│  (Left Side)     │  - Profile Fields        │
│                  │  - Submit Button         │
│                  │                          │
└──────────────────┴──────────────────────────┘

┌─────────────────────────────────────────────┐
│ Mobile Layout (Narrow Screens)              │
├─────────────────────────────────────────────┤
│ Background Image + Welcome Message          │
│ (Collapsed/Small Banner)                    │
├─────────────────────────────────────────────┤
│                                             │
│ Registration Form                           │
│ - Username                                  │
│ - Email                                     │
│ - Password                                  │
│ - Profile Fields                            │
│ - Submit Button                             │
│                                             │
└─────────────────────────────────────────────┘
Configuration Examples
Example 1: Professional Network
Perfect for LinkedIn-style professional communities.
Settings:
- Background Image: Business professionals collaborating
- Heading: "Join [Company] Network"
- Description: "Connect with industry professionals and grow your career."
- Overlay Opacity: 60%
- Custom Color: White
Result: Clean, professional look that builds trust.
Example 2: Creative Community
Ideal for artists, designers, photographers.
Settings:
- Background Image: Vibrant, artistic workspace
- Heading: "Unleash Your Creativity"
- Description: "Join a community of creators sharing inspiration and feedback."
- Overlay Opacity: 50%
- Custom Color: White or light yellow
Result: Inspiring, energetic feel that appeals to creatives.
Example 3: Fitness/Wellness
Great for gyms, yoga studios, health communities.
Settings:
- Background Image: Group fitness class or outdoor activity
- Heading: "Start Your Wellness Journey"
- Description: "Join our community and achieve your fitness goals together."
- Overlay Opacity: 65%
- Custom Color: White
Result: Motivating, inclusive atmosphere.
Example 4: Learning Platform
Perfect for online courses, training platforms.
Settings:
- Background Image: Students learning or studying together
- Heading: "Begin Learning Today"
- Description: "Access expert-led courses and connect with fellow learners."
- Overlay Opacity: 70%
- Custom Color: White
Result: Educational, approachable environment.
Example 5: Hobby/Interest Community
Ideal for book clubs, gaming, cooking communities.
Settings:
- Background Image: People enjoying the hobby together
- Heading: "Find Your Tribe"
- Description: "Connect with people who share your passion for [hobby]."
- Overlay Opacity: 55%
- Custom Color: White
Result: Welcoming, friendly community feel.
Recommended Designs by Site Type
| Site Type | Heading Style | Background Type | Overlay |
|---|---|---|---|
| Professional Network | Formal, benefit-focused | Office/collaboration | 60-70% |
| Social Community | Friendly, inclusive | Diverse people | 50-60% |
| Learning Platform | Educational, inspiring | Study/learning | 65-75% |
| Fitness/Health | Motivational, action-oriented | Active lifestyle | 60-70% |
| Creative/Arts | Inspirational, emotional | Artistic/creative | 45-55% |
| Gaming Community | Exciting, fun | Gaming scenes | 55-65% |
| Support Group | Warm, comforting | Supportive imagery | 60-70% |
| Business/Corporate | Professional, trustworthy | Business setting | 65-75% |
Integration with BuddyPress
Registration Fields
BuddyX Pro's split view works with these BuddyPress registration features:
Standard Fields:
- Username
- Email address
- Password (with strength indicator)
- Profile visibility toggle
Extended Profile Fields: All custom profile fields you create in BuddyPress → Settings → Profile Fields automatically display in the registration form.
To add custom fields:
- Go to BuddyPress → Settings → Profile Fields
- Create new fields (text, dropdown, checkboxes, etc.)
- Enable "Show on registration" for each field
- Fields appear automatically on registration page
Registration Confirmation
After registration, users see confirmation based on your BuddyPress settings:
Immediate Activation:
- User logs in right away
- Sees welcome message
- Redirected to profile completion
Email Activation:
- User receives activation email
- Must click link to activate
- Then logs in to complete profile
Profile Completion
BuddyX Pro enhances the post-registration experience:
- User activates account (if required)
- Logs in for first time
- Prompted to complete profile
- Guided through avatar upload
- Directed to community activity
Activation Page
The split view design also applies to the activation page users see after clicking the email confirmation link.
What users see:
- Same split view layout
- Same background and welcome message
- Activation status message
- Link to login page
Consistency benefit: Users have a cohesive visual experience from registration through activation.
Common Questions
Does this work without BuddyPress?
No. Registration page customization requires BuddyPress. The WP Login → Register section only appears in the Customizer when BuddyPress is active.
For WordPress-only registration, you'll need to use a separate registration plugin or custom code.
Can I customize the form fields themselves?
Form fields are controlled by BuddyPress. You can:
- Add custom fields via BuddyPress → Settings → Profile Fields
- Style fields using Additional CSS in the Customizer
- Reorder fields in BuddyPress profile field settings
The split view customization affects the page layout and welcome content, not the form fields themselves.
Why don't I see the Registration Page settings?
Check these requirements:
- BuddyPress plugin is installed and active
- Registration is enabled in Settings → BuddyPress → Settings → General
- You're looking in Appearance → Customize → WP Login → Register
If BuddyPress is not active, this section won't appear.
Can I use this with WooCommerce?
Yes, but note:
- This customizes the BuddyPress registration page
- WooCommerce uses a different registration/checkout flow
- For WooCommerce-specific customization, see WooCommerce settings
If you want unified registration, use a plugin that integrates BuddyPress and WooCommerce registration.
My background image is too dark/light
Adjust the Overlay Opacity slider:
- Too dark: Decrease opacity (try 40-50%)
- Too light (text hard to read): Increase opacity (try 70-80%)
You can also adjust the image brightness before uploading using photo editing software.
Can I have different messages for registration vs activation?
Currently, both pages share the same welcome message. To differentiate:
- Use generic welcoming text that works for both
- Or use custom CSS to hide/show different content based on page
Example CSS:
body.buddypress.register .custom-register-text {
  display: block;
}
body.buddypress.activate .custom-register-text {
  display: none;
}
How do I change the registration form colors?
BuddyX Pro inherits form styling from your global theme colors. To customize:
- Go to Appearance → Customize → Colors
- Adjust form field colors there
- Or use Additional CSS for registration-specific styling:
body.buddypress.register input[type="text"],
body.buddypress.register input[type="password"],
body.buddypress.register input[type="email"] {
  background-color: #your-color;
  border-color: #your-border-color;
}
Can I add terms and conditions checkbox?
BuddyPress doesn't include this by default. Options:
- Plugin: Use "BuddyPress Registration Options" or similar
- Custom Code: Add via BuddyPress signup hooks
- Third-party Form: Use WPForms or Gravity Forms with BuddyPress integration
Does this work with social registration?
Yes. If you use social login plugins like Nextend Social Login, the social buttons appear above or below the standard registration form, within the right-side panel.
The split view layout accommodates social registration buttons automatically.
How do I translate the welcome message?
If you're using a multilingual plugin (WPML, Polylang, etc.):
- Navigate to the Customizer
- Switch language in the customizer
- Enter translated text in Custom Heading and Custom Text
- Save settings for each language
Or use translation plugins that support theme modifications.
Can I hide the split view on mobile?
The split view automatically adapts to mobile:
- Background becomes a small banner
- Form takes full width
- Maintains responsive design
To completely hide on mobile, use custom CSS:
@media (max-width: 768px) {
  body.buddypress.register .login-split {
    display: none;
  }
}
My registration page looks different from the preview
Common causes:
- Not published: Click Publish in the Customizer
- Browser cache: Clear cache and hard refresh
- Plugin conflict: Disable other plugins temporarily
- Theme update needed: Ensure BuddyX Pro is up to date
Can I add a video background?
Not directly through the settings. To add video background:
- Upload video to your media library
- Use custom CSS and JavaScript
- Or use a plugin like "Advanced Custom Fields" with custom templates
Video backgrounds can slow page load, so use cautiously for registration pages.
Advanced Customization
Custom CSS Examples
Add these in Appearance → Customize → Additional CSS.
Change welcome text alignment:
body.buddypress.register .login-split .split-screen-content {
  text-align: left; /* or center, right */
  padding-left: 60px;
}
Add pattern/texture to background:
body.buddypress.register .login-split {
  background-blend-mode: multiply;
  background-color: rgba(0, 0, 0, 0.3);
}
Adjust form width:
@media (min-width: 992px) {
  body.buddypress.register #buddypress {
    max-width: 450px;
  }
}
Change overlay color (not just black):
body.buddypress.register .login-split .split-overlay {
  background: linear-gradient(135deg, rgba(99, 66, 255, 0.7), rgba(66, 133, 244, 0.7));
}
Developer Hooks
For developers needing programmatic control:
// Modify registration page heading
add_filter( 'theme_mod_register_custom_heading', function( $heading ) {
  if ( is_user_logged_in() ) {
    return $heading;
  }
  return 'Custom heading for non-logged users';
} );

// Conditionally disable split view
add_filter( 'theme_mod_register_split_view', function( $enabled ) {
  // Disable on mobile
  if ( wp_is_mobile() ) {
    return false;
  }
  return $enabled;
} );
Related Settings
- Login Page Branding - Customize the login page
- Password Reset - Password reset email customization
- BuddyPress Settings - BuddyPress customization options
- Profile Settings - Member profile customization
Support
Need help with registration page customization?
- Documentation: BuddyX Pro Documentation
- BuddyPress Support: BuddyPress Forums
- Theme Support: Support Portal
- Email: support@wbcomdesigns.com
Before contacting support:
- Confirm BuddyPress is active and updated
- Check registration is enabled in BuddyPress settings
- Test with default WordPress theme to rule out conflicts
- Provide screenshots of your customizer settings
- Share your site URL for visual context